Published on August 25th, 2022
Last updated on February 6th, 2023
Installing Quarter Round (Shoe Molding) On Your Own: DIY In 5 Steps!
Suppose you’ve decided to purchase moldings; congratulations! Quarter round molding is one of the best things you can do to dramatically change the look of any room. Not only does it give a room a more professional and beautiful face, but it can also be used to cover the natural gaps between the floor and walls that appear as the home ages. Read the DIY instructions first, then head out to buy and install.
Installing shoe moldings is simple, quick, and requires minimal tools.
If you’ve never encountered this kind of work before, you have nothing to worry about because I have gathered all the necessary information on installing quarter round moldings yourself in detail. Read on and follow my advice; I’m sure you’ll get the job done quickly and easily.
What Are Quarter Round And Shoe Molding Trim Types?
Before you begin the installation process, it is essential to understand what quarter round and shoe molding are. You can use either type. Once installed, both will look the same once installed, although their profiles will differ.
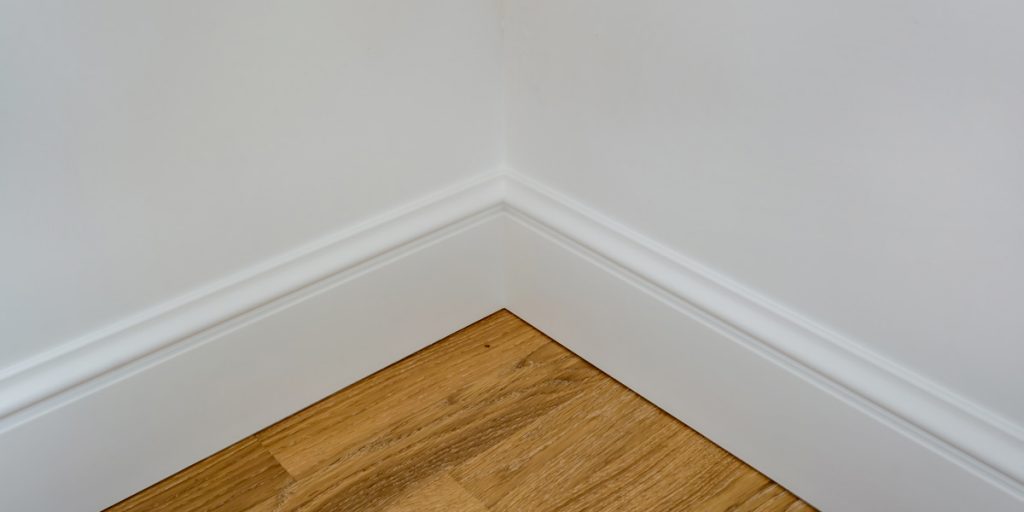
The quarter round is a molding installed in the base of cabinets, walls, or other pieces of furniture. It is also used to cover gaps between the floor and the wall. Quarter round moldings come in various sizes and colors, so you can easily find one that matches your home’s decor.
Shoe molding is similar to quarter round molding, but it is thinner and has a curved edge. Shoe moldings usually cover small gaps between the baseboard and the floor.
Step 1: Gather Your Tools First
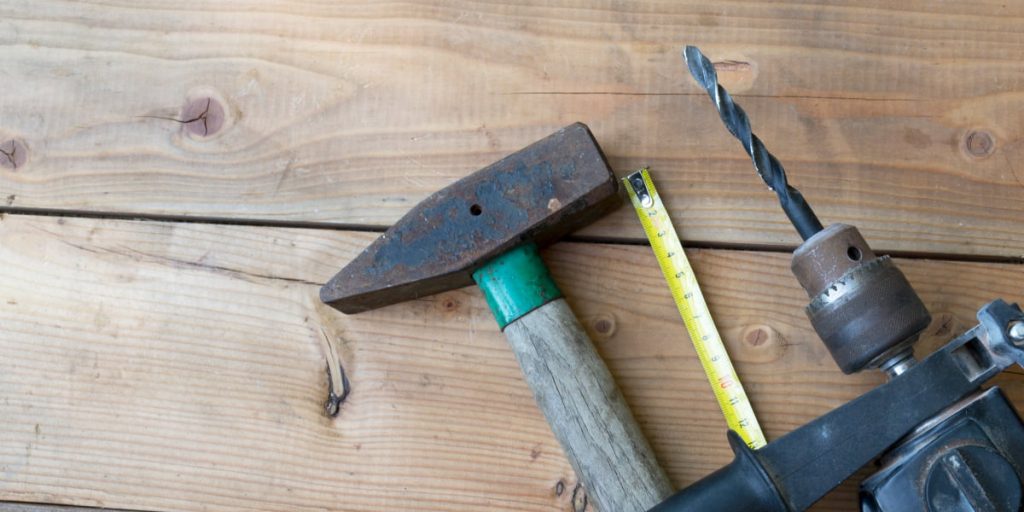
Before installing the quarter round, you must gather all the necessary tools. Luckily, you do not need to take much because installing quarter round molding is not as complicated as you might think! Take with you:
- A utility knife;
- Trowel;
- Measuring tape;
- A pneumatic nail gun;
- Nails (long enough to go through shoe molding and into baseboards or wall studs);
- A box for cutting at an angle (or a trimmer or table saw if you have one);
- A saw.
Some people may need to drill pilot holes if the molding is quite brittle or thin (because some moldings can crack). In that case, you will need a drill bit slightly smaller than the size of the nails you will be using. You may also need paint, varnish, and sealer if your shoe molding looks finished and professional.
Step 2: Measuring And Buying Quarter Rounds

Measure The Wall Space With A Tape Measure
Measure the bottom of each wall. Outline the room on paper, noting the length of each wall. Each room needs quarter rounds of different sizes, so write down as many measurements as possible before proceeding with the installation.
Choose A Quarter Round Material
It should match the flooring or match the baseboards. Buy bare wood quarter rounds and paint them the same color as the hardwood floors. You can also buy primed quarter rounds that are plain white and paint them with semi-gloss paint to match the baseboards. Use this paint to cover the nails, which will be varnished.
Paint The Primed Quarter Round To Complement The Other Types Of Flooring
It should be painted with semi-gloss paint before installation to improve durability and appearance. In addition, this paint will need to be used to caulk the area where the nails were hammered.
Painting The Moldings Has An Advantage Over Staining
If the molding is painted, you can fill the gaps between it and the wall and between pieces, then caulk them and paint them. You may also see quarter rounds made of synthetic material, such as plastic. These moldings are about the same as any basic white molding but are slightly more prone to break when installed.
Buy Long Pieces Of Molding That Will Fit Your Walls
Quarter round moldings come in whole pieces from 6 to 12 feet (1.8 to 3.7 m) long. Try to use one quarter round to attach to the wall. This way, you will not have joints that can open up as the moisture and shrinkage of the pieces change.
Large pieces of quarter round molding are often difficult to transport and maneuver. Also, if your wall is longer than the existing molding, you must join the shorter pieces together. It is not too tricky, so do not be afraid to use shorter pieces if necessary.
Quarter round moldings are usually about 3⁄4 inch (1.9 cm) wide. Keep in mind that thinner pieces may not cover significant gaps.
Step 3: Cutting The Quarter Rounds
Put On Safety Gear, And Work In A Ventilated Area
You will need to cut the molding so it fits perfectly around your room’s corners. While operating a saw, wear earplugs or earmuffs to block out some noise. Also, wear a dust mask or respirator and work outdoors to eliminate dust. Use a good pair of goggles or a facemask to protect you from shards that may break off the quarter rounds.
Set A Miter Saw To A 45° Angle
Set the saw on a stable surface, then rotate the blade to the 45° mark on its base’s left or right side. Cutting the quarter rounds at opposite 45° angles makes them fit together like the corner of a picture frame.
Using a miter saw is the easiest way to make cuts and can give a more excellent result. In addition, you may need to cut off skinny slices to make the pieces fit, and you almost need a miter saw for that. If you do not have a miter saw, you can rent one from tool rental shops.
Cut Quarter Round Pieces At A 45° Angle To Form Joints
Use this type of cut to form corner joints wherever walls meet. Make 45° cuts on the ends of 2 different molding pieces.
If you are using a miter saw, doing this is easy. After making the first cut, turn the blade around to the 45° mark on the opposite side of the saw’s base, then cut the second quarter round.
Saw Longer Molding, So It Fits Over Shorter Walls
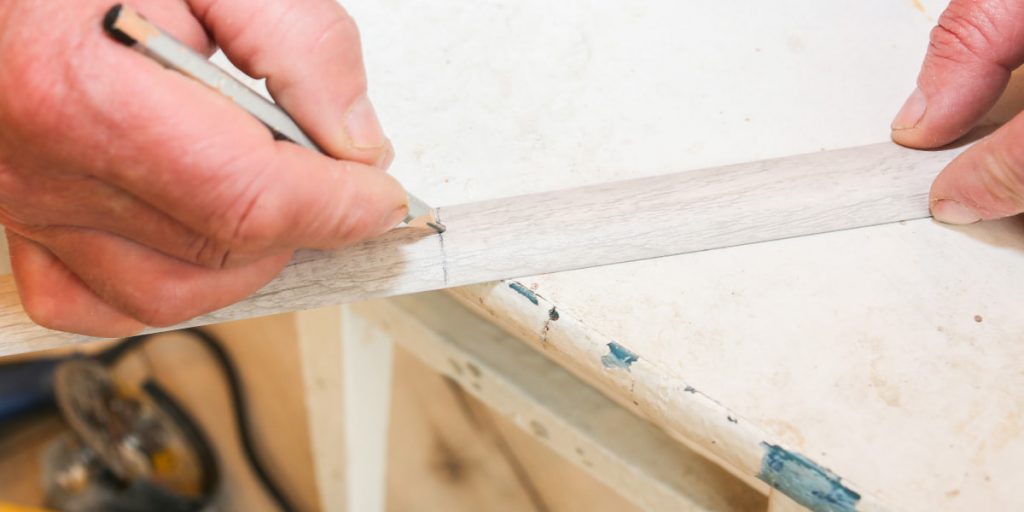
Not all rooms are perfectly rectangular. Sometimes you have to cut smaller pieces of quarter round to fit more temporary walls or work around door frames. Double-check the wall measurements, then carefully cut the quarter round to the size you need.
To ensure you get an accurate measurement, place the quarter round on the wall. Mark it with a pencil to create guidelines.
Step 4: Installing Quarter Rounds
Mark Spots For Nails Every 12 In (30 cm) Along The Quarter Rounds
Start at the corners and measure the length of each piece of molding. Using a pencil, make the marks along the middle of each quarter round. It can be a little tedious, but it ensures the quarter rounds fit neatly and correctly.
But do not make marks close to ends; the nails could crack the molding.
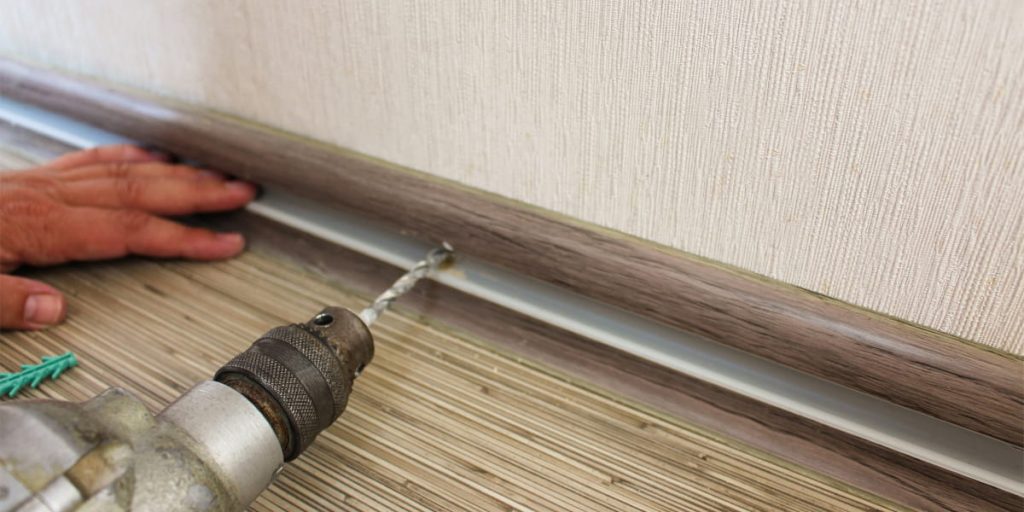
Drill A Pilot Hole At Every Spot Where You Will Drive In A Nail If Using A Hammer
Pilot holes help you guide the nails accurately at the angle you choose. If the quarter round is hardwood, such as oak, pilot holes will help prevent it from cracking.
Use a drill bit slightly smaller than the nails; a 1⁄16 in (0.16 cm) drill bit is best. Drill the pilot holes downward at 30° to 45° angles.
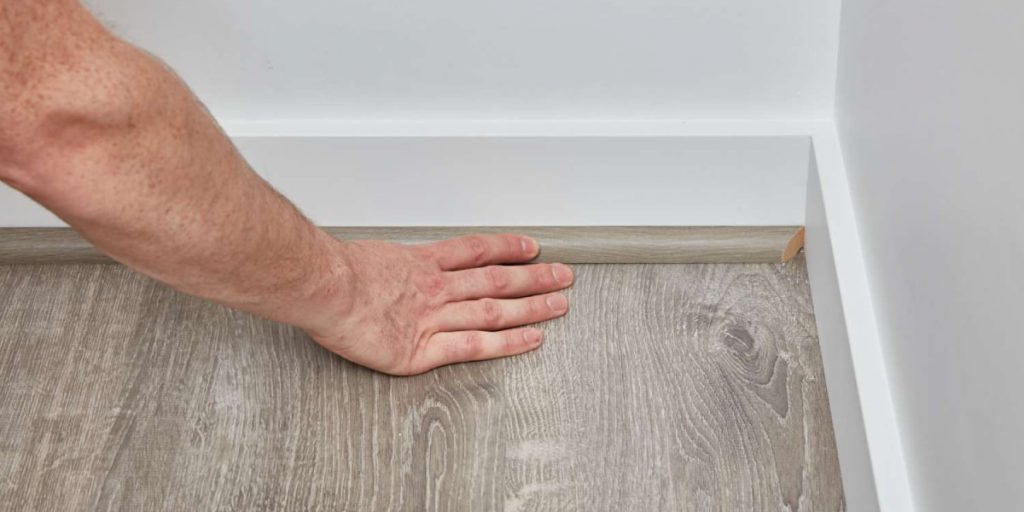
Attach The Quarter Round
Use 1.5″ (3.8 cm) length finish nails. Press the molding down, so it rests on the floor, bending it if necessary, and drive the nails through the pilot holes in the baseboard.
Use A Nail Gun With A Compressor, If Available, Instead Of Hammering
It is much quicker than hammering, creates better-looking work, and is done without drilling pilot holes. It is straightforward so that you can put in more nails.
Fill In The Gaps Around The Quarter Rounds With A Caulk Gun
Slice the tip off a canister of adhesive caulking. Load the canister into the gun, then hold the gun’s nozzle slightly above the top edge of the quarter round. While pressing the trigger gently, spread a bead of caulk along the leading edge of each piece of molding, so you can easily attach the quarter round. You usually do not need to caulk between the molding and the floor.
Press The Caulk Into The Gaps With Your Finger
Run your finger around the tops of the quarter rounds to push the caulk down behind them. Do the same with any gaps between individual pieces as well. Try to make the caulk look as even and hidden as possible. When you are done, wipe up the excess with a damp rag.
Step 5: Touching Up Quarter Rounds
Spread A Dab Of Wood Putty To Cover Up The Nails
Wood putty comes in small containers or tubes. To apply it, you must pick up a small amount of putty with your finger, then press it onto the nail heads. Rub the putty to smooth it out and hide the nails.
Use 180-grit Sandpaper To Smooth Out Caulk And Filler
To avoid scratches when sanding a quarter round, lightly press down on it when the molding is installed. When you are done, wipe the quarter rounds with a damp rag to remove debris. Please review the treated areas to blend them into the quarter rounds. Touch them and look at them from a distance to ensure they are well-blended.
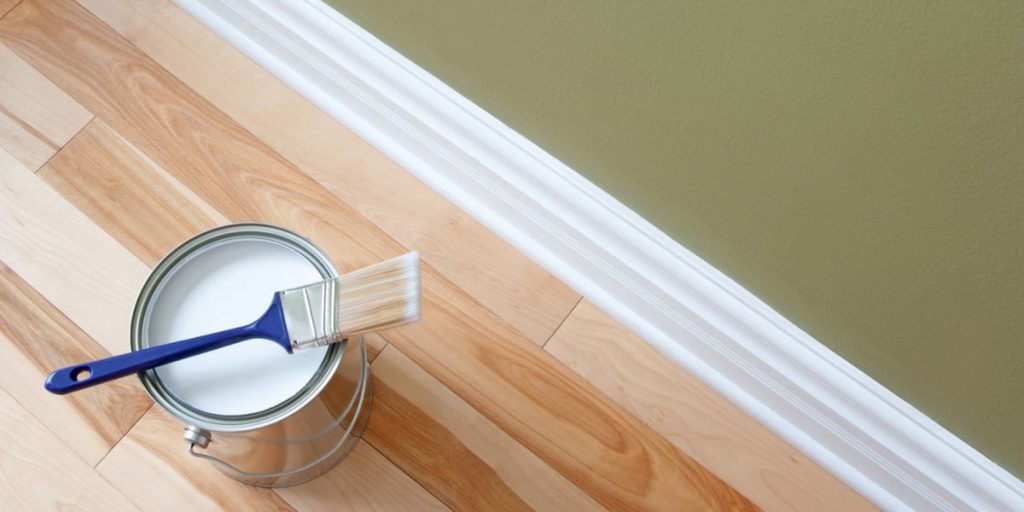
Paint The Quarter Rounds With Semi-gloss Paint
Before opening the can of paint, protect the walls and floor by laying blue painter’s tape around each quarter round. Match the paint color to the color of the baseboards behind the quarter rounds. Then, brush paint over the quarter rounds until they look clean and well-coated. Most paints take at least 4 hours to dry before you can improve the finish with a second layer.
Acrylic-latex paints are usually the best choice for quarter rounds. Some oil-based paints also stand out well on floor molding.
Apply A Wood Stain For A Natural Look
Match the color of the staining product to the floor and any wood trim in the room. To apply the stainer, spread it over the quarter rounds with a brush or rag. Wipe off the excess stain with a rag, then wait about 15 minutes before applying another coating. Continue doing this until the wood reaches the correct color.
There are many different types of staining products available. Oil and water-based stainers are the most common. Oil-based stains are easier to use and penetrate more profoundly, but water-based products tend to stain more evenly.
Staining products take up to 24 hours to fully dry, so keep everyone away from the quarter rounds until then.
Quarter round and shoe molding can improve the look of your home, and it is a project you can do yourself with a few simple tools.
I hope this article has helped give you the confidence to try this project independently. Check out other articles for more tips and advice on home improvement projects, like how to install crown molding instead!
FAQ
How to install a quarter round?
Cut the quarter round and attach it to the wall with a nail gun. Fill in gaps with caulk, then touch the quarter rounds with paint or stain.
How to lay a quarter round?
The best way to lay a quarter round is to use quarter round molding clips. You can also use quarter round adhesive or nails.
How to attach a quarter round?
Quarter rounds can be attached with quarter round adhesive, nails, or quarter round molding clips.
What is the difference between quarter round and shoe molding?
Quarter round is thinner than shoe molding and is typically used in conjunction with flooring. Shoe molding is thicker and is generally used to transition between two different flooring types.
What is a quarter round used for?
Quarter rounds are used to cover gaps between flooring and baseboards. They can also be used to transition between two different flooring types. Quarter rounds can also be used for decorative purposes.