Published on December 9th, 2022
Last updated on February 3rd, 2023
How To Lay Shingles On A Roof: Step-by-step Guide
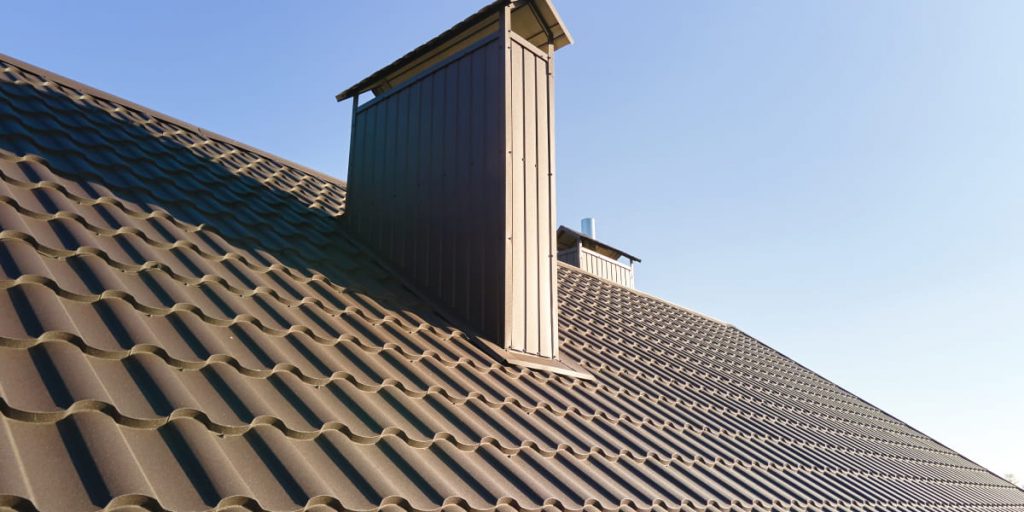
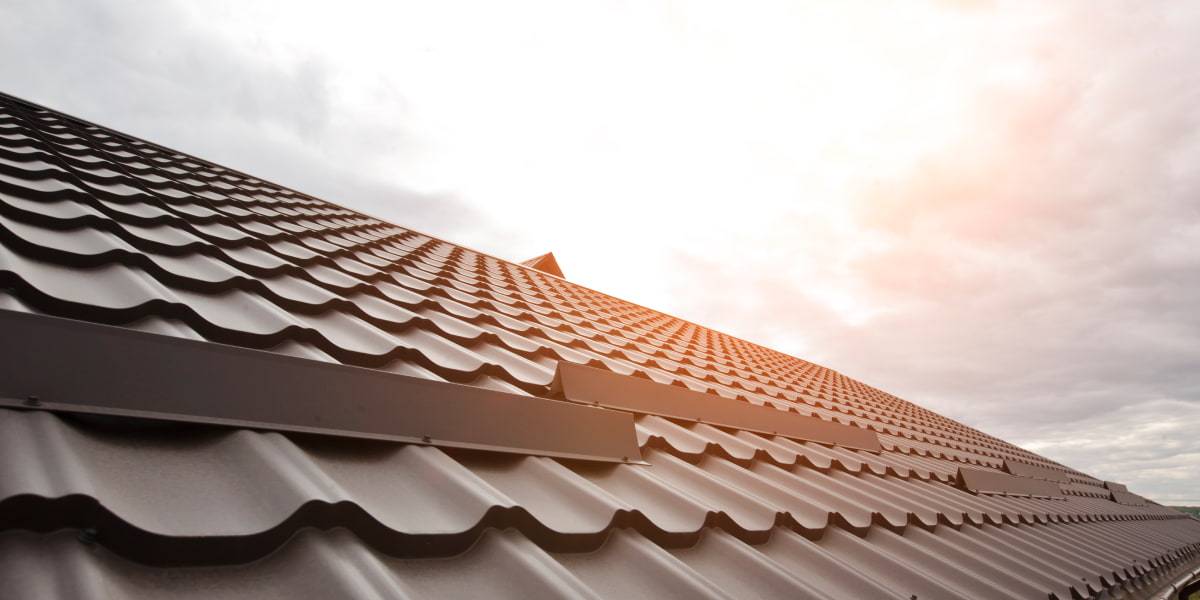
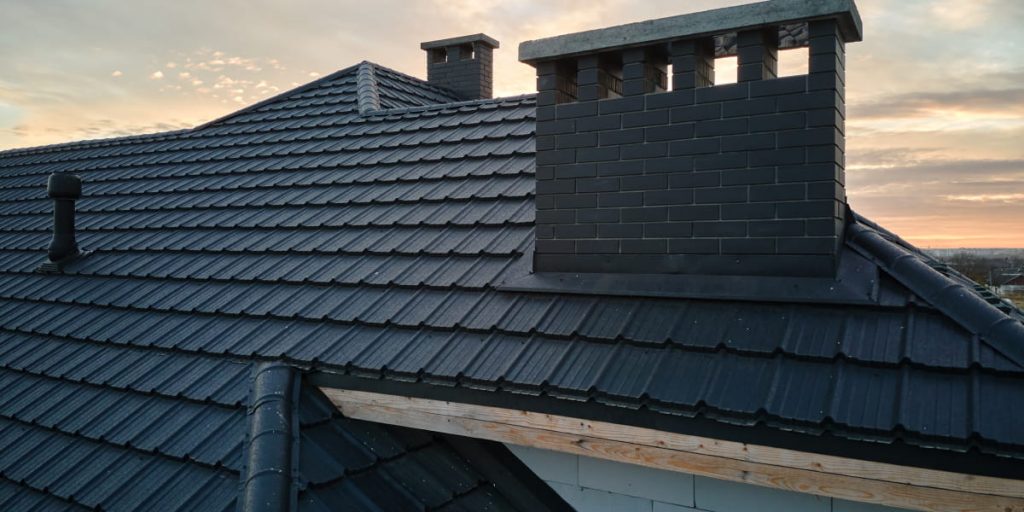
Just a couple of decades ago, slate and metal roofing tiles were the most popular materials in many countries for roof arrangement. It seemed that there would be no alternative. But over time, you could see houses with unique roofs more often. Graceful slopes and unique styles characterized these roofs. This effect creates soft shingles – a modern roofing material, rapidly gaining popularity. Whether you’re a professional or an amateur homeowner, we can help! Knowing how to lay shingles on a roof is a necessary skill.
This step-by-step guide will go over installing asphalt shingles on a roof from start to finish. We’ll also give some tips and tricks to make the process go as smoothly as possible. So, if you’re new to roofing or want to ensure you’re doing it right, read on! You’ll learn everything you need to know about DIY installing shingles on your roof!
Step One: Safety Always Comes First in Any Roofing Project
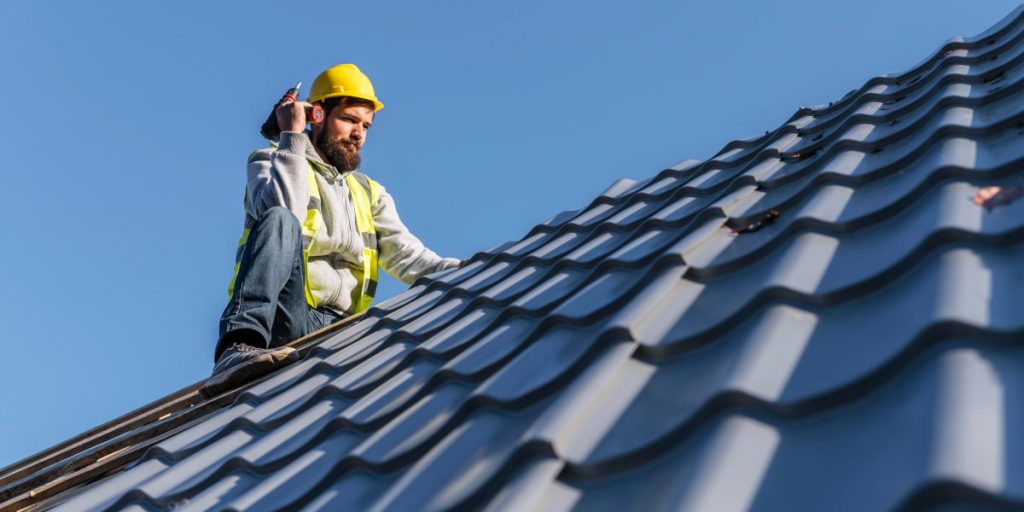
Of course, installing asphalt shingles on a roof can be a dangerous project. But this will happen if proper precautions are not taken. It’s always best to exercise caution and take care of safety before starting any roofing job.
Here are some safety tips to keep in mind when installing shingles on your roof:
- Wear rubber-soled shoes, so you don’t slip. Rubber soles allow for a good grip on the shingles, which means you won’t be able to fall.
- Use gloves to protect your hands from sharp edges. It is vital because sharp edges can hurt your hands.
- Work with someone else. It’s always easier (and safer) to have two people working on a project like this.
- Be aware of your surroundings. Never step on anything that may break or collapse under your weight.
- Always use a ladder when installing DIY shingles on your roof.
Step Two: Understand the Physics of a Pitched Tile Roof

Now that you’ve taken care of all the safety issues, it’s time to start learning how tile roofing works. And the first step is to understand how a sloped tile roof works.
The most important thing to understand is that water always flows down the slope. So when installing shingles on your roof, there is one crucial detail you need to make sure of. You have to install it, so the water flows off the roof and away from your home. You can do this in two ways:
- Laying the shingles with the long side facing down. It will create a gap between each row of shingles through which water will run off.
- Install shingles with the short side down. It will create a gap at the edge of each row of shingles that will allow water to run off the roof.
The second method is more common because it’s easier to install asphalt shingles this way. Even so, we can justify both approaches. They will help prevent water from entering your home.
Step Three: Preparing the Decking
The next step in installing DIY roof shingles is to prepare the decking. To do this, you must ensure the surface is clean and level. You need this to ensure that the shingles lay flat and look smooth. To prepare the deck, you will need to:
- Remove old shingles and debris from the surface. The old shingles have already served their age, so why do you need them? You need to remove it carefully because underneath it will be the roofing felt. You will use the roofing felt as a waterproofing layer.
- Check if you have damaged the decking, and make repairs if necessary. If there are holes or cracks in the decking, now is the time to patch them up. It will help ensure that the new shingles will lay flat and look good after installation.
- Lay a layer of roofing felt over the entire surface. It will serve as a waterproof barrier between the deck and the new shingles. Make sure each piece of felt overlaps by at least 2 inches (5 cm). This way, you’ll be sure that water won’t get through when installing the asphalt shingles.
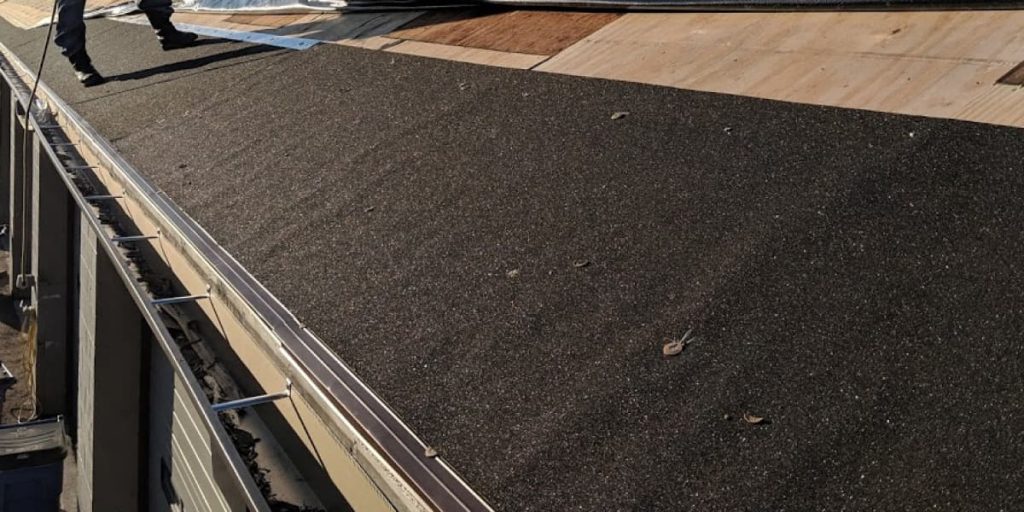
Step Four: Work From the Bottom Up

After you’ve prepared your deck, it’s time to install the asphalt shingles on the roof. And the best way to do it is to work from the bottom up.
It means starting at the roof’s edge and installing the first row of shingles. Then you’ll work your way up the roof, installing extra rows of shingles as you go.
It’s essential to ensure that each row of shingles overlaps the next. It will help create a watertight seal that will keep water out of your home.
Step Five: Ice Dam Protection on Eaves

You must install ice dam protection on your eaves as you move through your roof. Ice dams are a common problem in cold climates. They can cause severe damage to your roof if not adequately protected. To prevent this from happening, you need to:
- Install a strip of ice and water protection on the eaves. It is a material that will help prevent water from seeping into your home.
- Install a drip edge over the ice and water shield. It will help direct water away from your home and prevent it from accumulating on your roof.
Step Six: Underlayment for Overall Secondary Roof Protection
After installing the ice dam protection, let’s move on. You need to install an underlayment on the eaves. It is necessary for secondary protection of the DIY roof shingles. This layer of material you need to lay on top of the decking. It helps protect it from water damage.
There are two types of underlayment:
- breathable
- non-breathable
Manufacturers make a Breathable underlayment out of fabric. It allows moisture to escape the flooring, protecting it from water damage. Manufacturers make a non-breathable underlayment out of plastic. It does not allow moisture to pass through.
Both types of underlayment are equally effective at protecting your roof. So it’s up to you to decide which one to use. But, most people choose breathable underlayment because it allows the deck to dry out if it gets wet.
Step Seven: Covering the Joints and Valleys

As you move along the roof, you will need to cover the joints and valleys. Joints are places where two pieces of material come together, such as on the corners of the roof. Valleys are the space between two rooftops.
To cover joints and valleys during shingle installation, you will need to:
- Install a strip of metal flashing over the joint. It will help direct water away from the joint and prevent it from seeping into the house.
- Install the shingles in the valley. The best way to do this is to install a strip of shingles in the valley’s centre. Then install more strips of shingles on either side, making sure to overlap each strip by at least 2 inches (5 cm).
Step Eight: The Shingles in the “Field” of the Roof
After you’ve covered the joints and valleys, you’ll need to install shingles in the “field” of the roof. The field is the flat part of the roof between the peaks. To install the shingles in the field, you’ll need to:
- Start at the bottom of the area and work your way up.
- Install each strip of shingles so that it overlaps the one below it by at least 2 inches (5 cm). It will help create a watertight seal.
- Make sure the shingles are level as you go. Use a level to check them periodically and make adjustments as necessary.
- Finish the field by installing a row of shingles along the top edge of the roof. This row is called the “ridge cap.”
Installing shingles on a roof is relatively easy, but it is essential to do it correctly. By following the steps outlined above, you can be sure that your roof will be protected from water damage.
FAQ
How to lay shingles on a roof?
You need to take some critical steps to lay shingles on a roof. These include installing a strip of ice and water protection on the eaves, a drip edge, underlayment, and shingles in the roof field.
How to start shingling a roof?
You need to start shingling a roof from the bottom and work your way up. Make sure to overlap each strip of shingles by at least 2 inches (5 cm) and install a row of shingles along the top edge of the roof.
How long does it take to shingle a roof?
The time it takes to shingle a roof will depend on the size and pitch of the roof. It typically takes two people around two days to shingle a roof.
How much does it cost to shingle a roof?
The cost of shingling a roof will depend on the size of the roof, the type of shingles, and the location. On average, it costs around $1,000 to shingle a roof. However, the cost can range from $600 to $4,000.