
Published on December 14th, 2022
Last updated on February 3rd, 2023
Coloring Grout: How To Change The Grout Color To The Desired One
When it comes to home improvement, you must make many decisions. For example, one of the most critical decisions is what color to paint the walls or what tile to choose. Yes, that’s important. But what about grout? Grout is the stuff that sits between the tile joints. Sometimes, it can be a little boring and plain, but with our guide on how to change grout color, you can change its color and give your kitchen or bathroom a new look.
As you can imagine, completely replacing the grout by removing the old one and applying a new layer is time-consuming and tedious. But for the sake of beauty, you can work hard, can’t you? There are at least a few proven ways to recolor your grout.
So, in this article, we’ll show you how to change the color of the grout with easy-to-follow steps. Let’s take your time and get started.
Before You Start
Painting grout lines are only suitable for traditional cement grout. If you need to paint epoxy, polyurethane or vinyl grout, you must use a special sealant. Manufacturers have developed this sealant specifically for painting this type of material. You can find this type of sealant in specialized construction stores.
Before coloring the grout, ensure the surface is clean and completely dry. Otherwise, staining will be ineffective.
Tile dyes come in a variety of shades. You may have to try several shades before you find the one that works best for recoloring grout. To do this, use a small brush to apply a test stain to the surface of the grout and see how it looks when it has already dried.
Important! When changing the color of an existing grout, you can achieve the best results with a darker color. To change to a lighter color, you will need many coats of paint. You might find this difficult, especially if you have yet to gain experience.
Some grout dyes are simple “pencils” that you can draw on the surface of the grout. Others are translucent liquids that you can apply with a brush or sprayer.
Regardless of your chosen technique, don’t forget to wear protective equipment! Remember that some paints may contain harmful chemicals. So you need to read the instructions carefully before painting.
Full Replacement of Grout
In most cases, the best and more durable solution is to replace the old grout with new colored grout. Depending on the job’s complexity, you can do this yourself or hire a professional. Remember that after coloring or replacing the grout, you will need to seal grout again. You need to do this to protect against dirt and moisture.
A complete grout replacement may be less complicated in smaller areas. If the grout is crumbling or in poor physical condition, it is better to replace it, even in small areas.
But, replacing grout can be complex on larger surfaces. Changing the color of the grout can completely transform the look and feel of your home. You’ll get great results with proper preparation and careful application of paint.
What You Will Need to Paint Grout Lines
Before painting the grout lines, you will need some painting tools. You need to use it to do the painting correctly and safely. Here are the items you will need:
| Gloves | You must wear gloves. You need to do this to protect your hands from any chemicals found in paints and sealants. |
| Mask or Respirator | We recommend wearing a respirator or mask when recoloring grout. It’s worth it to avoid inhaling paint substances. You especially need it when painting with aerosol sprays. |
| Painting Tape | If necessary, you can use masking tape. You will need it to protect the edges of the tile and adjacent surfaces from paint. |
| Wipe | You will need wipes or tarps to protect the surface from paint. |
| Cleaning Pads or Brush | You can use abrasive discs or a brush to remove dirt and grime before painting. |
| Soft Detergent | You will need mild detergent to clean the surface before painting. |
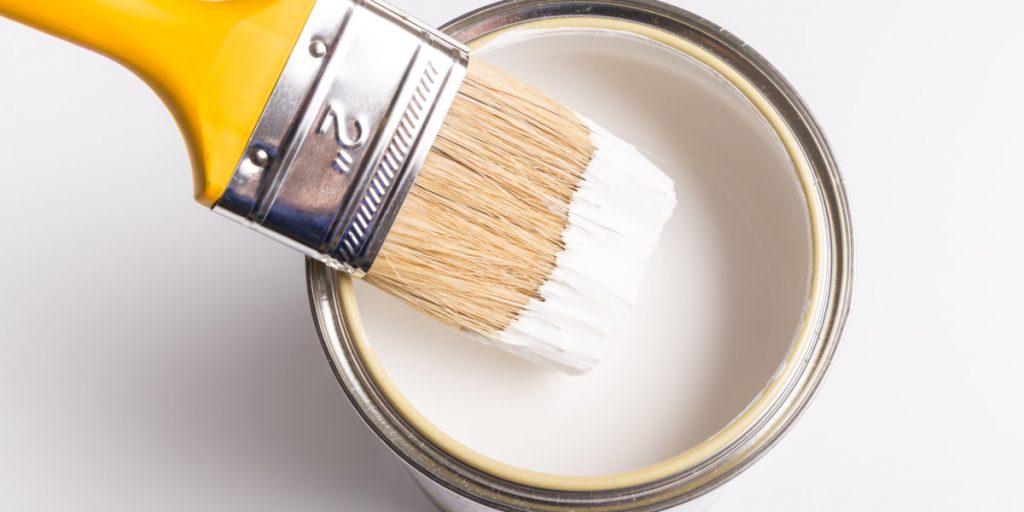
| Painting supplies | Depending on the technique, you may need brushes, rollers, or sealers. You’ll need them for epoxy grout and other painting supplies. |
| Grout dye | Depending on your chosen painting technique, you will need grout dye. |
Now that you know what you need, you can get started!
How to Change the Grout With a Coloring Agent
At one time, changing the color of the grout was pretty challenging. Thus, people did not consider painting as a popular option. Now, there are many different kinds of dyeing agents that make it easier to paint grout lines.
This method of staining uses a dyeing agent. It is specifically designed to repaint grout lines. Modern grout dyes are usually a mixture of latex paint and dye. This type of staining does not need sealing. And it is pretty durable when appropriately applied.
The secret to successful grouting is using a good commercial cleaner or detergent. Before painting, clean the surface thoroughly and be sure to use paint protectants. Let’s start with the following:
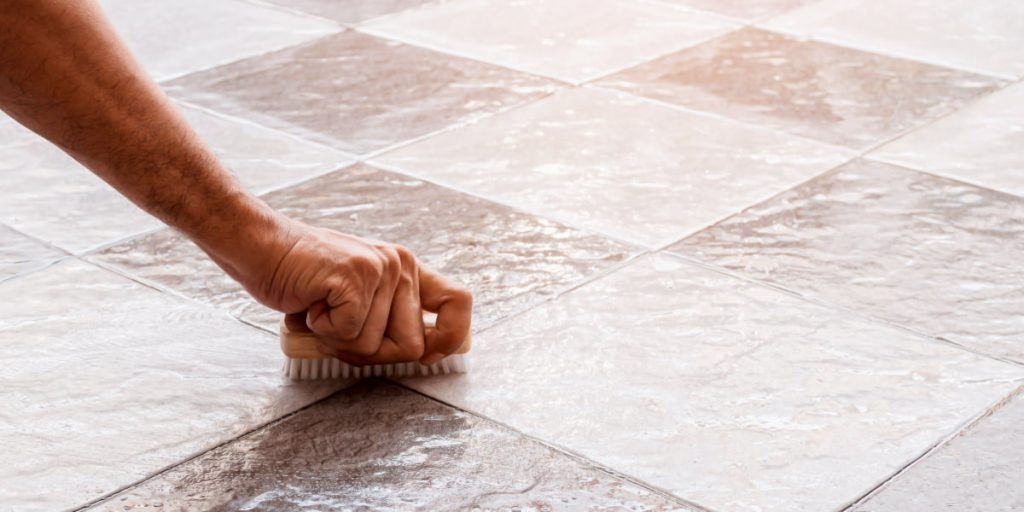
Step 1: Scrub the Grout Lines
Make sure to remove dirt, grime, soap scum and other contaminants from the surface. Using a brush or abrasive disk, thoroughly clean the grout lines with a mild detergent. After cleaning, rinse and neutralize the surface with a cleaning solution.
Usually, we recommend a special grout cleaner for this preparatory step. But you can also use regular white vinegar or a commercial cleaner.
Afterwards, let the surface dry thoroughly before moving on to the next step.
Step 2: Test the Colorant
Find an inconspicuous area of grout on your tile. Then test the new dye to see if the color of the grout changes. If you are using an epoxy-based dye, it is best to do a test run with the same product and sealer you will use to color the grout. This way, you can ensure the dye is compatible and how it will look after it cures.
Apply the dye to a few inches of grout, then let it dry according to the manufacturer’s instructions. Be sure to follow the instructions and precautions.
Step 3: Mask off the Tile Surfaces (Optional)
If desired, seal the tile surfaces with masking tape, leaving only the grout lines open. It is optional, but it will help protect the tiles from drips and spills. It also makes painting more precise.
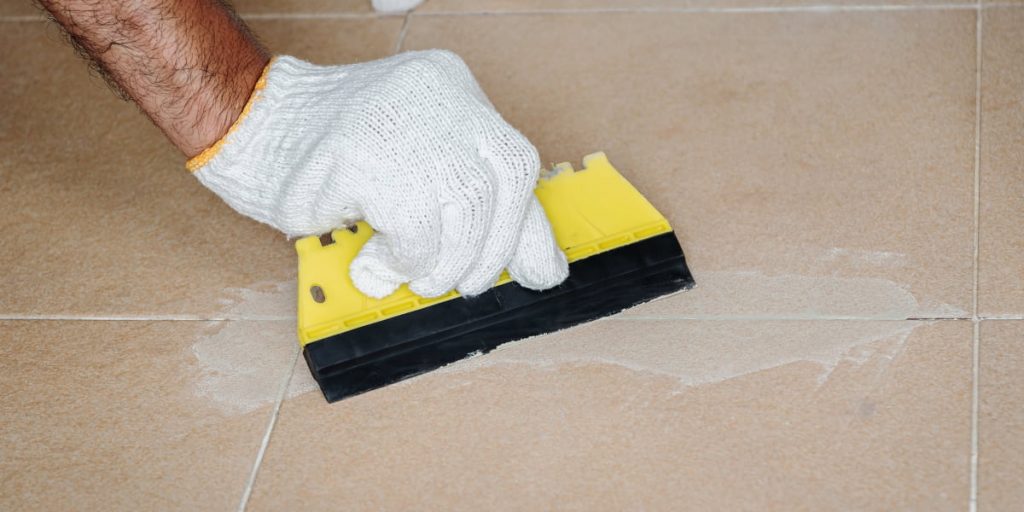
Step 4: Apply the Dye to the Grout Line
Now, arm yourself with a paint roller or paintbrush and begin the process. Be sure to make even strokes and cover the entire surface of the grout lines with the dye.
If you use an aerosol sprayer, keep it 8 to 12 inches from the surface. This way, you can evenly recolor the grout.
Step 5: Wipe off the Excess Dye
After coloring the grout, remove any excess stain with a damp cloth or wipe. This step will help you avoid stains and uneven staining.
If you use painter’s tape, things are much easier. You can remove the painter’s tape.
Step 6: Allow Time for the Dye to Dry
Allow the dye to dry completely before sealing. The dye can take 8 to 24 hours to fully cure and achieve the desired color intensity. It depends on what type of paint you are using.
Step 7: Seal & Enjoy! (Optional)
If desired, seal your newly recolor grout lines with a special epoxy sealer. It will help protect them from future stains and dirt buildup.
How to Remove and Replace the New Grout
Don’t want to paint the grout lines? There is an option to replace the grout completely. It is a more labour-intensive process. But it will give you an even, consistent finish and significantly enhance the look of your tile.
Generally, you can use unpolished grout to grout joints less than 1/8 inch wide. For wider joints, you can use grout with sand added. Epoxy grout consists of epoxy resin, which is very strong and resists staining.
You’ll need to remove the old grout before replacing it with the new one. The easiest way is using a special electric grouting tool, which you can rent at most hardware stores. Follow these steps:
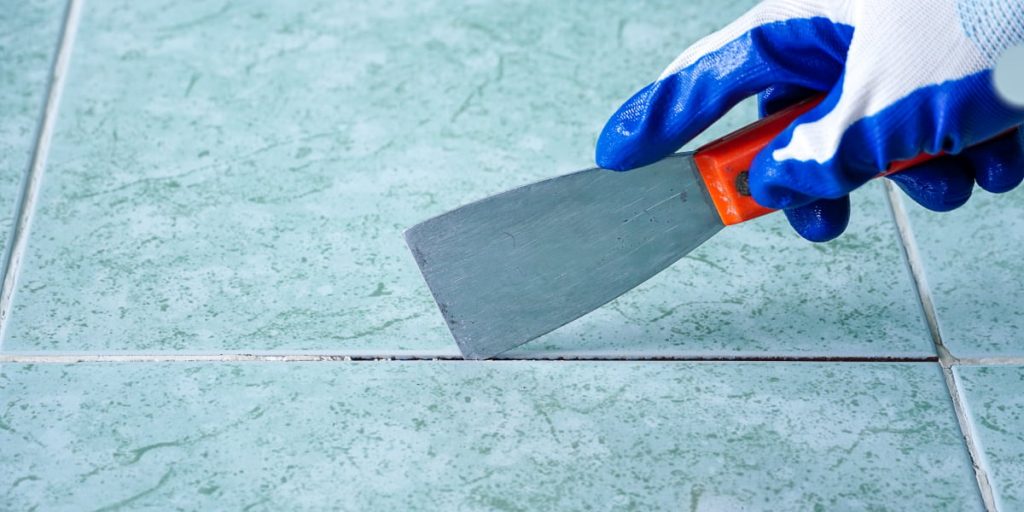
Step 1: Remove Old Grout
You can use a flat edge to remove grout from the corner of the tile. Wear safety glasses and gloves and prepare the grout tool. Set the depth of the cut to a little less than the grout line. Then move back and forth along the lines, removing all the old grout.
Step 2: Inspect the Tiles
Check the tiles for cracks, chips, or other damage. It could be caused by improper installation or age-related wear and tear. You may have to repair or replace damaged tiles before applying newly colored grout.
Step 3: Remove Grout Particles
Use a vacuum cleaner to clear all grout particles before proceeding. Scrub the grout lines with a stiff brush and a quality grout cleaner to remove any stubborn stains.
Step 4: Add Pigment to Grout Mix
If you decide to paint grout lines, you need pigment! It will give you a great variety of colors and shades of grout.
Step 5: Mix New Grout
Mix the new grout with water according to the manufacturer’s instructions. Make sure it is thoroughly blended before applying.
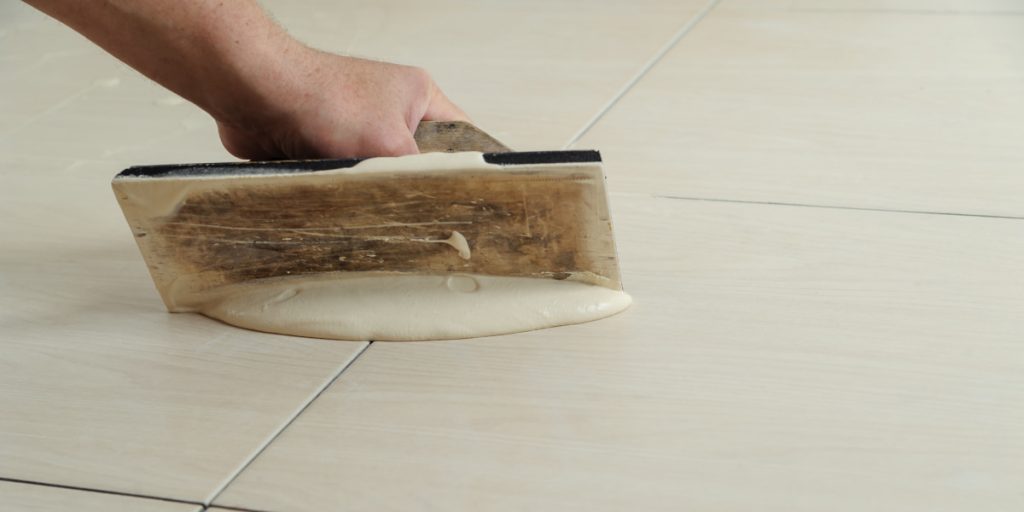
Step 6: Apply the Grout
Apply the grout with a rubber trowel. Squeeze it into the gaps between the tiles, wipe off any excess, and leave it for as long as necessary. You can find out how long it takes for the grout to dry and change the color from the instructions.
Step 7: Clean Off Excess Grout
Once you’ve applied the new grout, you’ll need to clean off any excess. Use a damp sponge to wipe away any remaining grout.
Step 8: Seal the Grout Lines
Finally, seal the grout lines with a special epoxy sealer. It will help protect them from future stains and dirt buildup.
That’s it! You’ve applied the new grout in the color you want. Now you won’t have to recolor the grout for a long time.
When to Call a Professional
Hire a professional if you need more confidence in your painting or grouting skills. Professionals will be able to evaluate the project. And they can recommend the best option for your needs. Professional painters or tilers will also give you a guarantee. In that case, if something happens to your grout, a professional will come and replace it.
So, now you know how to change the color of the grout to the color you want! All you have to do is take a few simple steps and have patience. Now you see that painting or replacing the grout yourself is not that difficult. Good luck, and enjoy your new look!
FAQ
Can you paint grout?
Yes, you can paint or recolor grout lines with grout paint. It is available in different colors, and it is easy to apply.
How to change the grout color?
You can paint the grout lines with special grout paint. You can also replace the existing grout with one of a different color. Make sure to remove all the old grout before adding the new one.
Can I use regular paint on the grout?
No, you should not use regular paint on grout as it may not adhere properly and can cause staining. Use a special grout paint for the best results.
Is it difficult to change the grout color?
No, you can do painting or recoloring grout lines quite easily. You must ensure you follow the instructions and pay attention to the details. If in doubt, hire a professional for better results.