
Published on November 2nd, 2022
Last updated on February 3rd, 2023
How To Install Floating Floor
The choice of laminate as a floor is not accidental. It is beautiful, the cost is adequate, and the material has uncomplicated instructions for DIY installing laminate flooring. It will reduce the overall cost of repairing the floors if ordering the work of professionals is impossible. Are you in search of a new flooring option? Are you considering the installation of a floating floor in your home? If so, you should read our tips on the correct installation of a floating floor.
We will show you how to install laminate flooring from A to Z. This project is perfect for beginners, and with a little effort, you can have a beautiful new floor in no time! So, let’s start laying the laminate floor step by step.
Buy Laminate Flooring and Underlayment
Before you start DIY installing laminate flooring, you need to choose laminate flooring and underlayment. Buy the flooring in advance and leave it in the room where you plan to install it for 48 hours. The laminate flooring will let it rest, and its humidity will equal the room humidity. Buying two or three months in advance is not worth it since, during the repair, there will inevitably be wet processes and moisture, which laminate is not suitable for anything.
Carpet pads or underlayment for laying the laminate floor get based on the area of the room, but for the laminate flooring, we recommend buying with a margin of 5-10% for trimming. For straight laying, there is always less waste; for diagonal laying and complex room shapes, there is more waste.
Prepare the Tools and Materials
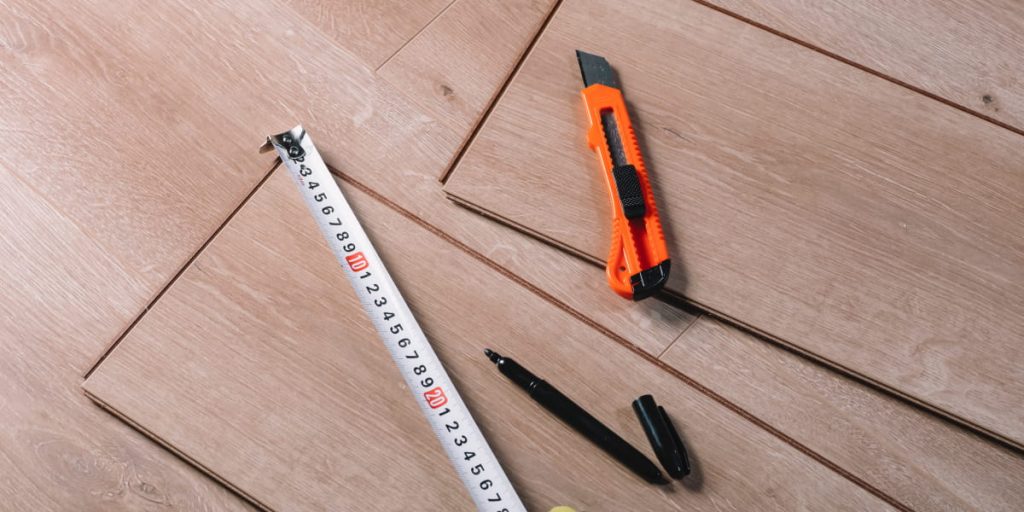
Not many tools are needed for marking, trimming, and installing laminate flooring. Most tools are either readily available or inexpensive. In addition to the tools, you will need some consumables. Here is a complete list:
- a five-meter tape measure;
- a pencil;
- a carpenter’s square;
- compass;
- sharp knife;
- hand hacksaw with a fine tooth or electric jigsaw, circular saw;
- hammer or mallet;
- chisel;
- feather drills;
- drill or screwdriver;
- hole punch;
- laminate staples;
- a scaffolding bar and wedges (pieces of laminate can be substituted);
- laminate;
- carpet pad;
- a vapor barrier (if necessary);
- skirting board with fittings;
- transitional thresholds;
- glue;
- duct tape;
- masking tape.
Prepare the Subfloor
Before proceeding to the following tips on installing laminate flooring, you must prepare the floor. The subfloor for the laminate flooring must be perfectly flat. Otherwise, the loads will gradually fall off the locks and lamellae. Manufacturers allow no more than 2 mm differences on 1-2 m.
Requirements for variation relate to the overall surface plane, not the horizontal. If the floor is without bumps and holes but has a slope in some direction, this will not affect the quality of laying.
Check all the boards for sags and creaks before you lay your laminate floor. Make sure that the subfloor variances are within acceptable limits. If not, level the floor with a squeegee or apply a layer of plywood. If necessary, reinforce the floor with self-tapping screws and replace bad areas.
- Concrete Flooring
Clean up chunks of plaster and buildup up the screed. Check the height differences. If they are more than 2 mm, level the surface with sanding, filler flooring, or extra screed. Wait until the concrete is arid. Vacuum or thoroughly sweep the floor to remove all dust.
- Linoleum
Check the differences in the subfloor. The floating floor installation can be laid directly on the linoleum if they are within acceptable limits. If not, it is better to dismantle the coating completely. Additional waterproofing is not necessary when laying on linoleum.
Install a Vapor Barrier
Since laminate is not 100% resistant to moisture, it is necessary to prevent water from getting into the lamellae before installation of the floating floor. It is not relevant for a wooden base or linoleum, but a vapor barrier is mandatory when installing concrete screeds.
As an insulating layer using special membranes or ordinary polyethylene film with a thickness of 200 microns, you can do without a vapor barrier in the case if the substrate under the laminate has such a layer.
Lay the insulation with overlapping strips of 20 cm and connect the joints with scotch tape. The panels should be perpendicular to the direction of the substrate, and that, in turn, to the laminate. If the carpet pad is laid from the front to the back wall, the carpet pad should go from left to right, and the vapor barrier should be installed the same way as the laminate.
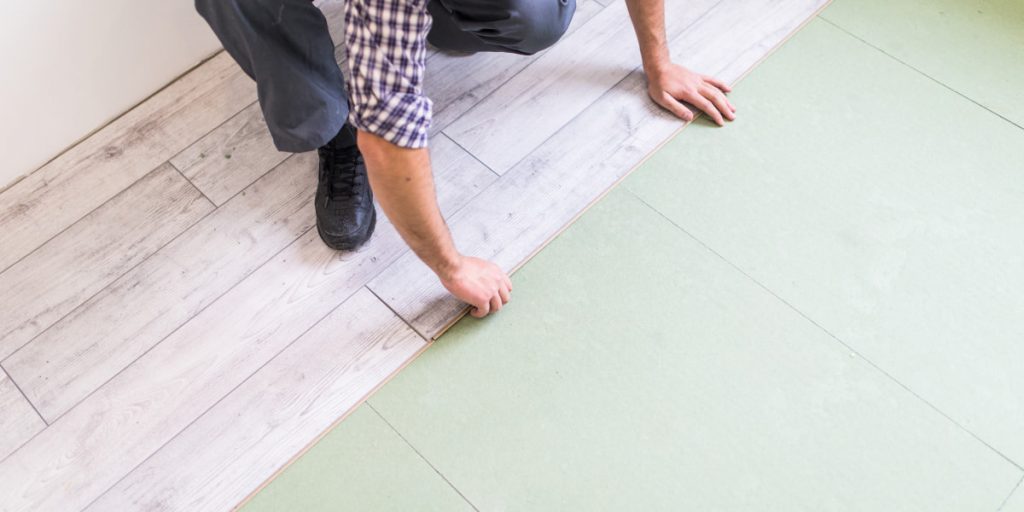
Install an Underlayment
Another tip for installing laminate flooring is to make an underlayment. Lay a layer of underlayment on the subfloor. Connect all sheets or strips and secure them with tape. There is no need to overlap, as this will create unwanted overlaps.
Next, when installing the laminate, be careful not to move the subfloor. To do this, you can lay it not on the floor’s entire surface but in parts.
Install the First Row
So, the most complex and responsible thing about DIY installing laminate flooring is to install the first row. All subsequent ones will copy the first one, so it is important to lay it along the wall. Otherwise, the pattern will unfold, and the floor will look ugly.
- Inspect the laminate locks and remove any small debris or dust from them.
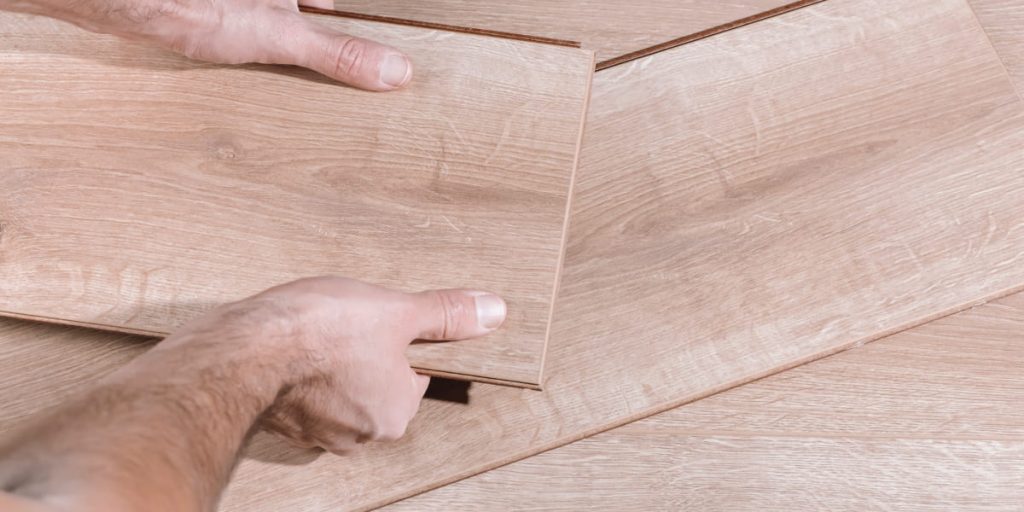
- Cut off the first board’s lock on the short side and lay it on the floor. Insert the second board into it at a slight angle.
- Align the lamellas to the width and lower the second board by snapping the lock.
- Place wedges at each wall to maintain an expansion gap. These can be cut from pieces of laminate.
- Lay the first strip of laminate entirely in this way.
- Do not trim the last piece of laminate, but overlap it now.
- Mark the length of the last board, trim it, and lay it in position. Don’t forget: it must be no shorter than 20-30 cm.
You can use a regular saw if you need to cut some of the edges. You can see how to cut the laminate here.
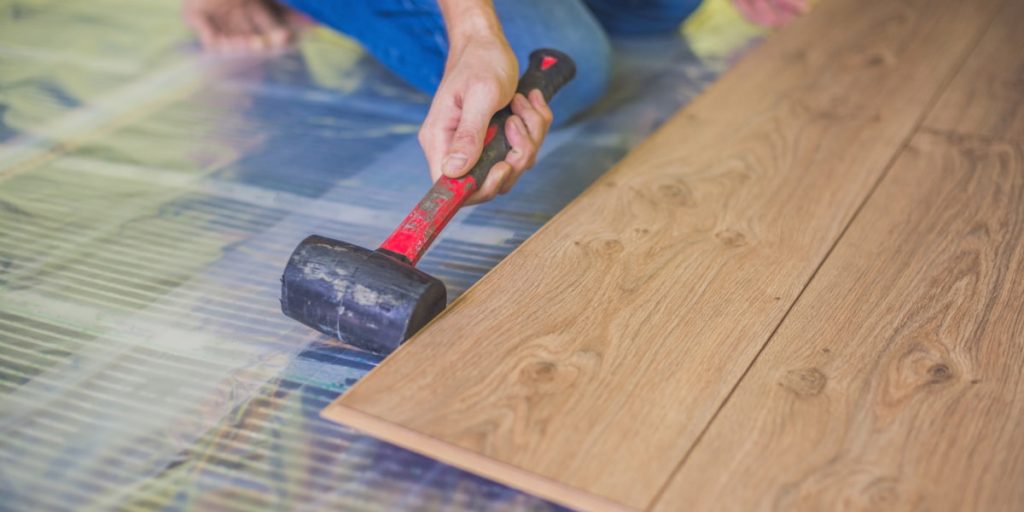
Lay the Remaining Rows

Continue installation of the following rows of floating flooring similarly. Join the lamellas on the short side in one strip, then install it in the previous row and click it. Use the leftover piece to start a new row as a saving measure.
Cut the slats of the last row to the desired width, assemble them into a single strip, and finish laying. You may need a Z-bracket to snap them together.
Do not forget: most types of laminate come in an arbitrary pattern, and it is unlikely to match the lamellae one to another. It is unnecessary: it will look too artificial and like linoleum.
You should install the laminate from the same pack to match the design. But some manufacturers have a laminate with a selected pattern. It is usually indicated on the packaging and in the instructions.
If you plan to install your laminate flooring in a row, open three or four packages and take one lamella from each. It will make the pattern as random as possible.
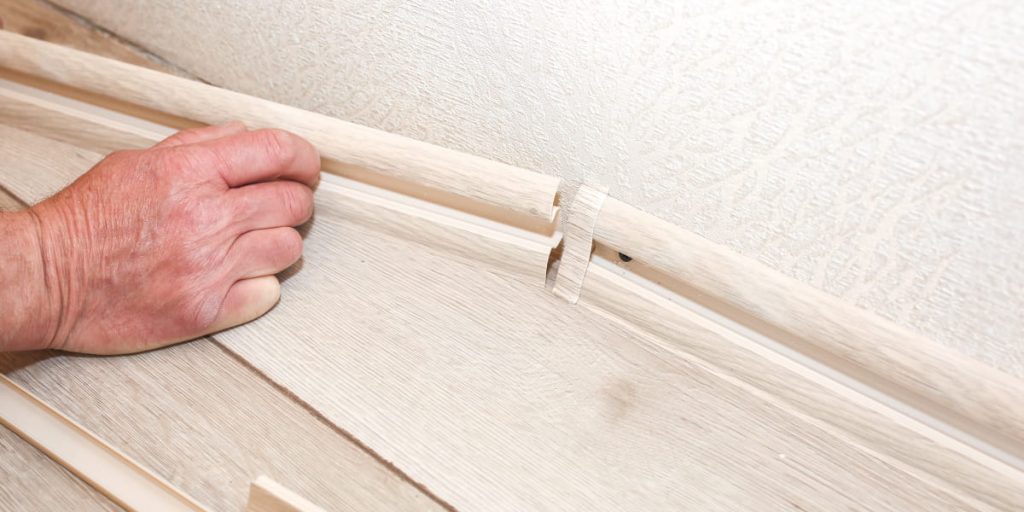
Install Thresholds
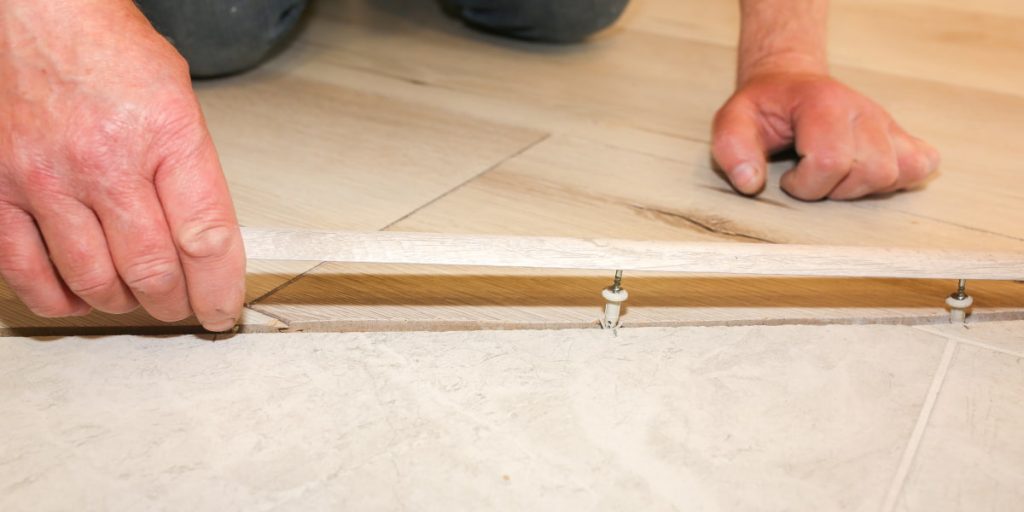
Following our tips for the installation of a floating floor, you must also establish thresholds. There are several types of thresholds. In addition to appearance, they differ only in the mounting option. Some are held on through dowels, others are hidden, and others have a particular tab attached to the floor on screws and the front part of the latch.
The nuances of installation of this or that threshold type are always indicated on the package. In general, the procedure is as follows:
- Measure the necessary length of the threshold and cut off the excess part.
- Distribute the fasteners evenly across the entire width of the opening.
- Drill holes according to the marks with a hole punch.
- Fasten the threshold by inserting screws into the groove or through the embedding.
- If not through, tap the threshold through a soft spacer until it is fully seated.
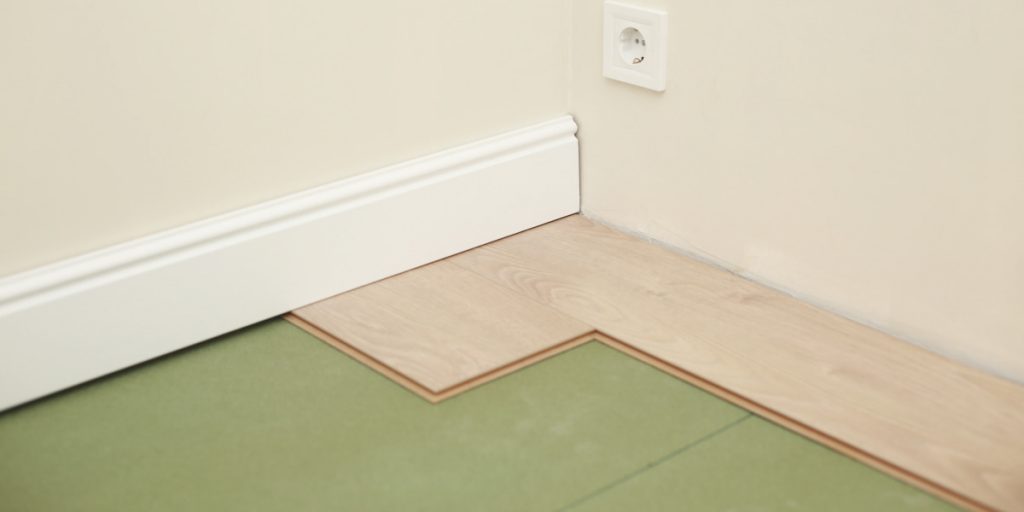
Install Baseboards
The last part of installing laminate flooring will be installing baseboards. Baseboards also come in various options: plastic, MDF, or wood. The installation of all baseboards is done in approximately the following way:
- Measure all sections of the wall and cut off the necessary pieces of baseboards.
- Drill holes in the wall directly through the baseboard with a hammer drill at a distance of 50-60 cm. If you are using mounting brackets, install them in the same way.
- Run the cables and put them on the corners.
- If the length is long, connect the strips with special connection inserts.
- Install plugs on the cable duct if they are provided by design.
You have learned how to install laminate flooring with your own hands. It is an excellent material that is easy to care for. It will last a long time and will not lose its presentable appearance.
If you liked our tips on installing laminate flooring, share them with your friends on social networks!
FAQ
How to install a floating floor?
The installation of a floating floor is not complicated and does not require special skills. First, install the subfloor by taping it together, then start laying the laminate from the first row, following the pattern if necessary. Install the laminate tightly by clicking the laminate together. Once the laminate is entirely laid, install thresholds and skirting boards.
Is it challenging to install laminate flooring?
No, the installation of laminate flooring is not complicated. You can do it yourself with some essential tools and a little patience. We have put together a step-by-step guide to help you through the installation process.
Can I install laminate over an existing floor?
Yes, you can install laminate over an existing floor, provided the surface is level, clean, and dry. If you are installing over an existing vinyl or linoleum floor, you may need to use a vapor barrier to prevent moisture from damaging the laminate.
How do I clean my laminate floor?
Laminate floors are straightforward to care for and can be cleaned with a damp mop or cloth. You can also vacuum the floor with a soft brush attachment to remove dirt and dust. Avoid using harsh cleaners or abrasive pads, as these can damage the floor.