Published on December 28th, 2022
Last updated on February 3rd, 2023
How To Install Rain Gutters: Full DIY Guide

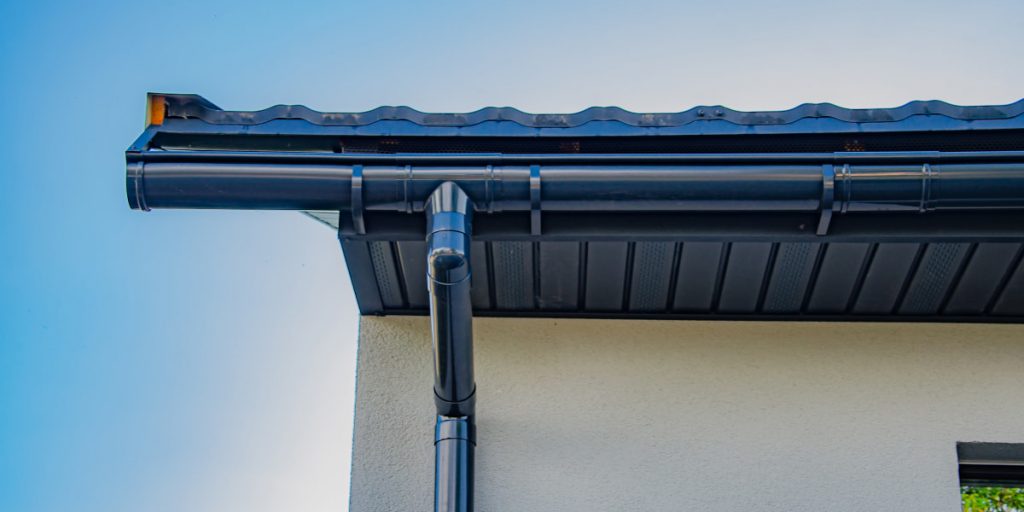
A rain gutter collects rainwater from the roof of a building and disposes of it through a downspout. The main purpose of rain gutters is home protection from water damage. It works by diverting water away from your home’s foundation. If you live in an area with a lot of rainfall, then you know that water can cause severe damage to your home. To avoid this, you should correctly divert water and know how to install gutters. Without them, the water would pour down the side of your house, seep into the ground around your foundation, and cause cracking and other damage over time.
Gutters can help protect your home, so you should consider installing one. In our article, we will tell you how to install gutters efficiently without mistakes. Read this article to the end, and you will learn:
- How to measure a roof.
- What tools you will need.
- What steps you will have to go through to install the gutter.
Mounting Gutters Easily

When fall is upon us, it’s high time to prepare our homes for winter. A vital step in weatherproofing your home is to ensure that your rain gutters are in good working order.
Gutters are essential in protecting your home from water damage by channeling rainwater away from your foundation and directing it to a safe location. If you don’t have gutters or your existing ones need repair, now is the time to take action. This guide will show you how to install rain gutters to keep your home dry all winter long.
Tools and materials needed:
- Tape measure.
- Drill.
- 1/8″ drill bit.
- Level.
- Ladder.
- Gutter brackets.
- Gutter screws.
- Downspout elbow.
- Crescent wrench.
- 10′ section of downspout pipe.
- Rain gutter end cap.
Once you have all the necessary tools and materials for the job, you can start installing a rain gutter. The installation procedure will be quite simple, but it can take about 8 hours for beginners.
It is also worth noting the cost of the procedure. On average, you will have to spend about $6 per linear foot. Now let’s look at the detailed procedure for installing the gutter.
Step 1 – Measure and Mark the Placement of Your Gutter Brackets
Start at the corner of your house. Use a tape measure to determine the distance between your roof’s edge and your fascia board’s edge. Mark this measurement on the outside edge of your fascia board at each corner of your house. These marks will indicate where to drill pilot holes for your gutter brackets.
Step 2 – Drill Pilot Holes
When mounting the gutter, use a drill and a 1/8” drill bit. Create pilot holes at each mark on the fascia board. Be careful not to drill through the board – you just want to create a starter hole for your bracket screws. Drill a total of four pilot holes, one at each corner of the house.
Step 3 – Affix Gutter Brackets
Ask for help to hold the gutter in place. Align the pre-drilled holes in the gutter bracket with the pilot holes in the fascia board. Screw the bracket into place using 1” gutter screws and a drill. Repeat this process until all four brackets are securely mounted to the house.
Step 4 – Hang Gutters on Brackets
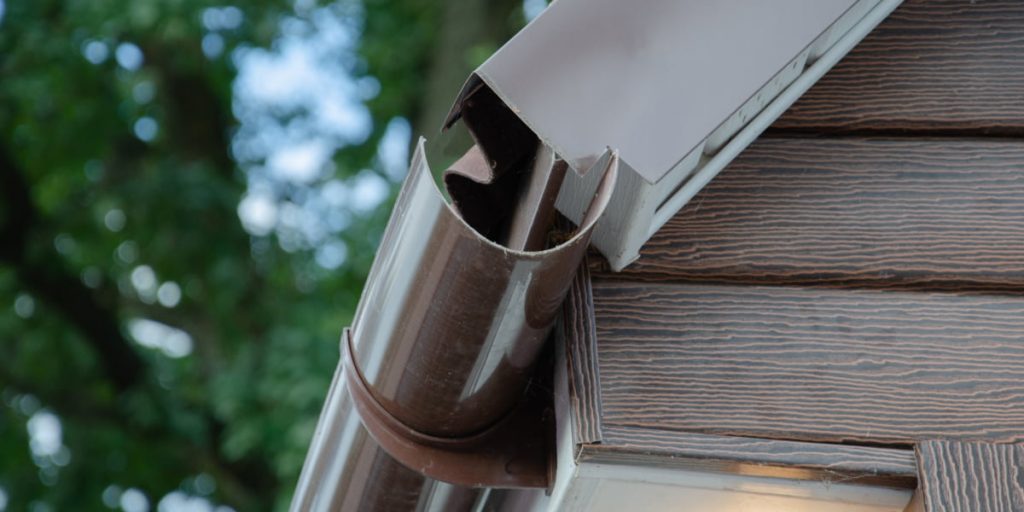
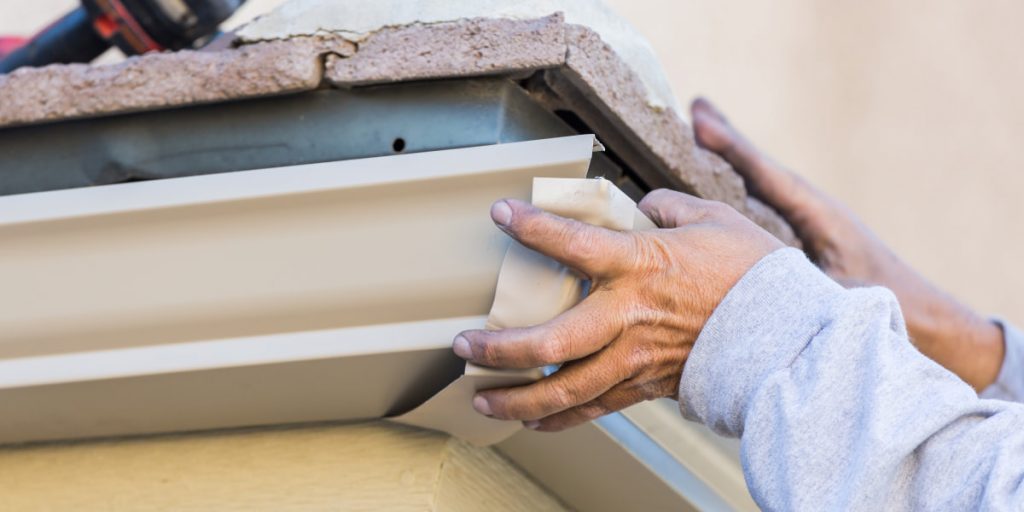
With all your brackets affixed, it’s time to hang your gutters! Starting at one end of the house, gently lift the gutter and insert it onto the front lip of the first bracket. Tilt the gutter slightly, so that water will be directed towards the back edge of the second bracket, then push it onto that bracket until it snaps into place. Repeat this process until all gutter sections are hung on all brackets. Now we can get to connecting gutter downspouts.
Step 5 – Attach Downspout
Once rain gutters are installed, it’s time to connect gutter downspouts! Begin by attaching an elbow joint to one end of a 10-foot downspout pipe. For this, use sheet metal screws and a crescent wrench. The other end of this pipe should be inserted into one end of an elbow joint connected to another 10-foot section of pipe.
You should install a second section to drain water from your foundation. Ensure water goes into a safe location, such as a storm drain or retention pond.
Finally, use sheet metal screws and a crescent wrench. Attach an end cap to the open end of this second section of the pipe. At this point, you may need to use a ladder to attach the pipe to the gutter. Ask a helper to hold the pipe steady while you secure it using 1½ sheet metal screws.
When Should You Call a Specialist for Rain Gutters Mounting?

Rain gutters are an important part of protecting your home from water damage. But installing this type of structure can take a lot of time and effort. In case of a lack of knowledge and skills, you can only damage your home. To prevent this, you need to hire a professional. Let’s take a look at the benefits of hiring a professional for rain gutter installation. And let’s consider when it makes sense to do so.
There are several benefits to calling in a professional for rain gutter installation:
- Professionals have experience and knowledge. This can make the job simpler, faster, and more reliable than if you were to attempt it yourself.
- Also, many professionals offer warranties for their services. If something goes wrong after installing gutters on the house, you can be sure you’ll lose money.
Call in a professional when there are doubts about your ability to work with such projects. Even if you’re comfortable with DIY projects around the house, installing rain gutters needs specialized tools and skills.
A professional installer knows exactly not only how to install gutters but also how to measure and cut pieces of material. They know which materials are best for your particular climate and home structure. It’s something that is difficult to determine without proper training or experience.
Conclusion
Installing gutters on the house is straightforward. It can help protect your home from water damage. It doesn’t require a lot of tools or the need to hire professional contractors. Follow these instructions on how to install gutters and complete the project in no time. With suitable materials and some elbow grease, you can ensure your roof and home are adequately protected from water damage caused by heavy rainfall.
Once installed, take proper care of your rain gutters by regularly clearing them of debris like leaves and twigs. Also, don’t forget to clean your roof regularly. This will ensure they function correctly for years and keep your home safe during storms. If done correctly, installing rain gutters can be an incredibly rewarding DIY project for any homeowner looking to improve their home.
FAQ
How easy is it to install rain gutters?
This procedure is quite simple. However, it requires a small amount of preparation time. And you will also have to spend several hours on the procedure.
How often should I inspect my gutters?
We recommend inspecting your rain gutters at least once per year. This way, you can ensure they are in good condition. This will help you identify any areas of wear or damage that may need to be addressed. Additionally, it is important to keep them clear of leaves and debris throughout the year. It will ensure proper water flow.
Are there any maintenance requirements for my rain gutters?
If you notice any areas that need repair, it is best to take care of them immediately to avoid further damage. We also recommend inspecting the hangers and spikes. Ensure they are steady and not rusting.
How much should I expect to pay for new gutters and installation?
The cost of materials and work will vary depending on the type of gutter material used and the size of your home. You can expect to spend anywhere from $2-6 per linear foot for premade sections. But you will have to pay extra fees for installation.
What can I use instead of a rain gutter?
Rain chains are practical and aesthetically pleasing. They gather rainwater from the roof and route it into underground storage facilities. They come in a wide range of styles and dimensions. So you can almost always find something that will fit in your room.


