Published on October 5th, 2022
Last updated on February 6th, 2023
How To Make Blackout Curtains: DIY In 6 Steps
Estimated reading time: 7 minutes
It is not necessary to contact a sewist to make dark curtains for your windows. It is an easy task that each of you can handle. So, to make blackout curtains, you need:
- determine the correct measurements of the curtains;
- choose the shade you want;
- stock up on the necessary tools;
- sew everything according to the markings that you need to draw.
Curtains are an essential part of the interior. However, sometimes your room can be on the sunny side, which contributes to direct sunlight. And since not everyone likes bright rooms, ordinary curtains should be replaced with blackout curtains DIY. They can stop all sunlight from entering, making your room dark. It is ideal for small children who need a dark space to sleep peacefully or for people who sleep during the day. And the most important thing is that you will need only a couple of hours to make them yourself.
Making Blackout Curtains: 6 Steps
Window treatment with curtains gives the room a better look. And it doesn’t matter what color they are because the curtains create a contrast in the room, even if they are black. However, buying new blackout curtains can be an expensive pleasure. So, many homemakers decide to save money on the services of tailors and do them on their own. For this, it is enough just to buy a suitable fabric and follow the next steps:
1. Prepare The Tools
Before making DIY blackout curtains, you must prepare all the necessary tools. You will need:
- Measuring tape. To measure the dimensions of curtains, linings, and windows;
- Black lining. The most important thing because it blocks light from entering the room;
- Scissors. To cut the fabric into pieces and cut off the excess;
- Sewing machine. To sew ordinary curtains and black lining;
- Iron. To iron the curtains so that they look better and are easier to work with;
- Threads and pins. Exactly with these things, you will fix your work.
Instruments make our work easier. Therefore, with the help of the listed prepared tools, you can do everything much faster.
2. Choose Material For Sewing
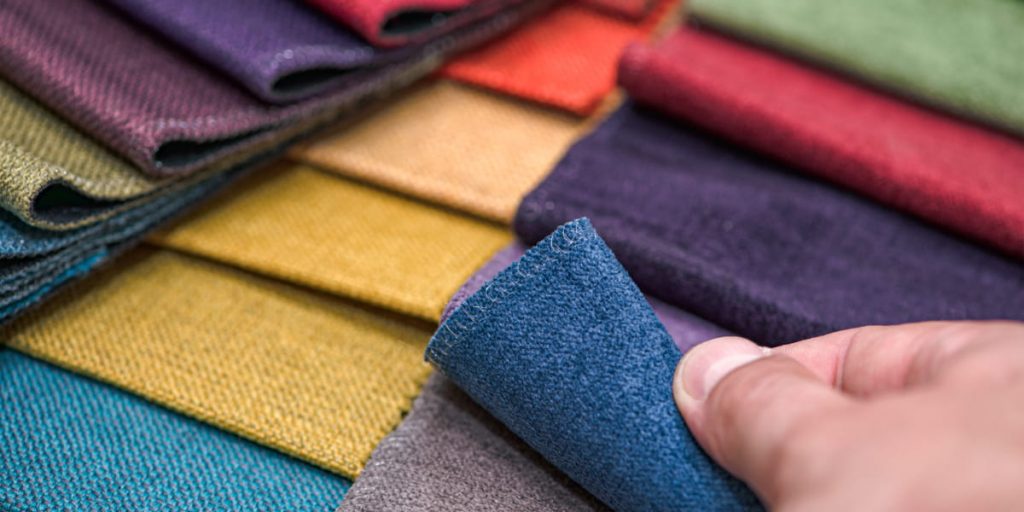
When choosing the appropriate blackout curtain material, you need to consider the room for which the curtains are intended:
- Children’s room. You should choose curtains made of natural fabrics for this room;
- Bedroom. The fabric should be thick so that the curtains help darken the room at night and during the day, for example, velvet or silk;
- Kitchen. Linen and cotton are better suited here because they are easy to wash and do not absorb odors.
And one more thing you should pay attention to when making a DIY blackout is shades. They protect the room well from the sun’s rays. Choose anything from black to dark blue or brown.
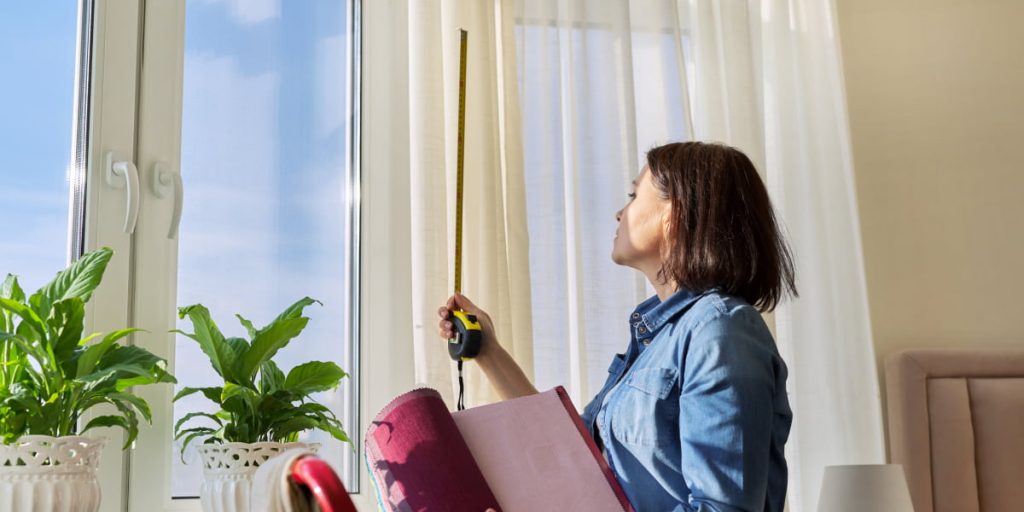
3. Measure The Fabric
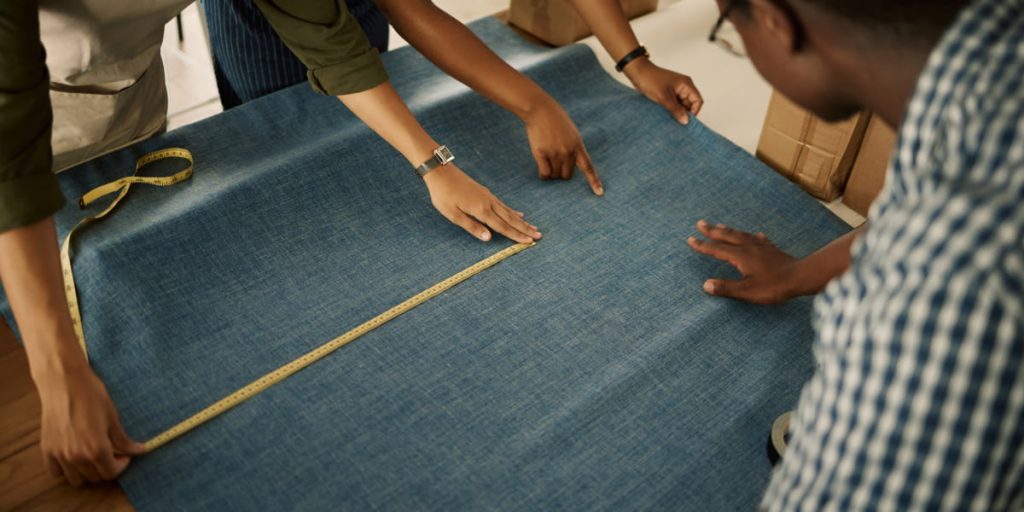
The following important stage is the size. Using a measuring tape, you need to determine the length of the blackout curtains and their width. But remember that the lining measurements should not be the same as the curtains and have a margin. So, make blackout curtains according to the following parameters:
- Window. First, measure the window and determine how far the curtains will extend beyond it;
- Width. The distance equals the width of the cornice multiplied by 2 for the left and right halves;
- Length. The distance from the cornice hooks to the floor or the battery. You can add another 10 cm to the size if you want the curtains to provide further contrast to the room.
Once you’ve marked your measurement lines, you need to add 8 inches to each measured side. It is done so that your DIY blackout curtain has enough material if you cut something wrong.
4. Fold The Fabric

To get the most professional result of DIY curtains, you need:
- Bend the bottom edge by approximately 5 cm, the side edges by 4 cm, and iron it;
- Bend the lower edge of the curtain once again, now by 8 cm, and iron again;
- Repeat the first and second steps with the lining fabric: bend its lower edge by 2 cm, iron, bend by 8 cm, iron.
If you do not know why you need to iron the blackout curtain material, it is so that the material will be even, and your measurements have no different lengths.
5. Sew Everything Together

Once you have attached the lining to the central part of the curtains, you need to sew all the edges:
- Fold the main and lining fabric with the front sides inward, placing the upper line of the lining 1.5 cm below the main line;
- Wrap the allowance of 1.5 cm of the main fabric, covering the upper edge of the raw lining, and sew it with a sewing machine;
- At the bottom edge of the curtain, make a double hem of 5×8 cm and sew it;
- Also, make a double hem of 6×6 cm on the lining so that it is shorter than the main fabric by 2 cm. Stitch on a sewing machine.
It is worth noting that when you sew a blackout curtain, do not tighten the thread on the material too much because the fabric may wrinkle.
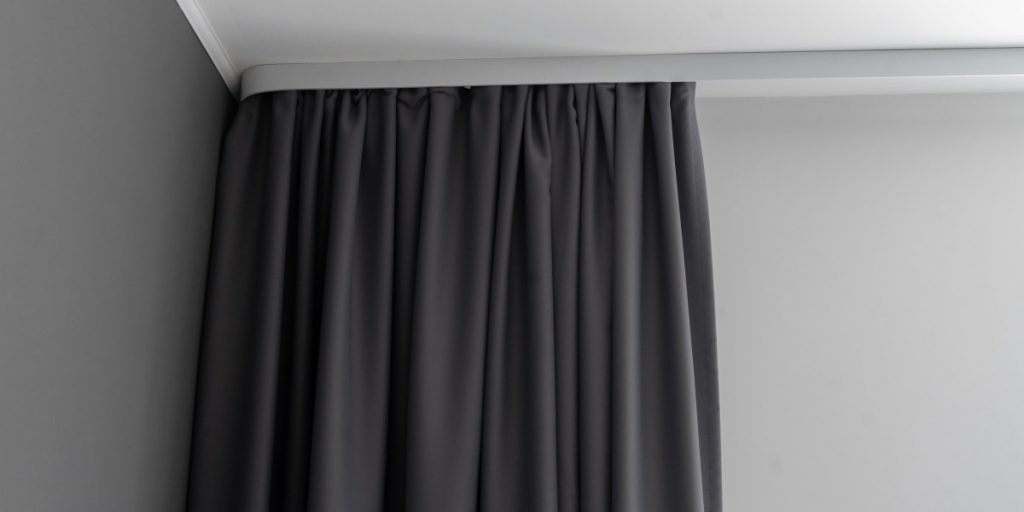
6. Hang On The Cornice
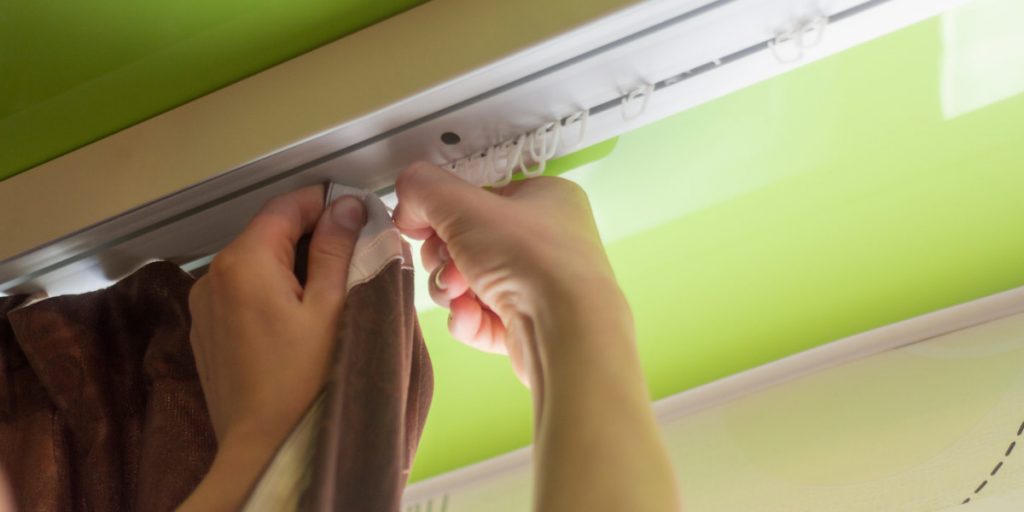
Now that everything is ready, you can hang your curtains on the cornice. To do this:
- You can make holes in the upper part of the material and slide them onto the rod;
- Or another option may be to attach curtains to the crossbar of the cornice.
The main thing is not to rush and, before that, iron the curtains, so they are even and good-looking. Check that there are no extra threads from sewing and that everything is securely sewn. And after it, you can hang the curtain rods and enjoy your new DIY blackout shades.
Summary
As you can see, it’s a straightforward task. You can make blackout curtains at any time using sewing tools. It can refresh the look of your room and protect the space from bright sunlight. Such work does not require much effort. For some, it even brings pleasure. So don’t be afraid to try something new and do it yourself.
FAQ
How To Make Blackout Curtains?
Ensure the curtain covers the window from one side to the other. After determining the measurements, place the blackout fabric on top of the curtain fabric. And then just make a fold of fabric (lining) that needs to be sewn with a sewing machine.
What Material Do You Use To Make Blackout Curtains?
Thick microfiber is most often used for blackout curtains. This fabric does not transmit light at all. Also, curtains can be made of polyester and cotton, but linen, compared with such materials, is better suited for black curtains.
Do Dark Curtains Make A Room Look Smaller?
Blackout curtains can really make your room look smaller. But this is only if your room is undersized and has low ceilings. If you have a spacious interior, blackout curtains will not affect the size of the room.
How To Sew Blackout Curtains?
Measure the size of the curtains. To speed up the process, you can sew a black lining to your curtains. After it, you need to iron everything, and that’s it. You can hang the curtains on the cornice.