Published on February 22nd, 2023
Last updated on February 22nd, 2023
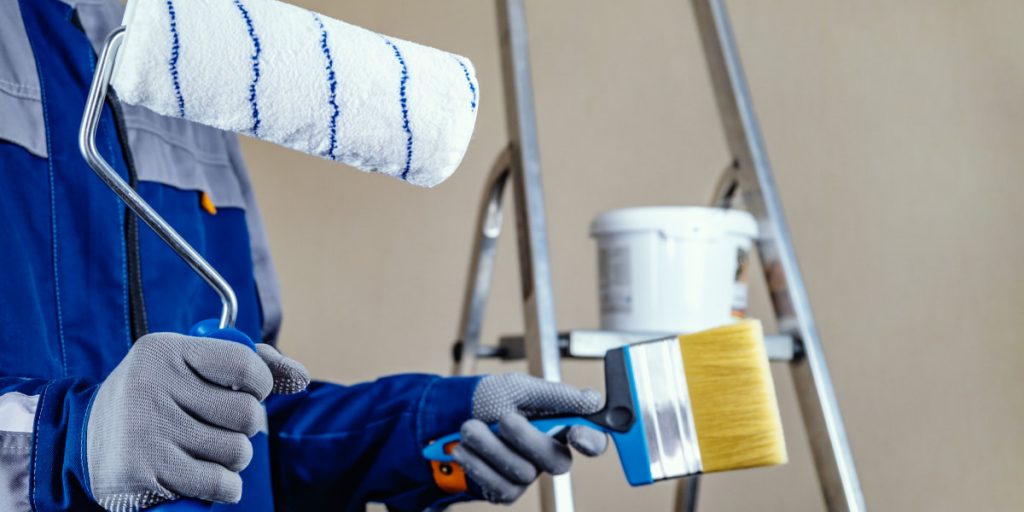
How To Paint Wood Trim: Best, Fast And Easiest Way
The beautiful color of your interior finishes plays a key role in your home’s appearance. By choosing the right color, you can create more comfortable living conditions. But all work is not limited to the choice of color. Painting the interior trim of your home requires some skill. And also you will need a set of materials for work.
Our article will describe the most effective and fastest way to paint your interior finishing. We will also give you some valuable tips on painting trim. With our short and informative guide, you can achieve excellent results without the involvement of a specialist.
What Is The Best Way To Paint Trim: The Materials
Before you paint your wood trim, you must assemble all necessary components to complete the job. Among them:
- Personal protection of the face and hands;
- Old clothes;
- Brush;
- Primer;
- Paint;
- Sandpaper (grit 120, 80);
- Sealant gun (optional);
- Putty;
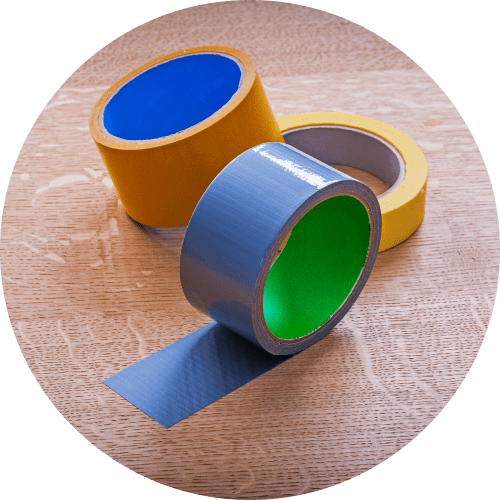
- Duct tape;
- Old rags/clothes;
- Varnish for paint.
Extra tip on painting trim! Remember that the procedure for painting your surface involves spending a lot of time. Thus, consider this and prepare a place for spending the night in advance. You need to think through everything to the smallest detail. If you have animals or children, you’d better send them to your immediate family or friends. So they are safe from the influence of acidic substances in the paint.
1. Grinding

Don’t know how to paint wood trim? Before painting the trim, you should sand the entire surface. If your wood surface is smooth, you must use more gentle solutions. You can use 120-grit paper for this. If your surface is rougher, 80-grit sandpaper will work. After you have sanded your wood surface, you will need to go to 120 grit anyway and sand the wood again.
Be careful with your best way to paint baseboards! If your home was built before 1979, your paint might contain lead. In this case, you need to contact the public health department. You will get the instructions on how to proceed. So you can not harm your health.
2. Fill Holes With Putty

According to our most straightforward way to paint trim, use a two-component putty. You must mix the component and then apply the mix to your dents for the procedure. Because putty can dry out and shrink over time, you must apply an extra layer.
Clue! You can shine a light on your surface to make spotting dents in your wood easier. This way, you can see all the dents on your surface and unmistakably cover them.
3. Sealant For A Seamless Result

Many novice homeowners may not be aware of this life hack when they want to use the easiest way to paint the trim. But this method helps to achieve stunning results. You must go over all the cracks with the sealant and apply the product in long lines.
Do everything quickly. So you will make smooth contour lines. Try to do everything so that the sealant does not smear on the surface of your wood.
4. Prepare The Surface
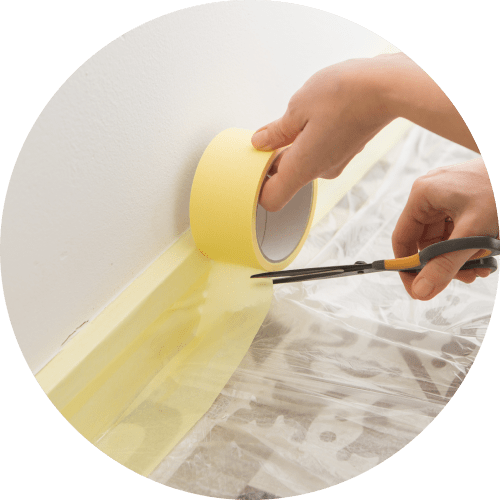
According to our fastest way to paint trim, you must use old rags and tape. You need them so your room is clean and the paint doesn’t go where you don’t want it to. To do this, you need to lay old rags on the floor. And also, stick your tape on the contour above the surface of your trim.
So you can safely apply paint without fear of staining other surfaces. For better adhesion of the adhesive tape to the surface, you need to squeeze with a spatula around the perimeter of the tape. You can also use one long strip of tape instead of small pieces. This way, you can avoid small holes in the tape that paint can seep through.
5. Apply Primer

Before the fastest way to paint trim, apply a primer coat. Apply a primer to your prepared wood and wait 24 hours. After this time, check if the primer is dry. If you see bare wood areas after this, apply an extra coat of primer.
After completely drying, you need to clean the surface lightly. To do this, use 120-grit sandpaper. This way, you can remove all unnecessary areas with prime, old paint, and debris.
Then wipe the surface with a damp sponge or cloth. This will help remove any debris you don’t want to stick under the paint.
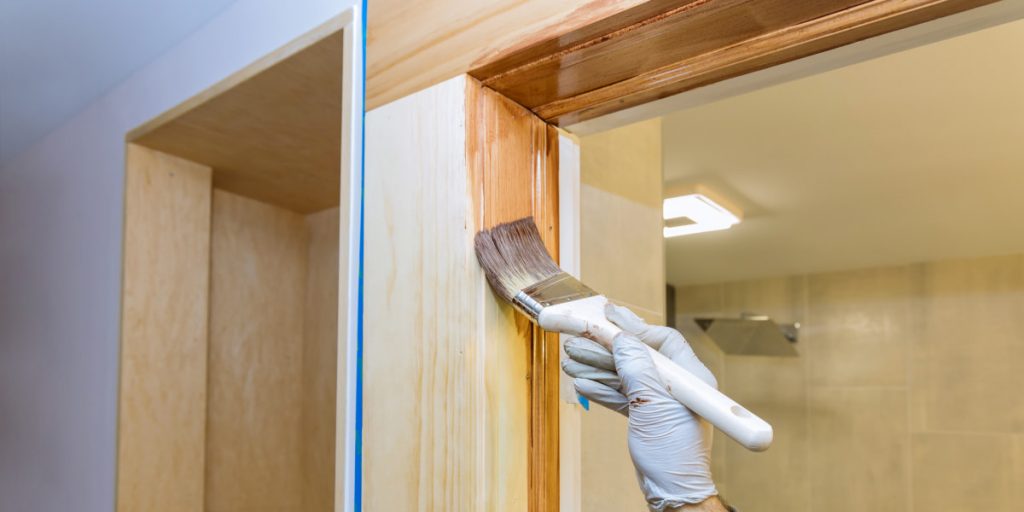
6. Paint Wood Trim
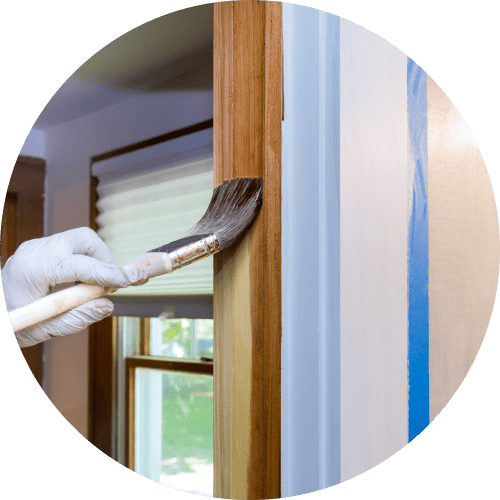
Now it’s time for the final step in painting the wood trim. In this step, you need to apply the paint in light brushstrokes.
“What is the best way to paint trim?”, you may ask. Everything is simple. It is important to paint a small gap in the trim carefully. Once you’ve painted a few feet, brush over the paint. This will help you spread the paint evenly across the surface. You can then move on to the next part of your finishing. Do this until the entire surface is painted.
7. Fix The Result With Varnish
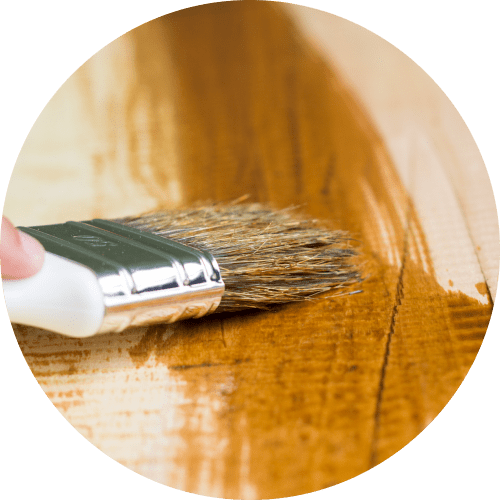
After the painting procedure, you need to fix your final result. This way, you can make your wood finish look as attractive as possible for years to come. After painting the wood, you need to use paint varnish.
Tip! Ensure you have the right amount of surface polish. So you can do the varnishing procedure in one go, and you will not need to go to the store for an extra one.
8. Removing The Tape
After you ensure the entire surface is painted and dry, you can remove your tape. To do this, gently pull on one end of the tape and remove it all.
Once you are done, wipe the entire surface with a damp cloth and enjoy the result.
Precautionary Measures
According to the “What is the best way to paint trim?” article, you should also consider precautions. When working with toxic materials, it is vital to be careful. Toxic fumes can lead to severe poisoning. And in the long run, treatment costs can far outweigh the benefits of home painting the wood material. That is why taking all precautions and protecting yourself and your loved ones is important. During work, you need to wear a respirator. With it, you can filter the air and not inhale paint fumes. Opening your windows in the room is also recommended to create ventilation.
As for your children or pets, you need to isolate them from the working room. At best, you can send them to your relatives and friends. If you do not have such an opportunity, you need close access to the working area. Only in this way can you protect them from toxic fumes.
How To Paint Wood Trim: Common Mistakes
During the procedure for painting wood finishes, many can make mistakes. Such mistakes are often not critical, but they significantly reduce the duration of the result. And some of these mistakes can even bring undesirable results. Let’s take a look at the popular mistakes people can make when painting wood trim:
- Not applying varnish. After the procedure, several paint varnish layers must be applied. This way, you can securely fix your final result, and the paint will not peel off after a few years;
- Wrong paint. The choice of paint directly affects your final result. You need to choose the right paint for your wood. Before buying it, be sure to consult with a specialist in a hardware store;
- Wrong paint primer. The paint primer also plays an important role. You need to choose a primer that will be compatible with your paint. Otherwise, you may get an unreliable result and peeling of the paint;
- Bad sanding. Sanding is a key aspect of surface preparation before painting. So, with the help of grinding, you can achieve a smooth and clean result. And your paint will lie perfectly on the surface and will not peel off;
- Poor rinsing after sanding. After sanding, it is important to walk over the surface of the wood several times with a damp cloth. With it, you can erase any debris you would not like to have under a layer of paint. If you don’t, you risk not getting long-term results;
- Not repairing wood damage before painting. You need to have the wood repaired before painting. This directly affects the final result. If you don’t fix the surface, you risk getting poor-quality paintwork and cracks in the wood.
If you follow the rules of painting, your result will be as close to professional as possible. And most importantly, you will spend much less money on a home procedure without a specialist.
Why Do You Need Painted Interior Trim?

In fact, painting finishes can be beneficial in several ways. Let’s look at some of them:
- Improvement in appearance. By painting the interior decoration, you can achieve the effect of freshness. This way, you can update the look of your room and highlight the important details inside. It can help you psychologically as well. With a new look for your room, you will create a new atmosphere in your home;
- Wood protection. With painted interior trim, you can extend the life of your finishing material. Paint is an extra protective barrier for wood. This helps protect the wood from moisture and damage;
- Hiding defects. Staining can help hide any knots, scratches, or other imperfections in the wood. And it gives it a smoother, more polished look;
- Suitable decor. By coloring the finish, you can ensure it matches your room’s color scheme and decor. This will help create a cohesive look.
Painting the finish can greatly improve the look and longevity of your home. This makes it a worthwhile investment.
Bottom Line
Now you know how to paint wood trim. As a result, this best way to paint baseboards can be quite an easy task if you know what to do and have the right tools for the job. And with our short guide, you can paint your interior trim without mistakes or problems.
FAQ
What is the best paint to use on interior wood trim?
It’s recommended to use high-quality, water-based, or oil-based paint. Latex paint is fast-drying, has a low odor, and cleans up easily with water. And oil-based paint dries to a hard, durable finish.
How do I prepare the wood trim before painting?
Before painting:
1. Clean the trim with a deglosser or lightly sand to remove any wax or grease;
2. Fill any nail holes or cracks with wood filler and sand them smoothly;
3. Apply a primer to help the paint adhere better and provide a uniform base for the topcoat.
How many coats of paint should I apply to the trim?
The number of coats depends on the color and paint used. For light colors, two coats are usually enough. But for dark colors, three coats may be good for full coverage.
Can I use a brush, roller, or sprayer to apply the paint to the trim?
All three methods can be great. But the choice depends on personal preference and the project size. A brush provides the most control and is best for intricate details. A roller is faster and covers large areas quickly. And a sprayer is ideal for large projects and can produce a smooth, even finish. But it requires some practice to master.