Published on January 26th, 2023
Last updated on February 7th, 2023
How To Repair A Water Damaged Ceiling? Step-by-step Guide
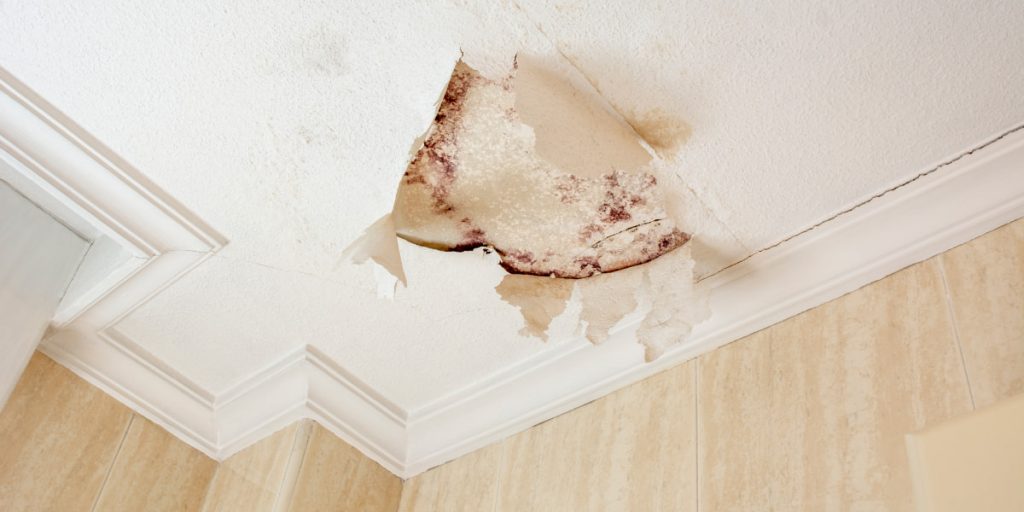
Water can get through about anything, making it a serious threat, especially in your home. Have you noticed a strange discoloration or, even worse, a sagging ceiling? You can be sure water is leaking into your home. A leaking roof can quickly become more than a minor inconvenience. Even after a roof repair, drywall on the ceiling can:
- rot;
- contribute to mold development;
- simply leave an unpleasant brown stain on the ceiling.
It’s important to take action immediately before your furniture or possessions are further damaged. One solution is to replace the water damaged ceiling completely. However, don’t worry that it can be expensive. We will tell you how to make this repair as unproblematic as possible. Fortunately, there is another solution. The following tips will help you repair a water damaged ceiling quickly and without the help of expensive professionals. The goal of our article is to tell how to repair a water damaged ceiling.
How to Fix a Water Damaged Concrete Ceiling?
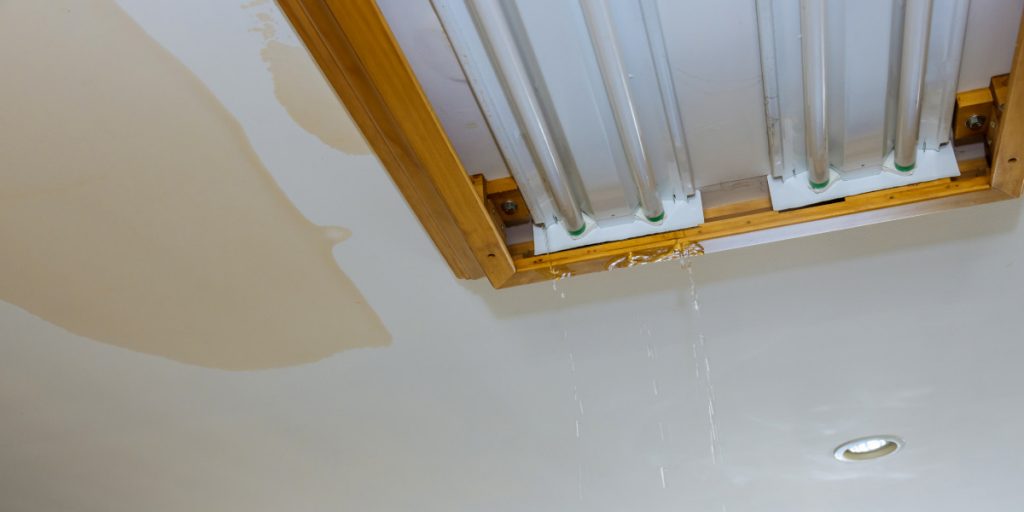
Carefully inspect the affected area and determine where the water is coming from. Drywall ceilings can absorb water. So there is a slight chance of dripping if there is no significant damage.
However, this is not the case with gypsum, which tends to hold water until it is absorbed and then released. In the latter case, it is best to make a small hole in the sagging ceiling to let the accumulated water out. Before doing this, ensure you have a bucket and that the floor is fully protected. Now you can move to repair the water damaged ceiling. Just make sure the situation is under control, and the source of the problem is eliminated. You need to prepare the following tools:
- trowel;
- ladder;
- safety glasses;
- primer;
- sealant;
- mud pan;
- sanding block;
- paints and brushes;
- clean cloth.
After purchasing everything you need, follow our instructions below to fix ceiling water damage.
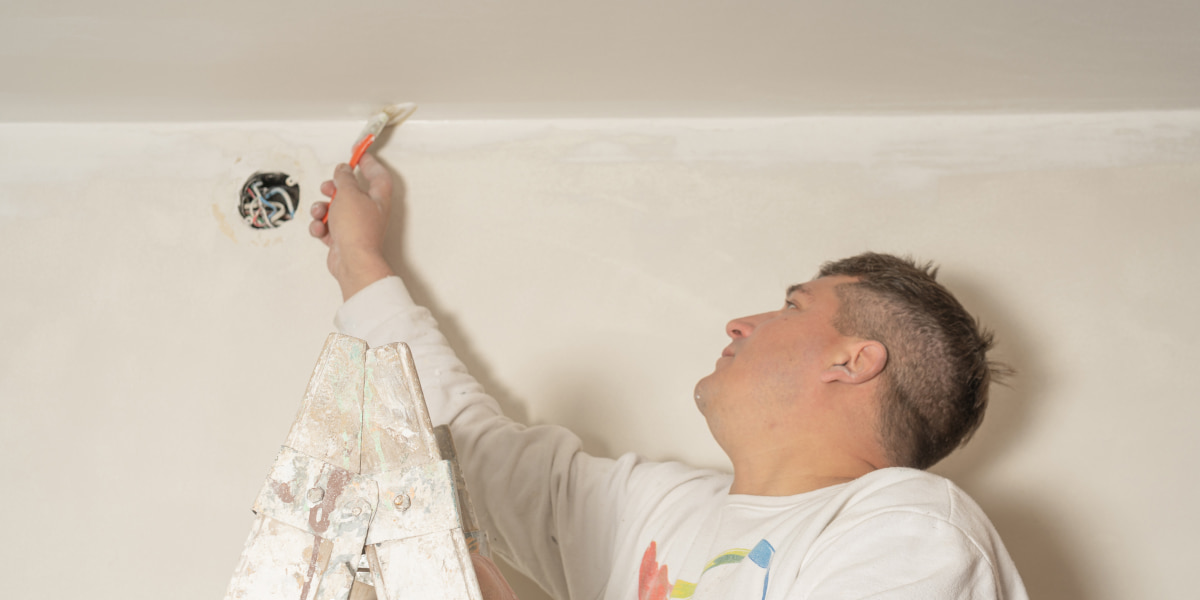
Step 1: Remove any damaged parts from the ceiling
Before you begin repairing, make sure the ceiling is dry. Start by removing water damaged cracked paint and plaster with a trowel. The surface should be entirely smooth for caulk.
Step 2: Caulk up holes and cracks
When the area is completely clean, you may notice cracks and even holes on. Mix the joint sealant in the drill pan and fill it in. Allow it to dry before moving on.
Coat the surface:
- apply one coat of primer;
- then apply putty;
- it needs about 10-15 minutes to cure;
- then you can apply another layer.
Step 3: Sand the area.
Once the mixture is completely dry, do the following for the water damaged ceiling :
- wear safety glasses and use a sanding block. You need to remove any imperfections on the ceiling;
- then moisten a cloth and wipe it to remove the dust;
- add another coat of primer;
- at the end, make sure you’ve covered the entire area.
Step 4: Finish with waterproof paint
Wait a little while for the primer to dry completely. Then you can start painting until the repaired area blends in with the rest of your ceiling. Now you know how to repair a concrete water damaged ceiling.
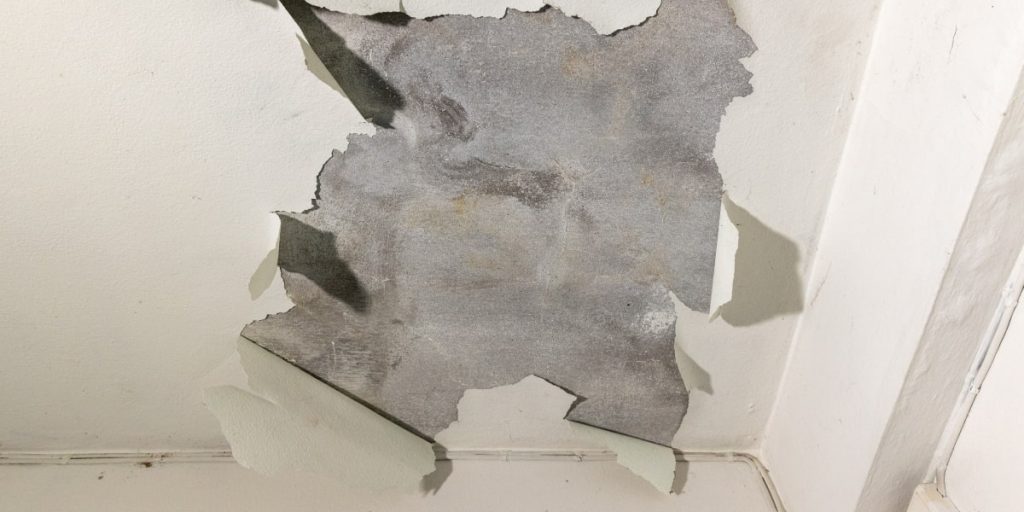
How to Repair a Water Damaged Drywall Ceiling?

Drywall is very porous and quickly absorbs water. However, joint sealant can fix minor damage in the form of cracks or holes. However, serious ones, such as softening or crumbling of the material and sagging of the ceiling, will need cutting and installing new drywall sheets. The complexity of the process associated with how to fix ceiling water damage, in this case, is that it is possible to determine where it occurred only after the drywall has been deformed.
Immediately after damaging, do the following steps:
- If there are wet spots on the surface, you should cut out this area so that the water does not collect under the ceiling and does not spread further.
- Bring a flashlight and a mirror to the resulting hole to assess the degree of presence of the liquid.
- You can tap on possible leaks. If the sound is muffled, you need to remove this area.
Extra things you’ll need to repair water damage ceiling:
- drywall sheets;
- drywall saw;
- measuring tape;
- drywall screws;
- mesh tape;
- universal knife;
- cordless drill;
- band saw;
- plywood strips;
- ceiling paint.
You need to remove any damaged parts that hang from the ceiling. Then follow our step-by-step instructions to restore the water damaged ceiling.
Step 1: Decide how much to cut
To make it easier, you can measure and draw to have a clear idea. Use a drywall saw to cut out all the damaged plaster.
Step 2: Cut the plywood strips
Then, you need to measure the hole size and cut the plywood strips accordingly. Leave a little extra on both sides for stability. Next, you need to:
- attach the material to the strips;
- place the stud in the hole;
- secure the drywall by screwing drywall screws into the wood with a drill.
You need to add new drywall. Carefully measure the hole and, based on this, cut a new piece of drywall from the sheet. Attach it to the wood with screws as well.
Step 3: Coat with joint sealant
You can follow these steps to fix ceiling water damage:
- mix a joint sealant, also known as mortar;
- apply some to the joints with a trowel, stroking back and forth;
- cover with drywall mesh tape;
- smooth it out with a knife;
- finally, spread the dirt over the entire area with a taping knife.
Next, you have to sand, reapply, and paint the surface. So your actions are as following:
- allow the material to dry;
- sand the area;
- then reapply.
Once the area is completely smooth and dry, you can move on to painting.
Step 4: Paint the surface of the water damaged ceiling
You do the painting in the usual manner. You need to apply several coats of paint to the entire surface. Do not forget to inspect the ceiling for defects and irregularities. In the end, leave it to dry in well-ventilated conditions.
Bottom Line
If water has damaged your ceiling, repairs will depend on many factors. In particular, the material used for the ceiling and what material you will use in the repair is essential. But now you know how to repair a water damaged ceiling. It is advisable to enlist the advice of experts in your circle of acquaintances. Since valuable tips and ideas will help you save money, time, and nerves.
FAQ
How to repair a tile ceiling?
To restore the tile surface, it is sufficient to remove the damaged elements, dry them and put them back in place or replace them with new products. The advantage of a tile surface is its moisture resistance. Polyvinylchloride panels also tolerate humidity well.
What are the peculiarities of stretch ceiling repair?
Stretch ceiling systems are the least affected by moisture. The film, stretched on the ceiling construction, can withstand the pressure of 100 liters of liquid per square meter. After draining the liquid, the only thing left to do is to dry it out. Over time the material will return to its original size and shape, and you should reinstall it.
How do you remove stains on the water damaged ceiling?
It’s best to use a putty knife for this. Mix the putty with water in a 1:3 ratio. Apply it to the damaged areas, smooth the seams, and seal cracks and breaks. The layer should be even at the level of the previous primer. Putty dries for a long time, about 2-3 days. After applying the solution, close all the windows in the apartment and leave the coating to dry.
How much does it cost to repair the ceiling after a flood?
Water damage ceiling repairs are expected to cost between $45 and $55 per square foot, including everything needed. Don’t forget to add the cause of the water damage to this cost. There are plumbing repair costs($175-$3,000) or roof replacement ($3.50-$5 per square foot).