Published on August 28th, 2022
Last updated on February 6th, 2023
How To Replace Kitchen Cabinet Hinges? DIY In Easy 8 Steps!
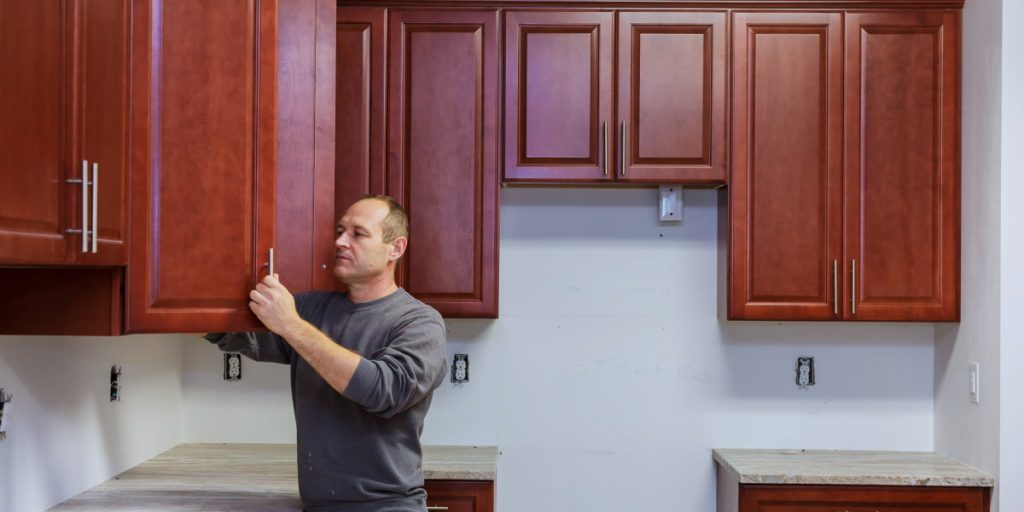
Periodically, even the most expensive and high-quality hinges on kitchen cabinets need updating. Everything has its wear and tear, and when you frequently open and close your kitchen cabinets, the hinges begin to wear out. Sometimes hinges can become loose due to improper installation or regular use. The process of replacing hinges is simple with the right tools. Discover how to replace kitchen cabinet hinges with our guide. Following the proper steps solves the problem of replacing hinges in a short amount of time.
Replacing Kitchen Cabinet Hinges In 8 Steps
When it comes time to replace old kitchen cabinet hinges, there are several things to consider. This blog article will tell you how to replace kitchen cabinet hinges. Remember, these are just general guidelines so that you can save money and install new kitchen hinges yourself. Read on, and you will succeed!
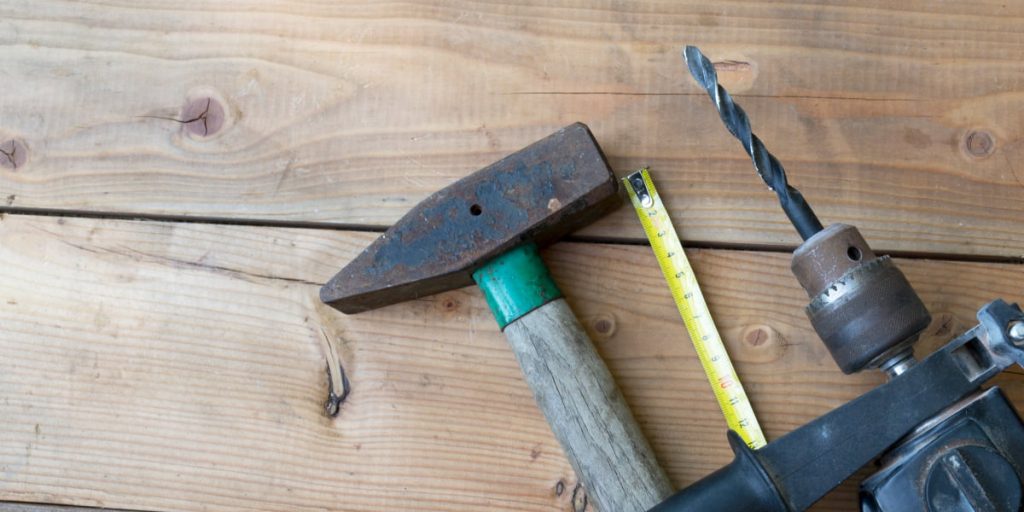
Step 1: Picking Up New Hinges And Tools
First, you must ensure that replacing old kitchen cabinet hinges meets the required specifications. The fact is that some hinges fit particular cabinet doors. Please, measure the size of the old hinges, and take a picture of them. At the store, a consultant can help you pick out new ones.
Avoid the stress of choosing by purchasing the perfect closet hinges that can work well in a particular configuration.
Don’t forget to purchase some of the tools needed to update your cabinet hinges if you don’t have any. It includes screwdrivers and hinge screws. Here are some of the steps you need to take to replace your cabinet hinges:
Step 2: Unscrewing The Fixing Screw

First, to replace kitchen cabinet hinges, you need to unscrew the fixing screw and remove the door altogether.
Someone can help hold the door in place to avoid instances where it might come loose. Start with the bottom hinge, then proceed to remove the top hinge. After unscrewing the fixing screw, remove the hinge barrel as well. Perform the process carefully so as not to damage the cabinet wall.
Step 3: Door Removal

After unscrewing the hinges, you must remove the door. Always pay attention to how you remove the door. Avoid cases where the door will be damaged when you remove it from the enclosure assembly. Some doors are made of materials that can be easily scratched. Handle it carefully to avoid instances where the quality of the door will deteriorate after the assembly is removed. Updating the hinges on the cabinets should not include damaging the door.
Step 4: Removing Broken Hinges
Sometimes, some of the hinges on a cabinet are broken. The broken hinges are still attached to the door. If they have been violated, the next step is to remove them from the door. Sometimes, the hinges may still be in working order but bent. Unscrew the hinges, then remove them from the door.
Broken hinges can make it difficult to operate the door. Carefully remove them and check for possible causes of the breakage. The door may not be appropriately aligned, causing the hinges to break. Fix the probable cause of the broken hinges to get them working again.
The process of replacing old kitchen cabinet hinges is incomplete without fixing the root cause of the broken hinges. Find the reason, and then apply the right solution so that the doors work flawlessly after replacement. You can also choose the best paint finishes for a kitchen to make the room look fresh.
Step 5: Mark Where To Install The New Hinges

When replacing kitchen cabinet hinges, the new hinges will hold the door in place and mark the positions for the new hinges. There may often be wide screw holes where the old hinges were installed. Move the holes for the new hinges slightly away from where the old hinges were placed. It is an effective way to put the hinges in place when installing the door.
Use a pencil to draw lines where the new hinges will be installed. A slight offset is necessary so the screw holes can hold the door well. The process may take a few seconds, but ensure the holes are well marked, so the job is done flawlessly. Take a ruler and pencil to accurately set the holes so that the cabinet door stays firmly in place.
Step 6: Drilling New Holes For Hinges
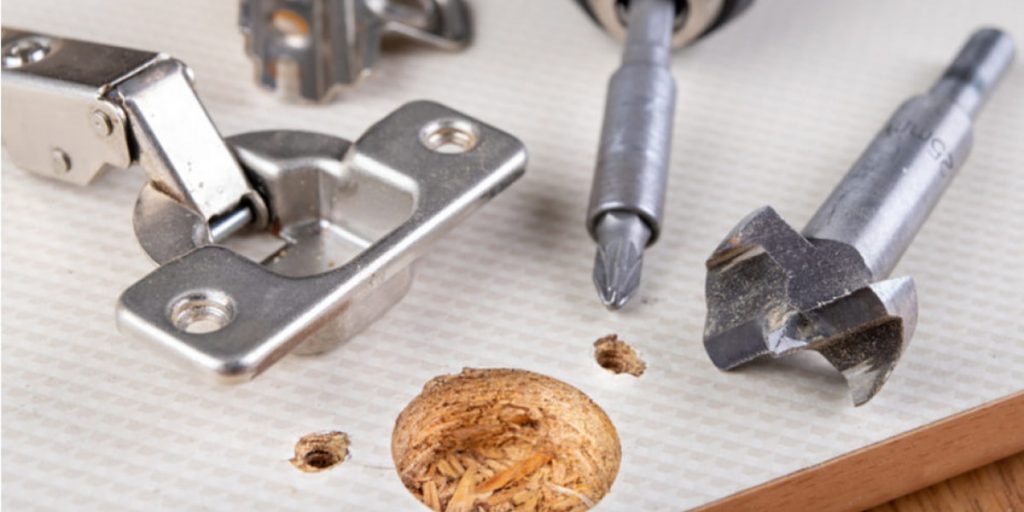
After marking the location of the new hinges, it’s time to drill the holes for the new hinges. Use a hinge drill bit to make the holes.
There are different sizes of drill bits available. Choose a drill bit the same size as the hinge axis. Drilling holes that are too large or too small can cause you to lose the door and make it difficult to align accurately.
Be careful not to drill through the cabinet door. The holes for the hinges should be deep enough, but they should not go through the cabinet door as they could damage it.
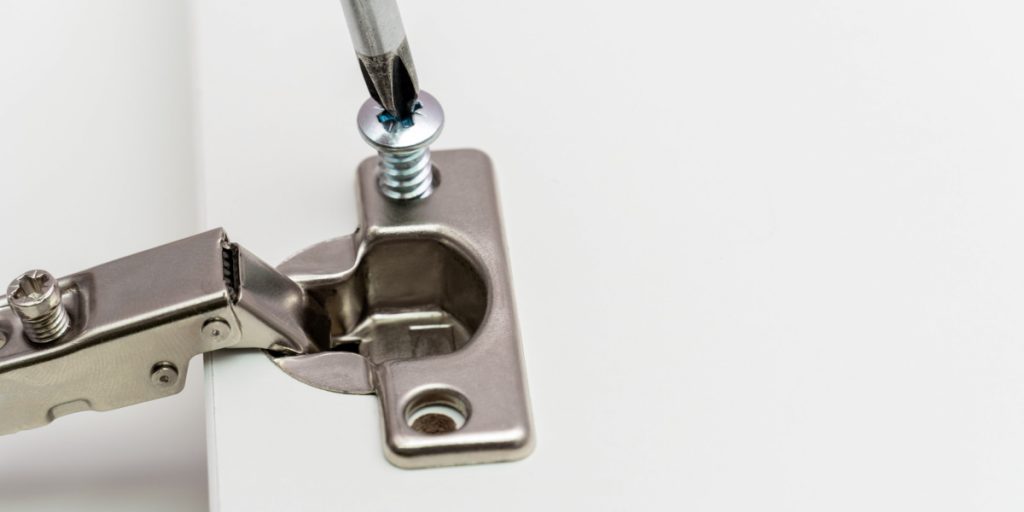
Step 7: Installing Brand New Hinges In Place
After the hinge holes are drilled, the final step is installing the new hinges to update the last cabinet hinge. Use the short screws to screw the hinges into the door, then press the doors against the cabinet to secure them. Reinstall the hinge receivers and slide the door into place.
Make sure the door is well in place. Tighten a few screws and notice how the door works. When properly aligned, the door should open and close quickly.
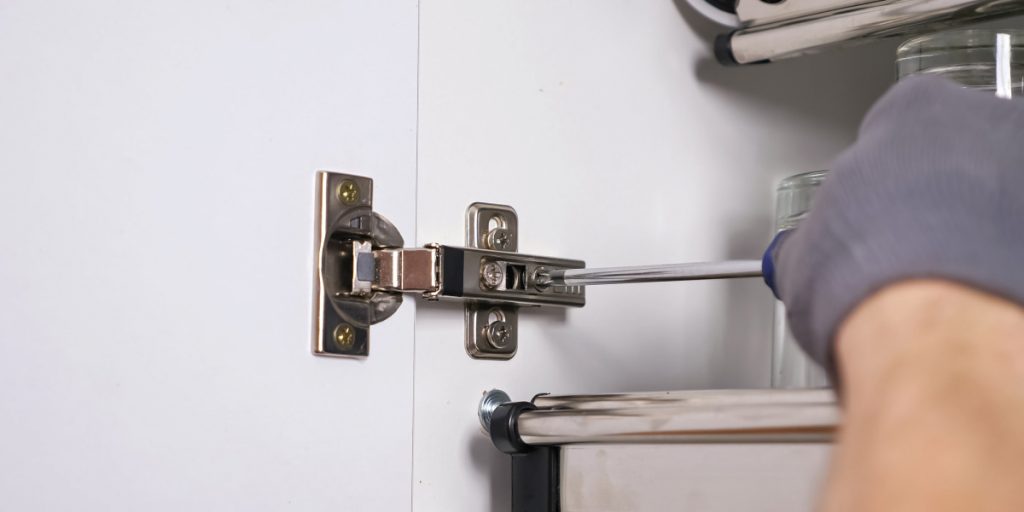
Step 8: Reinstalling The Door

Begin by reinstalling the top hinge by tightening the locking screw. Make sure the hinge is held in the correct position before screwing on the hinge receiver. The hinge receiver is located on the inside of the cabinet wall. Adjust the door and ensure it rotates appropriately before fully tightening the screws. Use the adjustment screws to align the door when it is closed.
The door should fit well to ensure that it is a perfect replacement for old kitchen cabinet hinges. Check the door to ensure it opens smoothly to avoid cases where it will be damaged later due to improper installation.
Bottom Line
Following these steps, your query about how to replace your cabinet hinges can be swiftly answered. If you follow the directions, the hinges on your cabinet door will be simple to replace. Purchase high-quality, simple hinges to put in the proper position because cabinet door hinges vary.
Stay tuned for more DIYs at House2Keep.com!
FAQ
How to replace kitchen cabinet hinges?
Replacing the hinges on a kitchen cabinet is not difficult. You need to follow the exact instructions:
1. Remove the hinges and door;
2. Mark a place for the new hinges;
3. Drill holes;
4. Screw in the new hinges and install the door.
What is most important when replacing kitchen cabinet hinges?
The most important thing when replacing cabinet hinges is ensuring they are the right size and in the correct position. Hinges come in different sizes, so it is essential to measure them before buying new ones. It is also important to note where the new hinges will be located before drilling holes.
Is it difficult to replace old hinges on kitchen cabinets with new ones?
Replacing old hinges with new ones is not difficult if you follow step-by-step instructions. You can easily replace old hinges and save money in the process.
What are some tips for replacing kitchen cabinet hinges?
Some tips for replacing kitchen cabinet hinges include the following:
1. Before you drill the holes, mark the location of the new hinges with a pencil;
2. Be careful not to drill through the cabinet door when creating the new hinge holes;
3. Ensure the door is well aligned with the hinge receiver before fully tightening the screws;
4. Use the adjustment screws to ensure the door is aligned correctly when closed.