Published on December 27th, 2022
Last updated on February 3rd, 2023
How To Restore An Old Deck? Step-by-step Guide For Complete Renewal
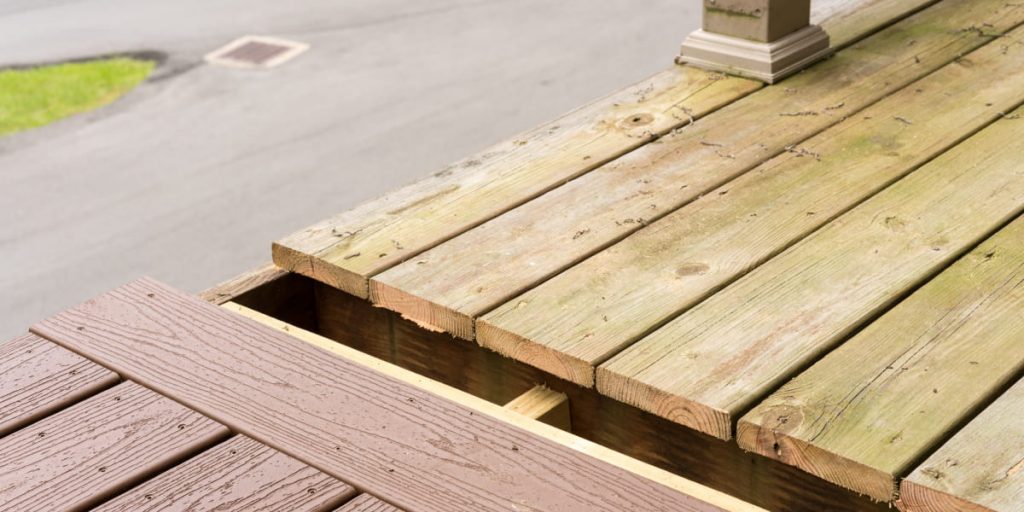
The wooden terrace is trendy for the owners of private houses, restaurants, or cafes. This solution perfectly complements and decorates the exterior of a home. But like other things that people use, a wooden deck requires care with proper maintenance, and sometimes you should know how to restore a deck.
With years of use, a wooden deck gets a lot of scratches and dents and may even begin to rot. But there are some steps you can take to restore your deck at a minimal cost effectively.
Our article will tell you how to restore your wooden deck:
- Quickly.
- Cheaply.
- Effectively.
We will walk you through each step and tell you in detail what you need to do to be successful. Stay with us, and read the article to the end so as not to spend thousands of dollars on replacing wooden blocks.
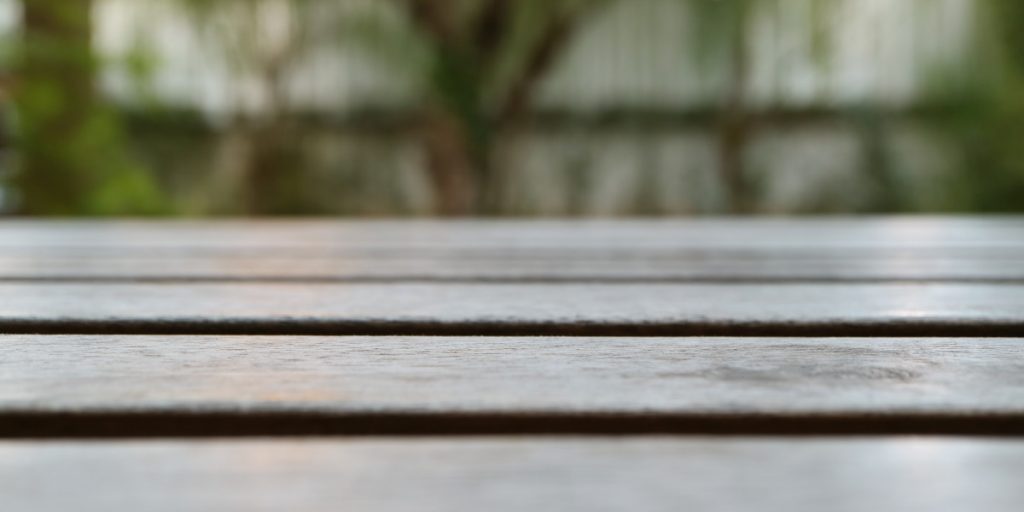
Restoring Wood Decks
Wooden decks are a great addition to any outdoor space. It doesn’t matter whether you use the deck as:
- Outdoor living room.
- A place to entertain guests.
- A spot to enjoy the fresh air and sunshine.
Wooden decks can last for years – as long as they are properly maintained and restored. If your deck is looking worse for wear, it may be time to invest in restoration. But what do you need? Let’s take a look at the materials you’ll need to get your deck back into great shape:
- Cleaner. Before you can begin refurbishing your wooden deck, you need to give it a thorough clean. Choose an all-purpose cleaner that’s specifically designed for wood surfaces. This will help ensure that your deck is ready for restoration without any damage.
- Sandpaper. Once your deck has been thoroughly cleaned, it’s time to sand down any cracked or splintered areas. This will help smooth out the surface of the deck so that it looks its best once renovated. Depending on the cracks’ depth, you should use medium-grit or fine-grit sandpaper. You may want to start with coarse sandpaper if you have particularly deep cracks in your wood. Do it before gradually moving up in grit size until the wood is smooth again.
- Sealant. Once you’ve applied stain (or chosen a decking restorer), it’s essential to seal the wood against the following:
- Moisture damage.
- UV rays.
- Other weather-related issues.
- Invest in a good quality sealant designed specifically for wooden decks. And follow the manufacturer’s instructions when applying it during deck refurbishing. It’s usually enough of two coats that will do the trick!
- Brushes/Sponges/Rollers. You’ll need a brush or roller tool to apply cleaner and sealant (as well as a stain if needed). Sponges work too. But they aren’t always ideal. It’s because they can leave streaks behind on larger surfaces like decks. Make sure whichever tool you choose is suitable for wooden decks. There are lots of products made specifically for this purpose. So don’t worry about finding something that works!
Step 1. Remove Any Metal Objects from the Deck Surface
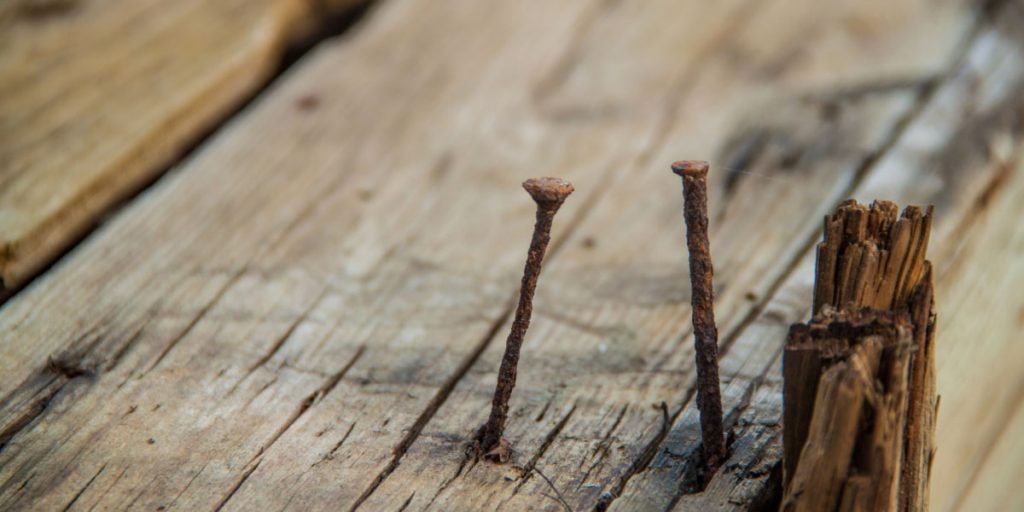
Removing any metal objects from the deck surface is essential if you want to renew your deck. Do it before starting the deck restoration process. Metal objects can cause damage to the wood and create an unsafe environment when walking on the deck. Let’s look at why it is essential and how you can remove any metal objects from your deck surface:
- The first step in removing metal objects from your deck surface is to identify where they are.
- Also, find out what type of object they are. For example, screws or nails sticking out of the wood. For this, you must remove them with a screwdriver or pliers. You need to cut away other objects, such as loose wires. Use wire cutters or scissors for this. And again, do it before discarding them or recycling them.
- Finally, you have found all the metal items and removed them from the wood. Now you can begin sanding down the area using an orbital sander until the area is smooth again.
Step 2. Sweep Away All the Debris

This step in deck renewal may seem simple. But it’s important to pay attention to detail and ensure you remove all the debris. But remove them before proceeding with any other steps.
Sweeping away all the debris from your deck is quite easy—all you need is a broom and patience:
- Start by sweeping off large chunks of dirt and leaves first.
- Then move on to smaller pieces such as sawdust and wood chips. Focus on corners where dirt might be hiding.
- Watch all tight spaces between boards where organic material can accumulate over time.
- Once you’ve swept up all the visible debris, use a vacuum cleaner. Opt for a hose attachment to suck up any remaining particles on the surface of your deck.
Step 3. Use a Hose to Clean off Any Remaining Dirt or Stains
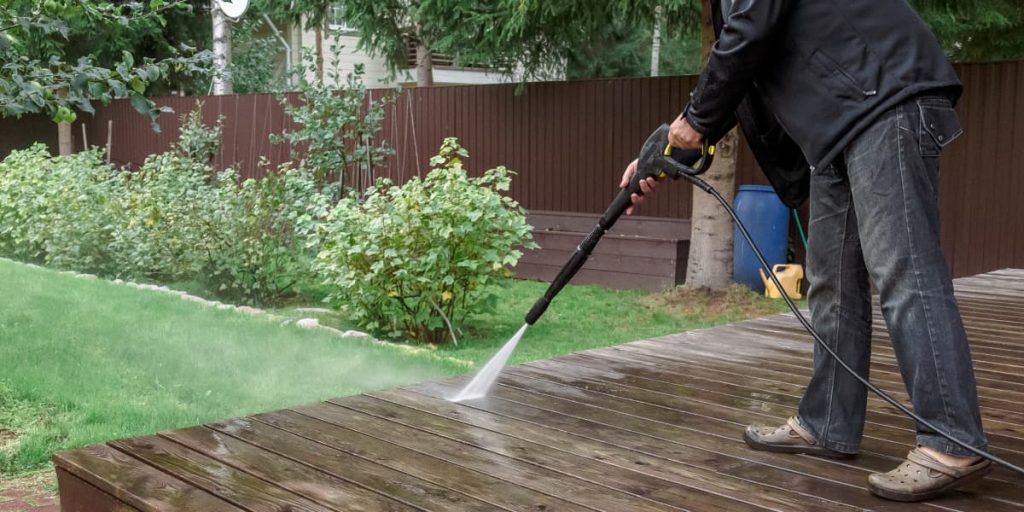
This step in restoring wood decks is about selecting the right hose for your project. You want something that will provide enough pressure to remove dirt and grime. But it’s important to avoid damaging the wood of the deck itself. A long hose with a high-pressure nozzle is ideal for this job.
It will give you the most reach and power on each pass. Remember that some hoses are better suited for certain surfaces than others. Make sure you do your research when selecting one for your project.
Once you have selected a suitable hose, it’s time to prepare for cleaning:
- Start by ensuring no obstacles are blocking the area you plan to clean.
- And then, make sure all furniture or other items are out of the way so that nothing gets damaged during cleaning.
- If there are any plants nearby, make sure they are secure from getting sprayed. Cover them with plastic sheeting before beginning work.
Now it’s time to get started on cleaning up your deck:
- Begin by setting the nozzle on low pressure and slowly working up.
- Find an optimal pressure setting that will remove dirt without damaging the wood. Work slowly around the perimeter of the deck.
- Also, spray down each section before moving on to another area. Do it until you have covered every inch of surface space on your deck. For stubborn stains or dirt buildup, use a brush.
Use it along with your sprayer to loosen and remove dirt from hard-to-reach areas such as:
- Corners.
- Crevices between boards.
Step 4. Sand Down Any Rough Patches
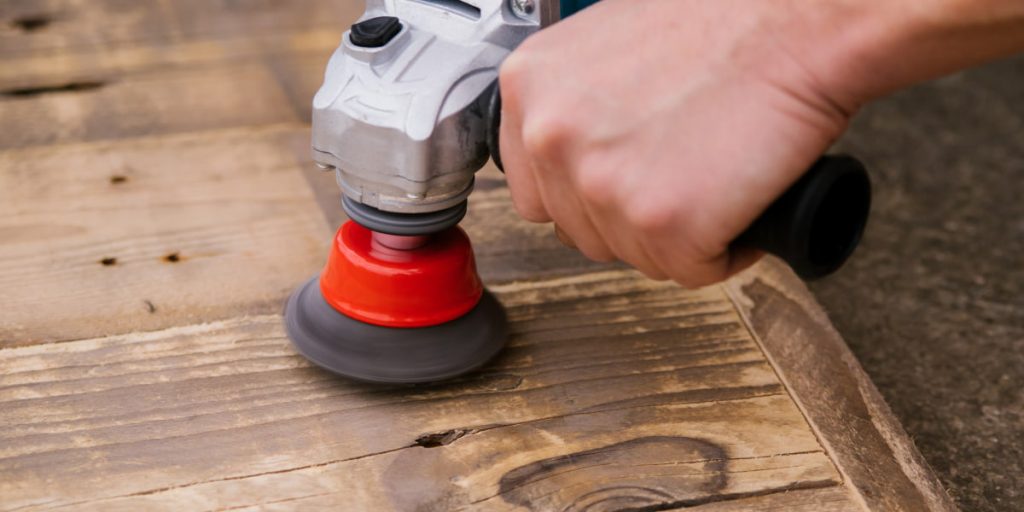
Sanding helps to remove any rough patches from your deck boards that can be caused by wear and tear over time. It also makes it easier to apply the new finish by providing a smooth surface to adhere to. Removing debris or dirt in deck resurfacing ensures that your new coat of paint or stain goes on evenly and looks professional. Additionally, any old splinters sticking out due to wear or age will be smoothed down during the sanding process.
The type of sandpaper you use for this project depends largely on what finish you intend to put onto your deck after sanding it down. Generally speaking, the 150-grit paper should work just fine. This is the case if you use a water-based finish such as paint or varnish. But for an oil-based finish such as stain or sealer, 220-grit paper is great. It can help you get a smoother finish.
Start with 80-grit paper before moving up through increasingly finer grits until you reach your desired level of smoothness (usually 220 grit). Periodically check for splinters and remove them using tweezers before continuing the sanding process. Once complete, vacuum up all dust particles before applying your chosen finish.
Step 5. Apply a Coat of Wood Sealant

Sealing your deck can help protect it from the elements and preserve its longevity. Applying a coat of wood sealant is essential in deck renewal, but it needs to be done correctly. In this part, we will discuss the necessary steps you need to take to apply a coat of wood sealant to your deck:
- Once your deck has been cleaned, sanded, and allowed time to dry fully, you can begin applying the sealant.
- If possible, apply two coats of sealant. It’s for more excellent protection against moisture damage over time.
- Be sure not to forget about corners or crevices. Water may collect there as these areas are also prone to damage if not properly sealed up!
Step 6. Let the Sealant to Dry Completely
A sealant can take anywhere from 12-24 hours to dry. But it depends on the weather conditions and the type of sealant used. As such, it’s essential to check the instructions on your specific product. This way, you can ensure that you are allowing enough time for it to dry. Don’t forget to do it before beginning any deck resurfacing activities.
Before beginning any work on your deck, you should also check the weather forecast. If there is rain in the forecast, you may want to delay starting until after it has passed. Rain will prevent your sealant from drying properly. It also can cause water damage or discoloration besides compromising its protective qualities.
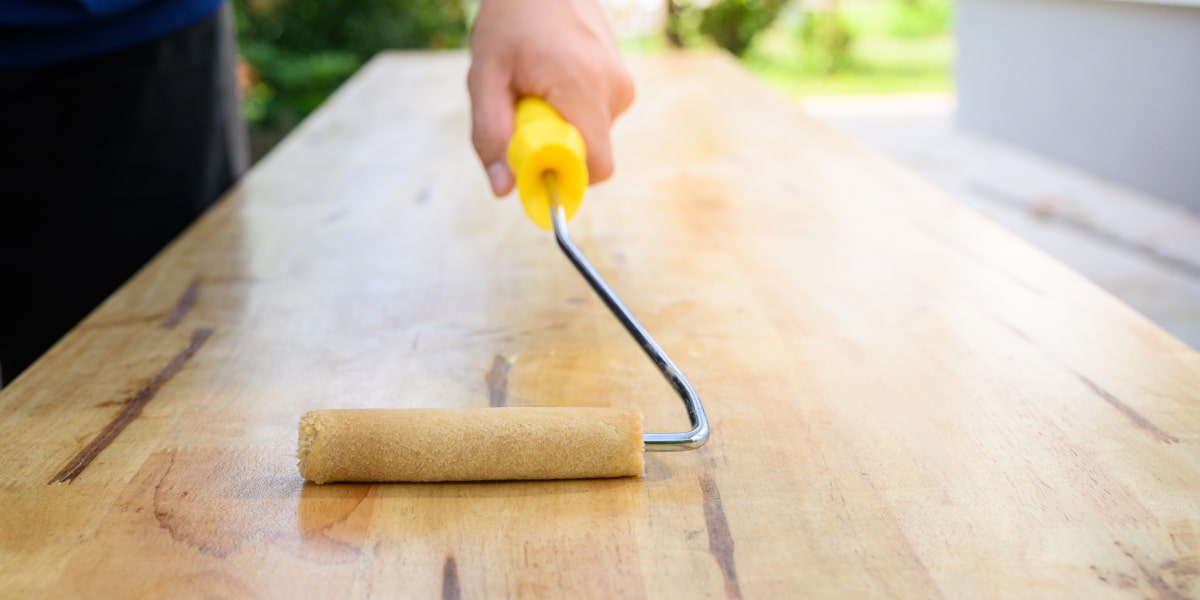
Step 7. Apply Two Coats of Paint
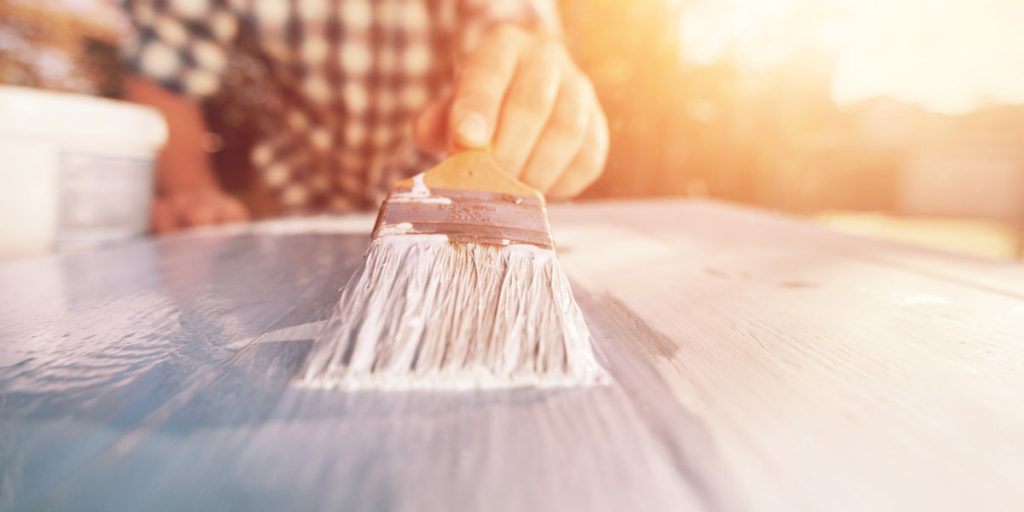
This step in renovating the deck begins with a coat of paint. It’s crucial to use quality exterior paint designed for decks and outdoor surfaces. This will help ensure that your paint lasts longer and stands up better against water and sun damage. Start by cutting around edges with a brush, then fill in larger areas with a roller.
Allow this first coat to dry before applying a second coat using the same technique as before. Cut in around the edges and roll out larger areas for even coverage. When applying many coats of paint, allow each coat time to dry. Do it before adding extra coats. This way, each layer has enough time to cure properly and bond correctly with the previous layers of paint.
Conclusion
At this point, your deck should look brand-new. You can now enjoy your updated outdoor space with friends and family. With proper maintenance and the hard work you put into deck renewing, it will last for years.
Once you’ve finished restoring your deck, you can move on to other home improvement projects. You don’t have to be a professional contractor to spruce up your backyard and make it the neighborhood envy. With a little hard work and patience, anyone can restore an old deck into something beautiful.
FAQ
How do I know when it is time to restore an old deck?
It can be challenging to tell when a deck needs restoring. But some key indicators can help you decide if your deck needs attention. Look for signs of rot, mold, mildew, splitting or cracking wood boards, and rusted nails or screws. If the finish on your deck has worn away, it may also be a sign that it’s time for a restoration project.
What materials will I need to restore my old deck?
The materials needed will vary depending on the type of project you’re taking on. But generally speaking, a few standard items are great for most restoration projects. You’ll need a pressure washer, wood cleaner, deck stripper, and brightener. Also, use sandpaper, paint or stain, sealer, putty knife, and screwdriver.
How much time should I expect to spend on the project?
The amount of time you spend on the project will depend on the size of your deck and its condition. Restoring an old deck can take several hours to a few days. But it depends on the extent of work that you need to do.
Is there anything else I should consider when undertaking a restoration project?
Safety is always paramount when taking on any home improvement project. Wear protective eyewear, gloves, and a dust mask. Use them when sanding and working with chemicals. Additionally, make sure to check your local building codes. Do it before starting any project, and keep safety in mind throughout the process.