Published on December 12th, 2022
Last updated on February 3rd, 2023
Grout Sealing: How To Seal Grout Like A Pro?
Tile floors and walls are popular because they are durable and easy to maintain. Plus, it’s the best for places like the bathroom or kitchen. But dirt and stains can easily seep into the tiny gaps between tiles without proper grout sealing, causing discoloration and buildup over time.
Tile and grout maintenance is a necessary evil. It’s one of those tasks that always seems to continue, but the results can be disastrous if done. So how do you seal grout like a pro?
This blog article will tell you how to apply grout sealer like a pro in just a few simple steps. We’ll let you know what materials to choose to do this and what mistakes to avoid. Let’s get started!
Why Do You Need Sealing Grout on Tile Floor and Walls?
First, let’s talk about why sealing grout on tile floors and walls is so important:
- Helps prevent stains from appearing. Stains are harder to clean if they have time to set and penetrate the grout. To prevent this from happening, sealing the grout creates a barrier. This barrier makes it difficult for stains and spills to penetrate.
- Prevents mold and mildew. Mold and fungus (mildew) love porous surfaces like grout. By sealing grout, you make it harder for mold and mildew to appear and grow.
- Easier to maintain and keep clean. When you seal the grout, dirt and debris will primarily stick to it. It means you don’t have to scrub the tiles and grout as hard to keep them looking clean. And if a stain does appear, you can wipe it off with a rag without ruining the grout.
- Prolongs the life of your grout. Sealed grout lasts longer than unsealed grout. By sealing it, you protect it from the wear and tear and destruction (and abuse) you might otherwise subject it to.
- Enhances the look of your tile. When you seal the grout, it’s less likely to become discolored or stained. It keeps your tile looking its best for longer.
As you can see, there are many reasons to seal grout. This is especially true for tiles in rooms with high humidity – such as kitchens and bathrooms. And also, choosing the suitable tile grout sealing is essential!
How to Seal Grout? Choose a Sealant!
Suppose you’re wondering how to apply grout sealant. Then proceed to the first preparatory step. First, you need to choose the proper sealant. There are two types of grout sealants:
- Water-based sealants: Water-based sealants are easy to apply and have a faint odor. They are also less prone to discoloration of the grout. But, they are less durable than solvent-based sealants and need more frequent reapplication.
- Solvent-based sealants: Solvent-based sealants last longer than water-based sealants. But they are harder to apply. They also have a strong odor and can slightly discolor the grout. Be sure to test the sealant in a small area where it will be least noticeable before you apply it to the entire surface. If you feel satisfied with the result, continue to use it.
The second important part about how to seal the grout is the materials you will need. Sealing grout on tile floors and walls doesn’t need a lot of materials. Here’s what you’ll need:
- A grout sealer (water-based or solvent-based) protects the grout from stains and mildew;
- Sponge, roller or brush to apply the sealer;
- Bucket to mix the sealer (if using a water-based sealer);
- Water to clean the surface before sealing (if using a solvent-based sealer);
- A clean cloth or rag to wipe up any excess sealer.
How to Apply a Grout Sealer
Once you have all the materials, it’s time to learn how to seal the grout. The process is pretty straightforward. But let’s speak about safety first. When sealing grout permanently:
- Work in a well-ventilated area;
- Wear gloves and a mask to avoid inhaling fumes;
- Avoid contact with skin and eyes;
- Keep children and pets away from the work area.
If you are working with solvent-based sealant, open all windows and doors in the room. It is crucial to ventilate the room while you are working. If you are using water-based sealant, ventilation is not required. This type of sealant does not emit fumes.
Now that we got that out of the way, let’s see how to apply grout sealer step by step:
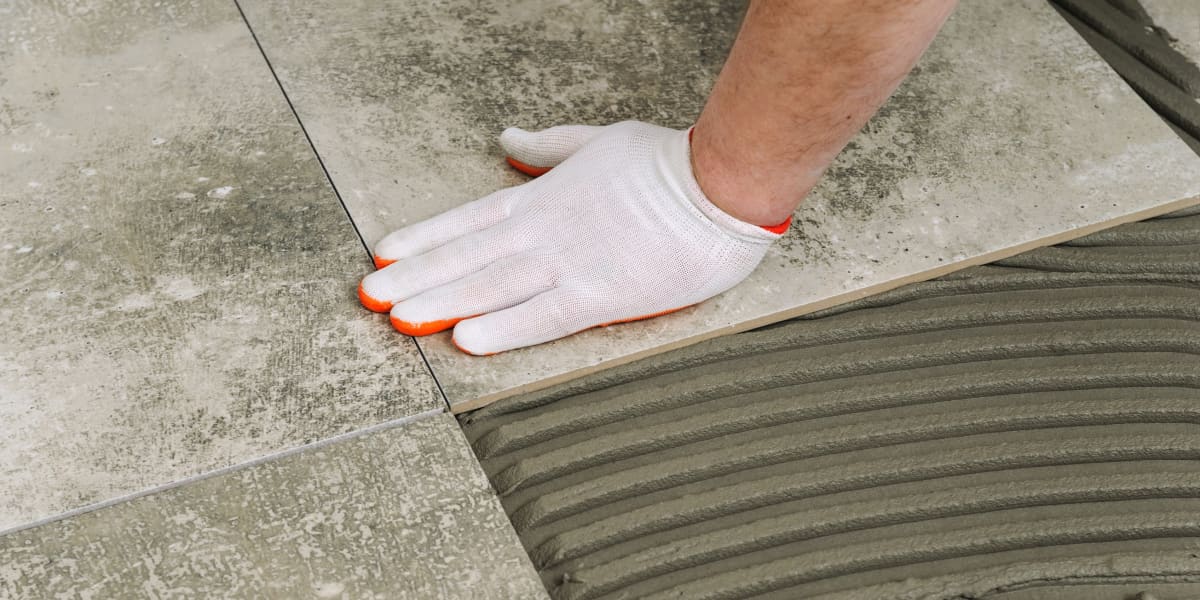
Step 1: Clean and Repair the Grout
You must clean the surface before sealing the tile floor and walls grout. Otherwise, the grout will not adhere properly and will wear off quickly.
To clean the grout, mix 1 part vinegar and 1 part water in a bucket and scrub the grout with a sponge or brush. Please don’t overdo it, so you don’t completely wipe the grout off! Rinse the area with clean water and let it dry completely.
If the grout begins to crack or crumble, repair it with a grout kit before sealing.
Step 2: Choose a Sealant Applicator and Sealant
Now that you have cleaned the surface and prepared, move on. It’s time to choose a sealant applicator and method of sealing. You can apply sealant with a sponge, brush, or roller.
- Sponges are the most common applicators. They are easy to use and provide good coverage. But they can also waste a lot of sealants because they absorb them.
- Brushes are more accurate than sponges, but they are harder to use. They are a good choice for small areas or tight spaces.
- Rollers are the quickest and easiest way to apply a sealant to grout. But they are less accurate than sponges and brushes. You can also buy a grout sealer kit that includes an applicator.
Once you’ve chosen an applicator, it’s time to select a sealant. As we mentioned, grout sealers come in two types: water-based and solvent-based.
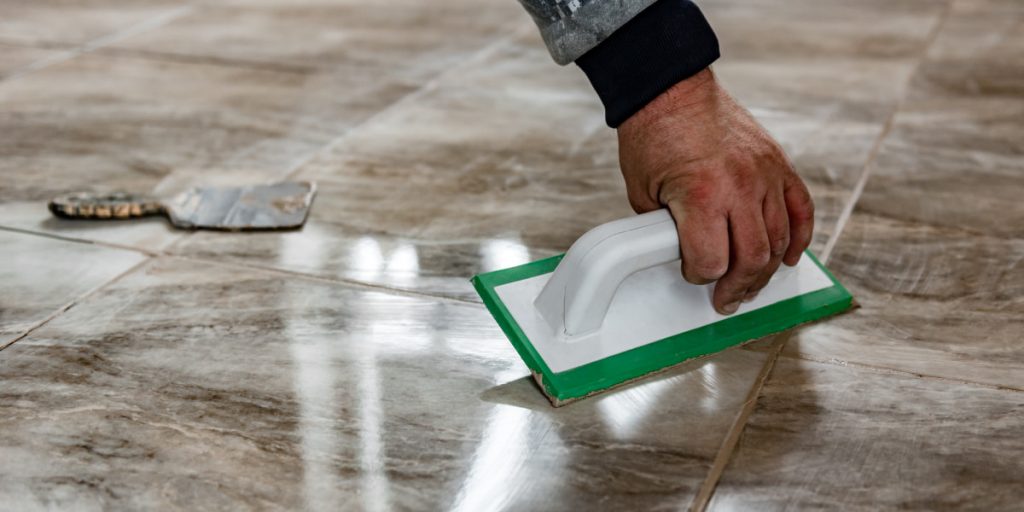
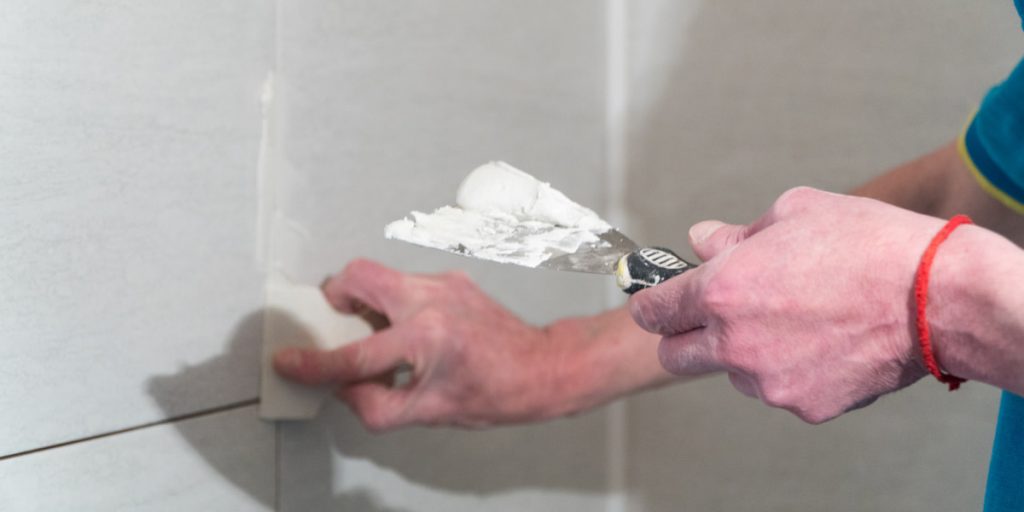
Step 3: Apply the Sealant Slowly and Carefully
Now that you’ve chosen an applicator and sealant, it’s time to start sealing the grout on the tile floor and walls.
If you use a water-based sealer, mix it according to the manufacturer’s instructions. If you are using a solvent-based sealant, you do not need to mix it. Open the container and begin sealing.
Start sealing grout in a small area and work your way forward. Be sure to get into all cracks and crevices. Apply the sealant slowly and evenly, so you don’t miss any spots.
You can apply the sealant directly to the surface using a sponge, brush, or roller. Allow the sealant to dry within the time recommended by the manufacturer.
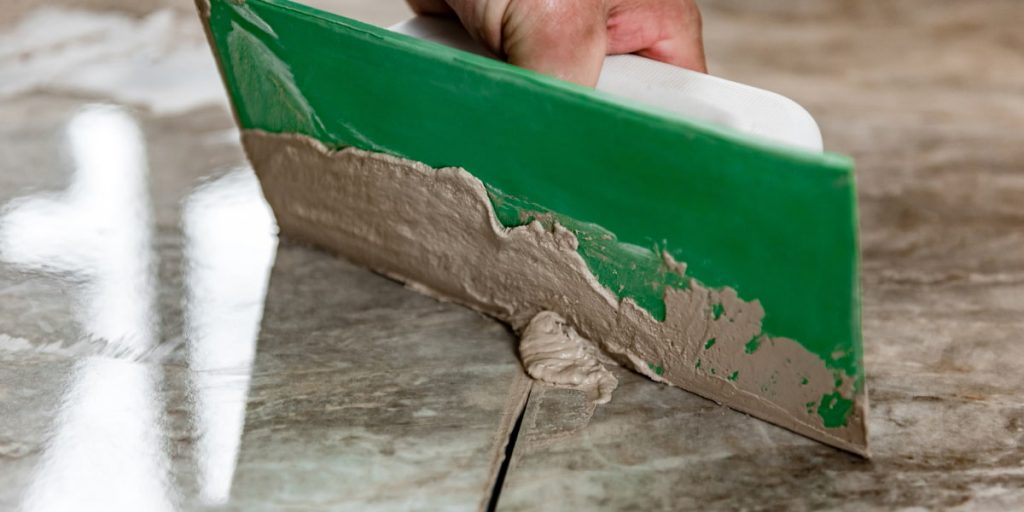
Step 4: Apply a Second Coat of Sealer
For extra protection, you can apply a second coat of sealant. This is necessary if you will be exposing the tiles to high foot traffic or moisture.
Allow the first coat of sealant to dry completely before applying the second coat. Follow the same process as before, applying the sealant evenly and generously. Once again, allow the sealant to dry before using the tile.
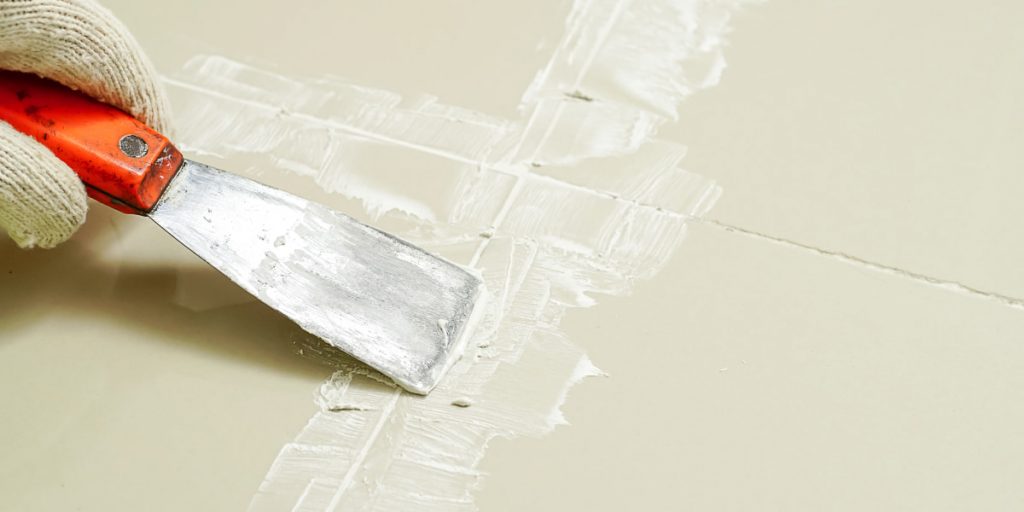
Step 5: Remove Excess Sealer and Clean Up
After the sealant dries, remove the excess sealant with a dry cloth or brush. When finished, clean up the work area. Remember to dispose of sealant residue according to the manufacturer’s instructions.
Now that you know how to apply a grout sealer, you can protect your tile from stains and damage. Sealing the grout will also make it easier to clean in the future. Be sure to follow the manufacturer’s instructions carefully and always work in a well-ventilated area.
FAQ
Does grout need to be sealed?
Grout doesn’t need to be sealed, but it’s a good idea to do it. Sealing the grout will protect it from stains and damage. It will also make it easier to clean in the future.
Is it challenging to apply grout sealer?
It’s easy to apply grout sealer. Just follow the manufacturer’s instructions and be sure to work in a well-ventilated area.
How often should I seal the grout?
It depends on the amount of traffic and exposure to moisture. In general, you should seal the grout every 6 to 12 months.
Can I use a grout sealer on ceramic tiles?
Yes, you can use a grout sealer on ceramic tiles. Just be sure to follow the manufacturer’s instructions.