Published on February 6th, 2023
Last updated on February 6th, 2023
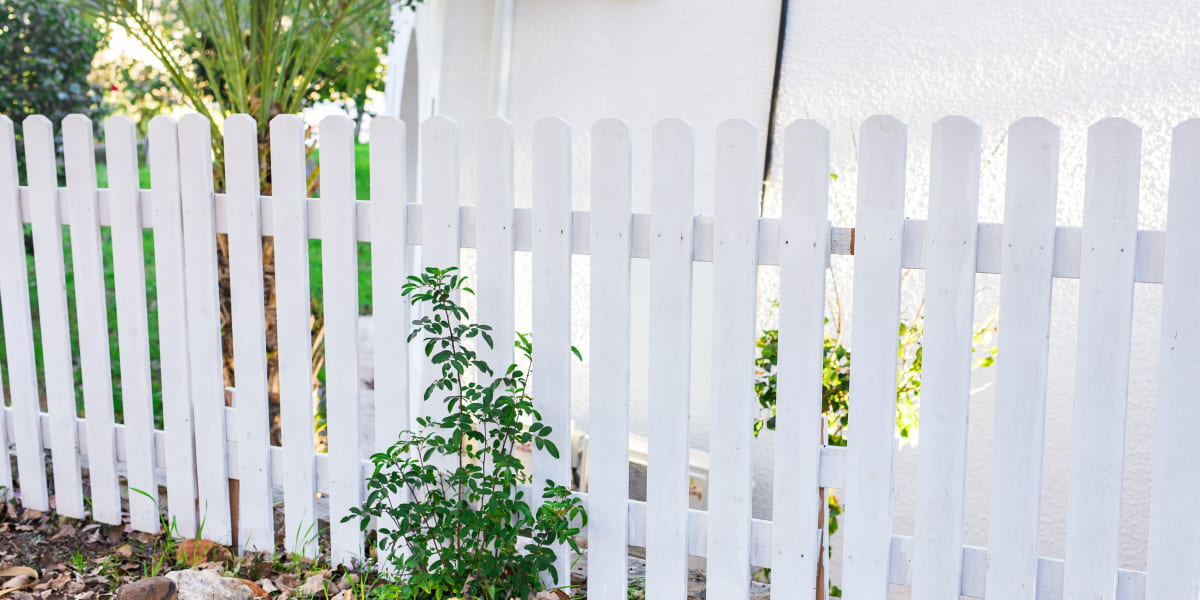
How To Stain A Fence: Staining DIY Guide For Pro Result!
The fence is an essential element of every home. It serves many purposes. Among them:
- Protection.
- Aesthetics.
- Comfort for personal space.
But an ugly fence will repel both you and your guests. Many homeowners want to have a beautifully painted fence that will show the lines of the wood. But a wooden fence can be difficult to paint. How to stain a fence?
Such material must be properly prepared before the painting procedure. And while painting the wood fence, you must be careful and have some skills.
Our article will tell you everything about how to stain a wooden fence. We will cover the topic of choosing paint and materials and discuss the technique of painting the fence. With our short and informative guide, you can make fence staining easily.
Before Starting Work
Before fence staining, you need to take care of some important aspects. Let’s take a look at them:
- Consider help. The fence is a large area for painting. You will most likely need help. Arrange in advance with a friend or relative to help with painting, if you can.
- Choose the right paint/stain for the best way to stain a fence. Make sure the fence paint is of high quality. As for the choice of paint, you need to choose a component based on the final result you want. If you want the lines of the wood to show through, you need a stain. It will lay down like a film on your wood and give a light shade. If you just want to paint the fence, you can use any wood paint.
- Prepare the fence before painting. It includes cleaning and washing.
- Prepare ahead of time. You need to choose a day when it will be at least 40 and no more than 90 degrees Fahrenheit outside. Also, ensure it won’t rain outside when you paint the fence. Also, consider the wind. You want the weather not to be windy, as the wind can spread the paint to other surfaces.
- Take care of personal protection. Wear gloves and a mask while working with paint.
Materials Needed
For the best way to stain a fence, you need to collect materials for work. Here is a short list of what is needed for a successful fence painting procedure:
- A wide paintbrush (4-6 inches).
- Paint roller with a 3/4-inch or thicker nap.
- Paint sprayer (optional).
- Fence paint.
- Wire brush.
- Face mask and gloves.
- Sandpaper.
- Cloth.
- Masking tape.
Once you have collected all the materials for the job, begin painting your fence.
Step 1. Surface Preparation
Pre-treatment of the fence before a new painting is critical. If you don’t prepare the wood for staining an old fence, you risk ruining the wood and the result. Thus, you need first to prepare the wood and only then proceed to paint.
To do this, you need to apply paint or wood stripper to your fence, even if it is not painted. Perhaps the fence manufacturer applied a light coat of paint or protection to your wood. Thus, you need to remove the top layer from it.
Once you have applied the remover product, you can brush it off. Use a hard brush. But do not press hard, and be careful while working. This way, you can remove dead wood or factory coating.
Step 2. Washing
Don’t rush to stain an old fence yet. After removing the old wood finish, you can start cleaning your wood. This will ensure that the remaining difficult areas on your fence are cleared. Install a pressure washer on your hose and point it at your fence. Act slowly and confidently. You need to wash your fence thoroughly. Do not forget about small and hard-to-reach places. You can only finish washing your fence when you are sure your fence is clean.
Remember! When washing with high pressure, you need to be careful as you don’t want to damage the surface of your fence.
Step 3. Fence Cleaning
The last step in preparing the fence before the easiest way to stain a fence is cleaning it with a cleaning agent. It is best to use a fence cleaner for stubborn stains. You can find this remedy at any hardware store.
Apply a small amount of product to the fence and scrub it with a stiff brush. You can then use the pressure washer again to wash the soap component off your fence.
After that, you can check the integrity of your fence. If necessary, carry out extra cleaning, stripping or repairing fence components.
Step 4. Protecting Surfaces from Paint
Now you can close any areas you don’t want to paint. You can use any sticky tape for this. If you don’t want to paint over a large area, you may need a tarp, a bunch of newspapers, or old rags. To do this, cover the surfaces and fix them with tape. If you want to protect the plants near the fence, you can cover them with a tarp or place a large piece of cardboard next to them. This way, you will protect all important areas and nature from chemical attacks.
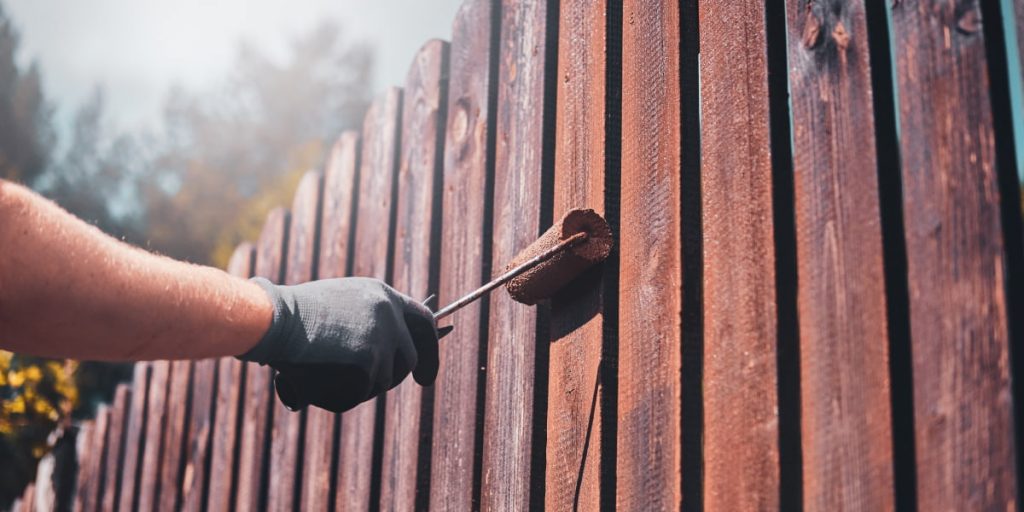
Step 5. Painting a Horizontal Surface
Now it’s time for the easiest way to stain a fence. First, you need to paint the horizontal plank of your fence. Usually, two such boards are located above and below the fence. For painting, use a wide brush. So you can quickly paint the entire surface. After applying the first coat of paint, you can move on to other fence parts.
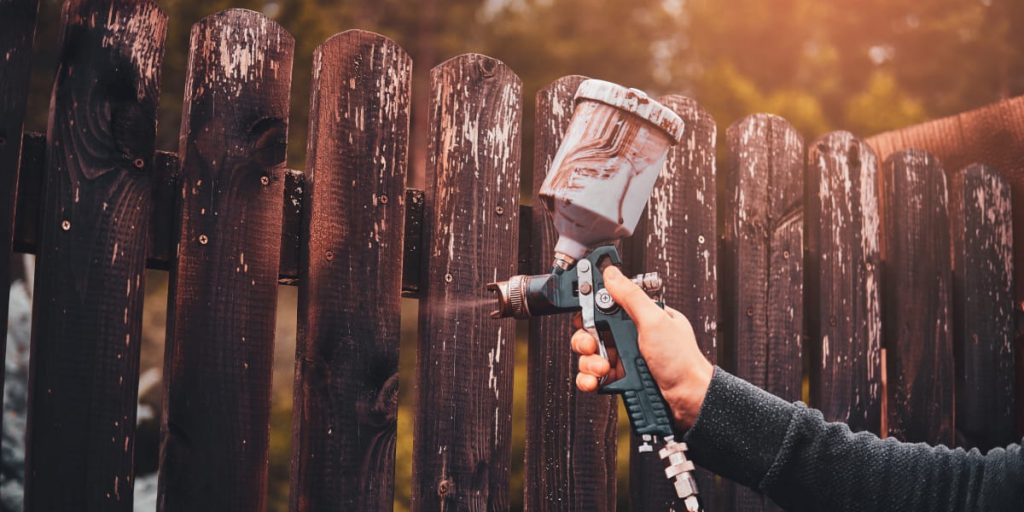
Step 6. Painting a Vertical Surface
Now you need to paint the top parts of the fence. To do this, you can use a roller or paint sprayer. But proceed with caution. You need to apply the paint from top to bottom. This will ensure that the paint is evenly applied to the fence’s surface.
Step 7. How to Stain a Fence: Drying
Once you have finished painting the fence, you will need to wait some time for the paint to dry. This can vary from several hours to days. Everything will depend on the manufacturer of your paint. Also, if your color is not bright and juicy enough, you can add another layer of paint. Once your fence is completely dry and you’re happy with the result, remove the duct tape from the areas you didn’t want to paint.
Bottom Line
As a result, you now know how to stain a fence for your home. And surprisingly, this procedure can be quite simple to perform. And besides this, you also do not need expensive materials and tools.
But keep safety in mind. Always use protective equipment. And if you feel bad during the painting, you better stop the procedure and take a break. This may be due to the inhalation of paint fumes, which can be toxic.
FAQ
How often should I re-stain my fence?
It depends on the type of wood, the location of the fence, and the weather conditions. A general guideline is to re-stain every 2-3 years. But it’s always a good idea to check the condition of the fence and re-stain as needed.
Can I stain my fence if it’s recently been painted?
It is not recommended to stain over paint, as the paint will not absorb the stain properly. In this case, it’s best to remove the paint before staining.
Is it necessary to use a wood cleaner before staining?
It is important to clean the wood before staining to remove any dirt, grime, and mildew. They can inhibit the stain from penetrating the wood.
Can I stain my fence in the rain or during high humidity?
It’s best to avoid staining during rainy or humid conditions. It’s because the wood will not absorb the stain properly, and the finish will be uneven. Wait for a dry and sunny day to stain.