Published on November 8th, 2022
Last updated on February 3rd, 2023
How To Stop A Leaky Shower: Fixing Shower Faucet Leaks
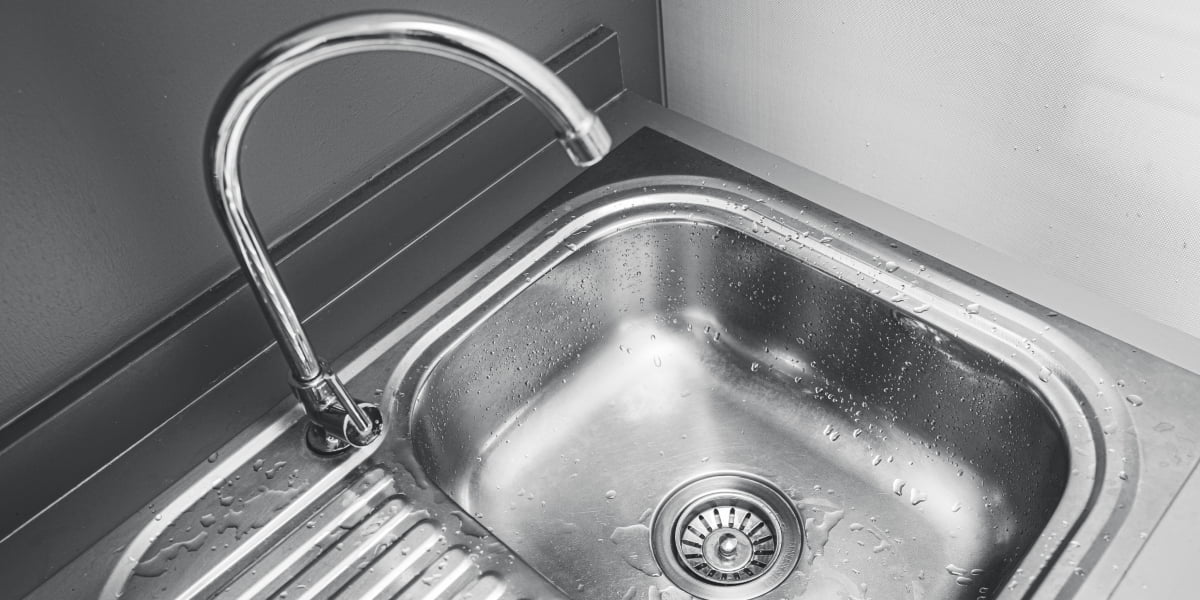
Every bathroom is necessarily equipped with a shower and an adjacent faucet with cold and hot water supply. This device regulates the pressure and temperature of the water flow and allows you to direct the water to the faucet or shower with a particular switch. But even the highest quality plumbing fixture can break. And fortunately, the repair of a leaky shower faucet, in most cases, can be repaired with our DIY on how to stop a leaky shower.
In this article, we will break down the leading causes of a leaking shower valve and consider ways to fix your bathroom faucet.
Why the Appliance Fails: Causes of Breakage
Repairing shower faucet leaks with your own hands will be much easier if you know the reason that led to the breakdown of the product. Let’s highlight the main of them:
- Low quality of products – characteristic of cheap Chinese fakes and products of little-known unscrupulous manufacturers who use low-grade consumables and components;
- Dirty water in the pipeline, by the way, it can be the cause of unpleasant smells in the bathroom;
- Use of obsolete consumables in new devices – modern gaskets are much more durable and reliable than old-style rubber ones;
- The high degree of water hardness provokes the cracking of seals and the formation of deposits inside the device;
- Mechanical equipment, sensors, cartridges, and other consumables wear and tear.
Regardless of what caused the shower valve to leak, it must be repaired as soon as possible. We have outlined how to fix a leaky shower with your hands, so you will be able to do it quickly, even if you have never done it before.
How To Stop A Leaky Shower
Repairing a shower faucet leak will not require special knowledge or skills. But it is still necessary to have at least some skills in plumbing and to have the following tools at hand:
- A set of wrenches or an adjustable wrench;
- Sealant – it is better to choose a silicone sealant, as it will quickly fix the problem and will not harm the surrounding surfaces;
- Teflon tape;
- Rags.
| Time Required to Repair | Difficulty of Replacement | Expenses |
| Approximately 40 minutes to 1 hour | Even a beginner can do it. | From $50 to $100 |
Step 1: Shut off the Water Supply to the Shower
Most people are familiar with the old saying, “a stitch in time saves nine.” This adage can also be applied to home maintenance, as minor problems often snowball into larger ones. A case in point is a water leak.
A slow drip might not seem like much, but over time it can cause significant damage to both the plumbing and the surrounding structure. That is why it is essential to repair a leaky shower faucet as soon as its being discovered.
One way to start repairs is to shut off the water supply to the shower. It will prevent further leakage and allow you to make repairs without worrying about flooding. In addition, shutting off the water will help to conserve resources and save you money on your water bill. So if you see a leak, do not delay – shut off the water and start to take care of fixing the leaky shower.
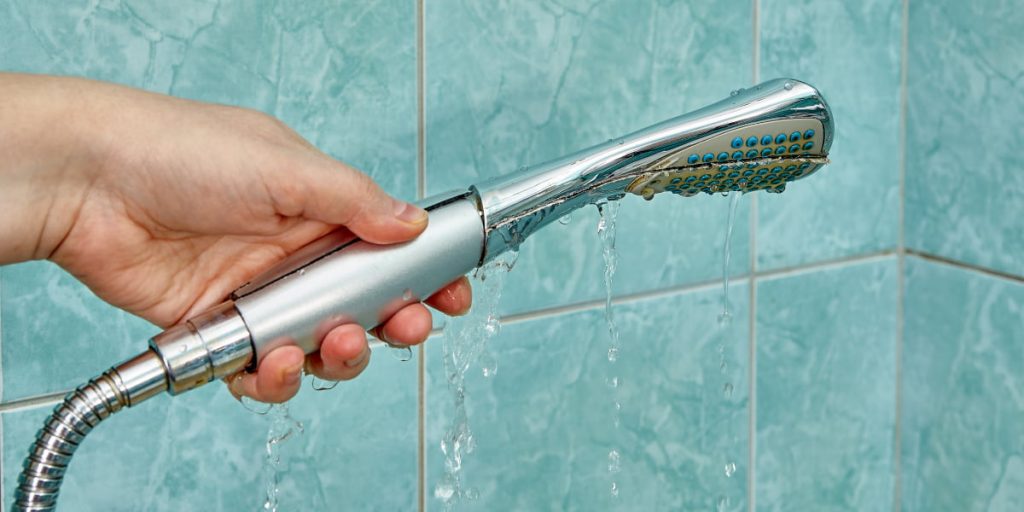
Step 2: Remove the Shower Head and Spray Hose
The next step in fixing a leaky shower is to remove the shower head and hose. It will give you better access to the faucet and allow you to inspect it for damage. To clear the shower head, you must unscrew it from the pipe protruding from the wall.
In most cases, you can remove the shower head with your hand. However, if the shower head is stuck, wrap a cloth around it and use a wrench or pliers to loosen it. Be careful not to damage the pipe when removing the shower head.
After removing the shower head, disconnect the spray hose from the connection at the bottom of the faucet. Again, this can usually be done by hand, but you may need a wrench or pliers if the connection is tight.
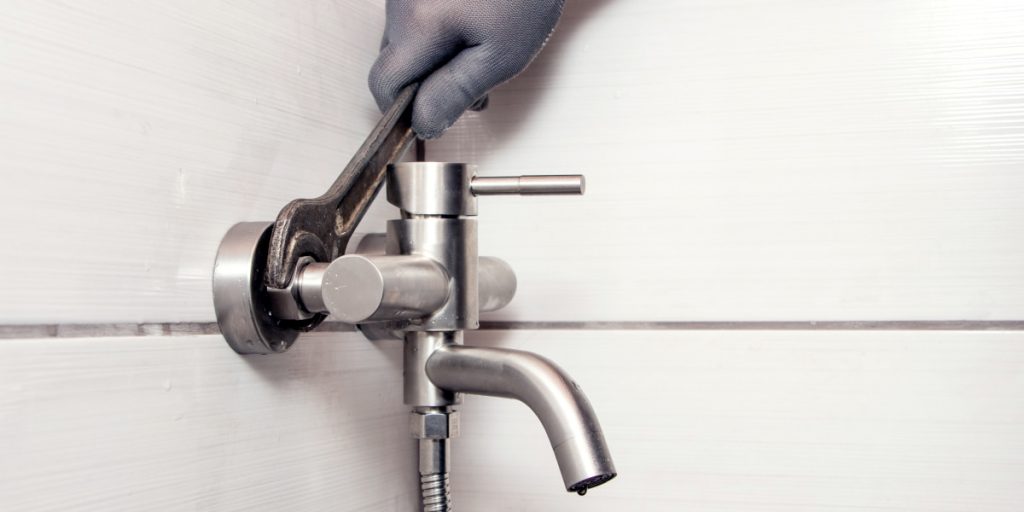
Step 3: Inspect the Shower Valve and Replace Any Damaged Parts
Over time, various parts can wear out or become damaged due to repeated use. By removing the shower head and hose, you can see the inner workings of the shower valve.
Inspect all parts for damage and signs of wear and tear. If any parts are damaged, repairs to the shower valve leaking will not be done without replacing them. Washers, o-rings, cartridges, and stems are usually replaced.
If you’re unsure which part needs to be replaced, take a picture of the valve with you when you shop for replacement parts. The knowledgeable staff at your local hardware store can help you find the correct details.
If you are buying parts from an online store, make sure you have the model number of your shower valve. You can find this information on the manufacturer’s website or the product manual.
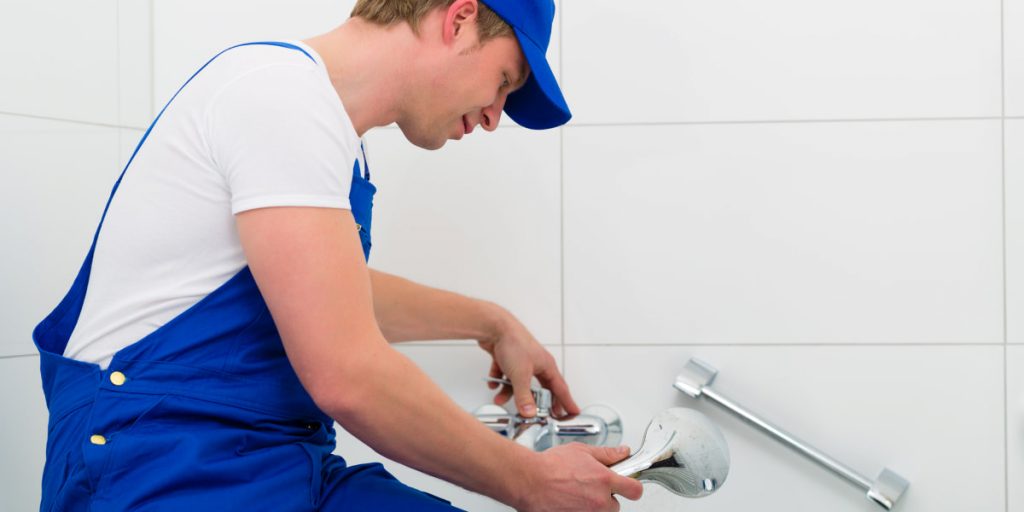
Step 4: Assemble the Shower Valve
Once you have all the necessary replacement parts, it’s time to get busy repairing your leaky shower faucet. Start by installing new washers and o-rings on the valve stem. Ensure they are correctly installed and seated before moving on to the next step.
Install the parts in the order you removed them. Start by screwing on the new valve stem and tighten it with a wrench. Be careful not to overtighten, as this could damage the parts.
Connect the spray hose to the fitting on the bottom of the faucet and screw on the shower head. Again, tighten by hand only – do not use excessive force.
Step 5: Turn on the Water Supply
After you have assembled the shower valve, it is time to turn on the water and check for leaks. Slowly open the main water supply valve and wait a few minutes for the water to reach the shower. Once the water starts flowing, please turn on the shower and let it run for a minute or two. It will help remove air from the lines and ensure a successful repair.
Turn off the water and check all connections if you see any leaks. Ensure all parts are correctly tightened and secured before turning the water back on. Applying silicone sealant around the shower valves and other problem areas is also a good idea. It will help prevent future shower valve leaks by creating a watertight seal.
Step 6: Enjoy Your Leak-Free Shower
You did it! You’ve fixed your leaky shower, and now you can enjoy a hot shower for a long time without worrying about flooding. Don’t forget to take preventative measures in the future to avoid repairing a leaky shower again. Regular maintenance, such as cleaning the shower head to remove the scale and checking for wear and tear, will help prolong the life of your shower valve.
Repairing a leaky shower faucet is a relatively simple process that anyone can do with essential tools. Following the steps outlined above, you can quickly and easily fix your shower valve leak speedily and efficiently. With time and effort, you’ll have your shower working like new.
FAQ
How to stop a leaky shower?
Fixing a shower valve leak is not difficult, but it requires basic plumbing knowledge. The first step is to identify the source of the leak and then purchase the necessary parts for repairs. Once you have all the details, follow the instructions above to fix your shower valve leak.
What causes a shower valve to leak?
There are many reasons why a shower valve may start leaking. Over time, washers, o-rings, and other parts can wear out or damage due to repeated use. In some cases, the entire valve may need to be replaced.
Can I fix a shower valve leak myself?
You can fix a shower valve leak with some basic plumbing knowledge. First, identify the source of the leak and then purchase the necessary replacement parts. Once you have all the details, follow the instructions to fix your shower valve leak.
How do I know if my shower valve is leaking?
If you see water around the shower valve or dripping from the shower head, then it is likely that your shower valve is leaking. Sometimes, you may hear a hissing noise when the water is turned on, which is another sign of a leak.
Do I need a plumber to fix my shower valve leak?
No, you don’t need a plumber to fix your shower valve leak. With some basic plumbing knowledge, you can fix the problem yourself. First, identify the source of the leak and then purchase the necessary replacement parts. Once you have all the details, follow the instructions to fix your shower valve leak.