Published on August 30th, 2022
Last updated on February 6th, 2023
How To Install Crown Molding By Yourself: Step-by-step DIY
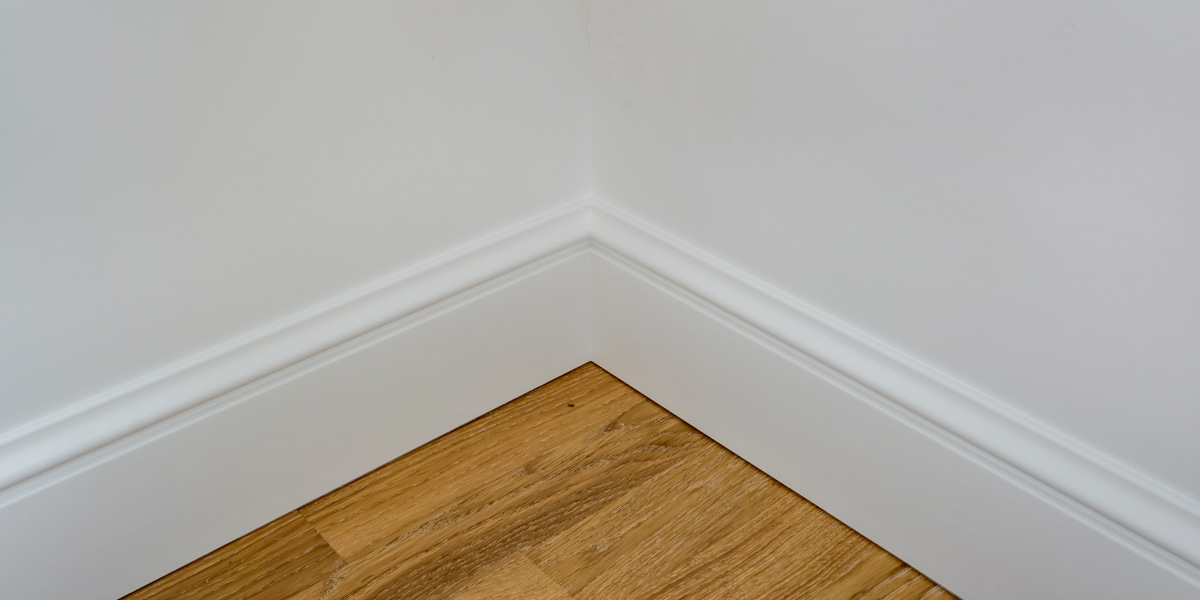
Installing ceiling crown molding is the simplest method to give your house personality and detail. It won’t strain the eye and will elegantly highlight the room’s general design. Additionally, crown molding might serve as a highlight if you feel that your design is missing one.
Molding is an excellent method to enhance the appearance of any room and is simple to install in a matter of hours. The crown molding can be easily hung by yourself. I have created a step-by-step manual on completing the task if you decide to do it yourself. Therefore, installing crown molding is a terrific place to start if you’re ready to give your house a little facelift.
What Is Crown Molding?
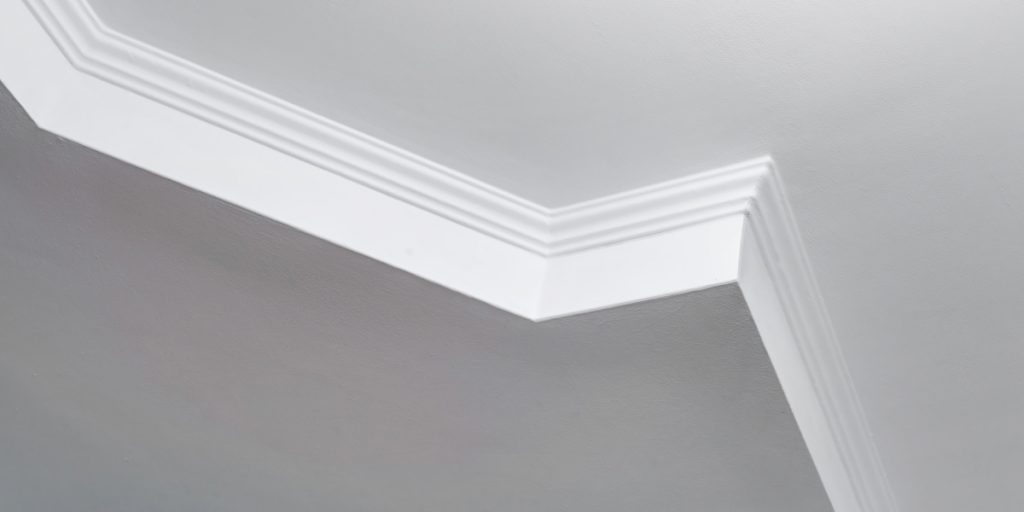
Crown molding is a type of molding that is typically used to add visual interest and detail to the top of a wall. It can be used in interior and exterior applications and comes in various shapes, sizes, and styles.
Crown molding is a popular choice among homeowners because it helps to add character and style to a room and hide any flaws or defects in the wall.
If you are considering ceiling crown molding installation in your home, let’s sort out what you need to know.
Why One Should Consider Installing Crown Molding
Installing ceiling and corner moldings gives rooms an extra whimsical look without much expense. Moldings aid in separating the color of the ceiling from the color of the walls by forming distinct, clean lines.
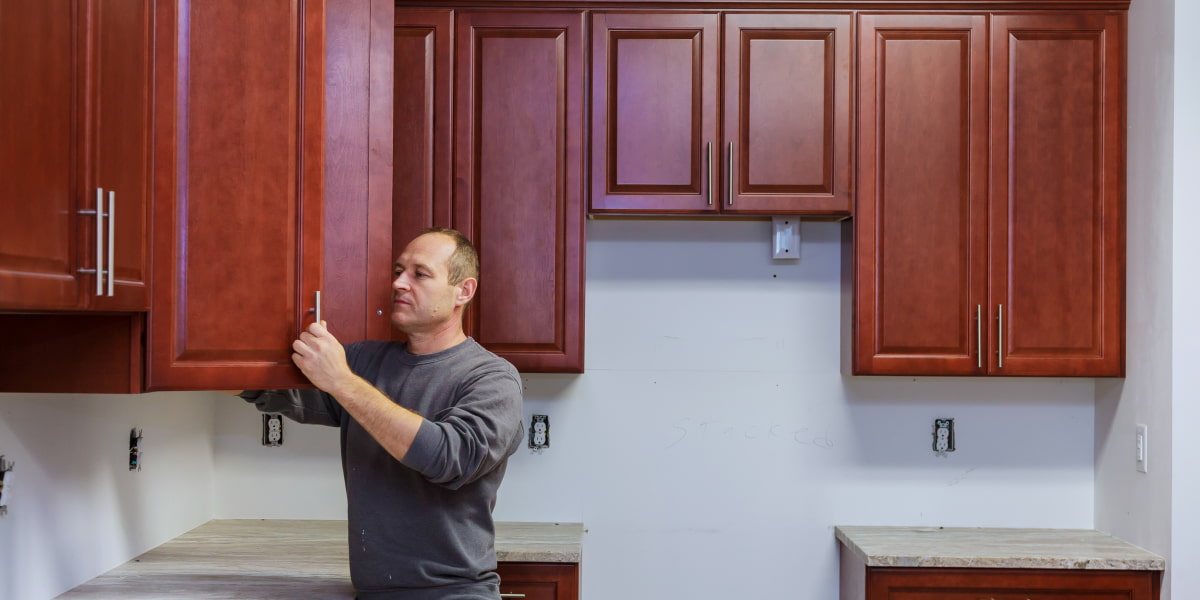
Crown moldings can cover up small junctional wall or ceiling issues. It is advantageous to remodel early 20th- and 19th-century homes since it adheres to their aesthetics. Crown molding is occasionally added at the top of hanging cabinets in the kitchen or bathroom to embellish the ceiling and improve the appearance of the cabinet.
Safety Considerations
Hanging crown molding by yourself always involves working above the floor on stairs. Long molding sections can be cumbersome, so it is helpful to have a helper hold the far end of the crown molding. The helper can either stand on the ladder at your height or stand at ground level and operate the crown molding with a pole.
Crown Molding Installment Process
If you are similar to most people, you might be intimidated by the idea of having to read instructions. It’s not that people don’t want to learn how to do something right; it’s just that most instructions are complicated and full of obscure technical jargon.
Fortunately, our manuals are different. I decided to write the most accessible crown molding installation instructions for you so that you won’t be intimidated by the installation process. So, read on and follow point by point to appropriately and skillfully install the crown molding yourself.
I decided to start with the essential things you need to get the job done, and we’ll move on to more complex technical tasks. But I’m still going to detail each step. So let’s start from:
Step 1: Measuring The Room

Measure the room by the total linear length of the wall. For example, a 165-square-foot room with two 15-foot walls and two 11-foot walls could be finished with one section of molding 12 feet long for each of the short walls and two sections 8 feet long for each of the long walls.
Make sure you buy enough moldings to cover the walls with a small margin. It is best to buy 25% more molding. If possible, it’s best to cover the walls in long individual pieces rather than joining them together, as joining pieces together in a butt joint can be difficult. Most home centers supply lumber in 8- and 12-foot lengths, but you can also find 16-foot details at specialty lumber yards.
Step 2: Cutting The Crown Molding
Measure the piece of crown molding you need to cut before you hang it by yourself. Although you can cut the molding at an angle with a handheld trimmer and saw, it is better to use an electric trimmer as the cut will be more accurate and correct.
Cut Parts That Will Join Inside Corners
An inside corner is a corner with a concave 45-degree angle facing inward. Make an oblique cut for the left side of the corner by turning the saw blade to the right 45 degrees. Step back from the cut’s left side and keep the cut’s right side. Turn the saw blade to the left at 45 degrees for the right side of the corner. Step back from the right side of the cut and save the left side.
Cut Parts That Will Bend Around An Outside Corner
Outside corners have a convex angle of 45 degrees facing outward. To cut the left side of the corner, turn the saw blade to the right at 45 degrees. Step back from the cut’s left side and keep the cut’s right end. For the right side of the corner, turn the saw blade to the left 45 degrees to cut. Step back from the right side of the cut and save the left side.
Cut Straight Pieces That Will Butt Together
Often, the molding will not reach the end of the wall. When installing ceiling crown molding, it is essential to neatly join the two moldings so they are almost invisible.
An almost invisible way to sew two straight pieces is to make a diagonal seam. Cut the left piece at a 45-degree angle, as if you were cutting it under the left side of the inside corner. Cut the adjacent right piece as if cutting the right side of the outside corner. The two pieces will fit together neatly in the center of the wall. It is a much more professional connection than simply joining the pieces with square grooves.
Step 3: Priming The Wood
MDF moldings are often already primed, but if you use bare wood moldings, I recommend priming them and letting the primer dry for at least an hour before installing them on the wall.
Before installing corner moldings, they too should be primed thoroughly, especially carefully painting the inside corner.
Step 4: Finding And Mark Wall Studs

Using the wall stud locator tool and a pencil, locate and mark each wall stud on the wall surface a few inches away from the joint between the wall and the ceiling. These marks will serve as a guide when nailing the studs.
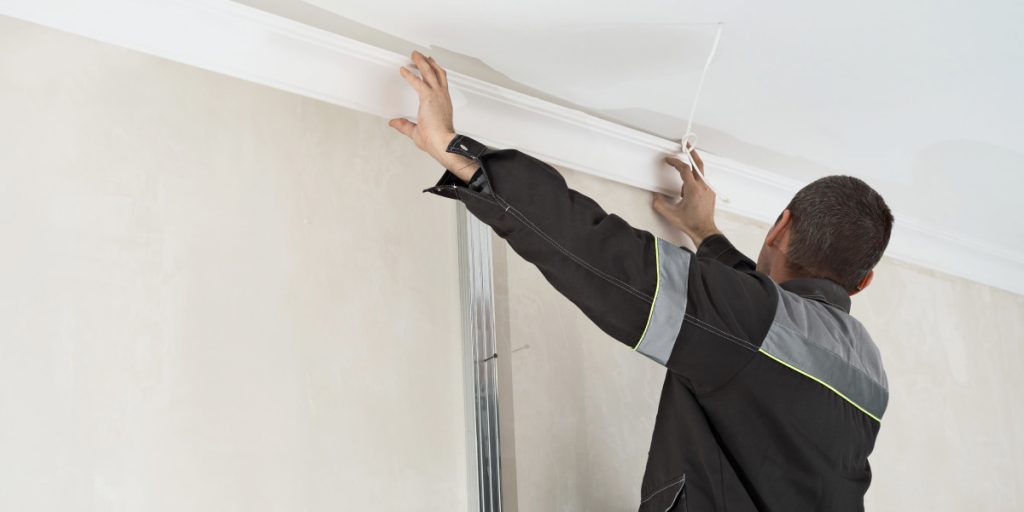
Step 5: Hanging The Crown Molding
To install the molding on the wall:
- Flip it over so that it stands upright;
- Hire a helper to help you operate the molding on the second ladder while you put it in place;
- Start at the center of the wall.
The crown molding should form a 45-degree angle to the wall and ceiling. Most moldings have flat surfaces on the top and bottom edges designed to fit flush with the wall and ceiling. Angle problems will show up on the corners.
Use a nailer to drive pins or finish nails through the molding into the wall studs or the top panel of the wall. Ensure the joints are securely nailed in the corners and at the oblique joints where the moldings join at the ends. Plan to have the diagonal joints on the wall studs for best results.
If the studs have left recesses in the moldings, they can be filled with a small amount of wood putty, or you can apply the putty with your fingers.
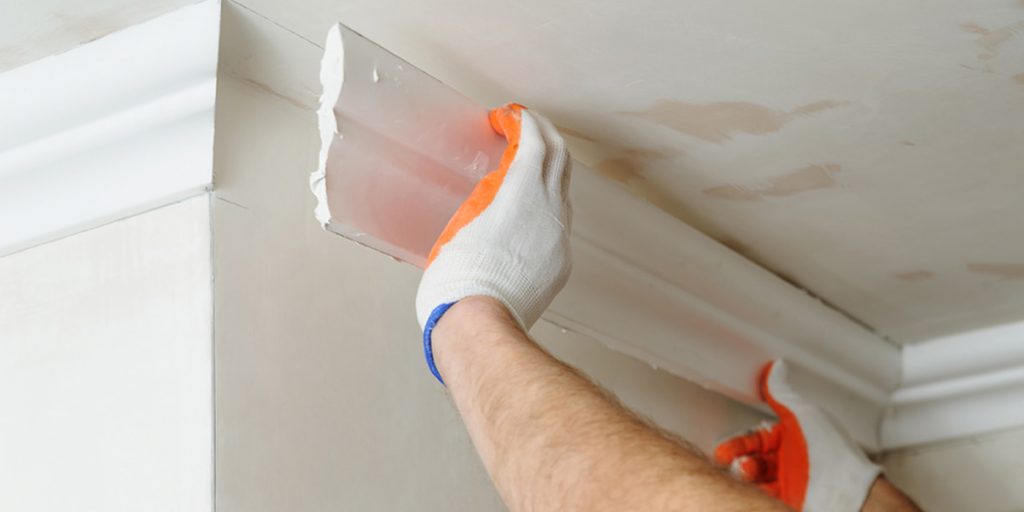
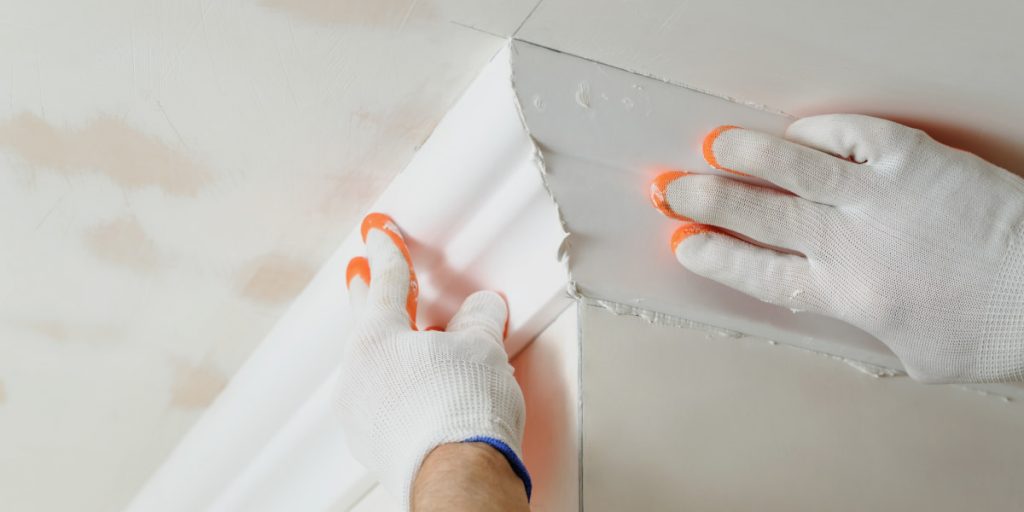
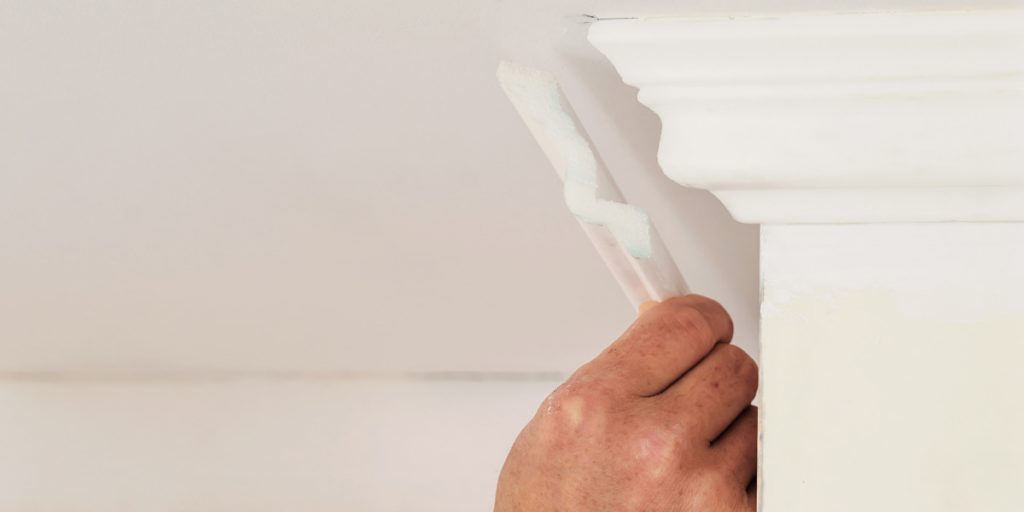
Step 6: Caulking Gaps
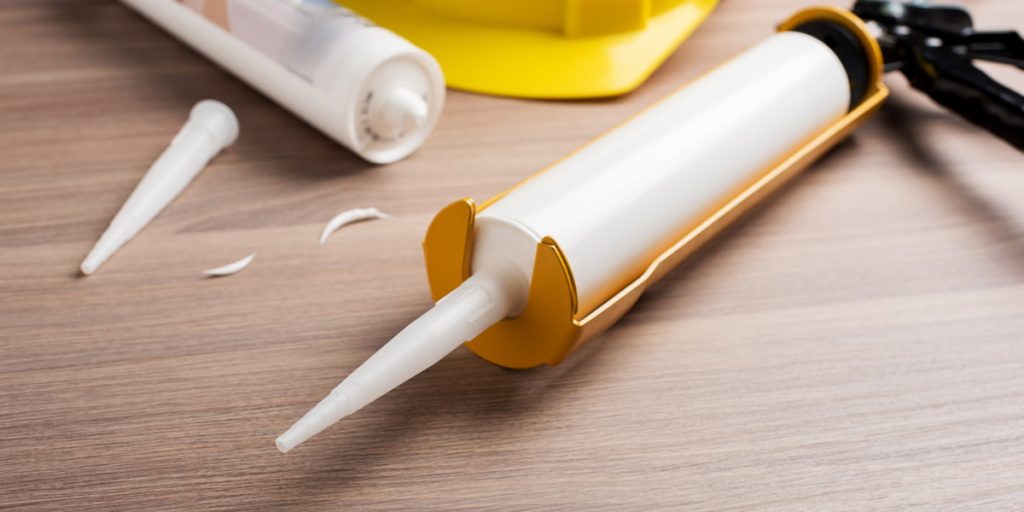
Since walls and ceilings are rarely perfectly flat, you may sometimes see gaps between the walls and ceiling after the ceiling crown moldings are installed. Apply a strip of elastic sealant along these gaps to fill them. The glue can also fill in any remaining gaps in beveled corners.
Smooth the sealant with a damp finger and let it dry according to the manufacturer’s instructions before painting the moldings.
Step 7: Painting Moldings
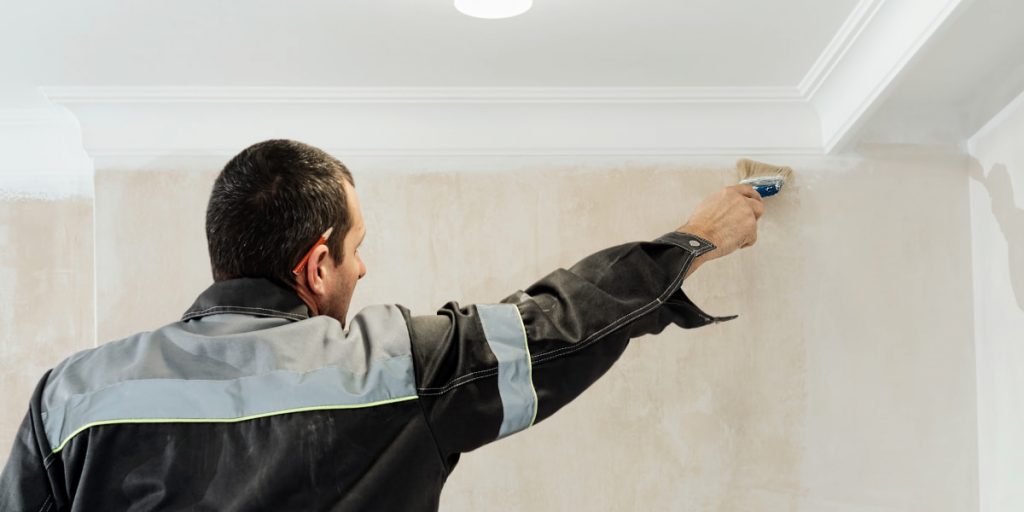
If you have not already painted the moldings, start by masking tape along the top and bottom of them where they touch the wall and ceiling.
Paint all moldings and allow the paint to dry according to the manufacturer’s instructions. If necessary, apply a second coat for complete coverage.
That’s it! You installed the ceiling molding and the corners for it. I hope my instructions were handy for you and the installation was easy.
FAQ
How to install crown molding by yourself?
Ceiling crown molding installation is easy if you follow these steps:
1. Cut the molding to size;
2. Prime the wood;
3. Hang the ceiling crown molding;
4. Caulk gaps;
5. Paint the ceiling crown molding.
What is the best way to install crown molding?
The best way to install crown molding corners is by using a nailer. It will ensure that the joints are securely nailed in the corners and at the oblique joints where the moldings join at the ends. Plan to have the diagonal joints on the wall studs for best results
How do I install crown molding on a ceiling?
To install crown molding on a ceiling:
1. Start by cutting the molding to size;
2. Prime the wood and then hang the ceiling crown molding;
3. Caulk gaps and paint the ceiling crown molding.