Published on September 20th, 2022
Last updated on February 6th, 2023
How To Replace A Window Screen? Simplest DIY That Can Do Anyone
The window screen performs many valuable functions, such as protection against insects and trash and preventing pets from falling out of the window. However, this can also break down over time and require material replacement. Taking things short, answering the question “how to replace a window screen”, follow these steps:
- Remove old screen;
- Prepare new material for replacing window screen;
- Attach the new material to the frame;
- Remove extra parts of the screen;
- Install new window screens.
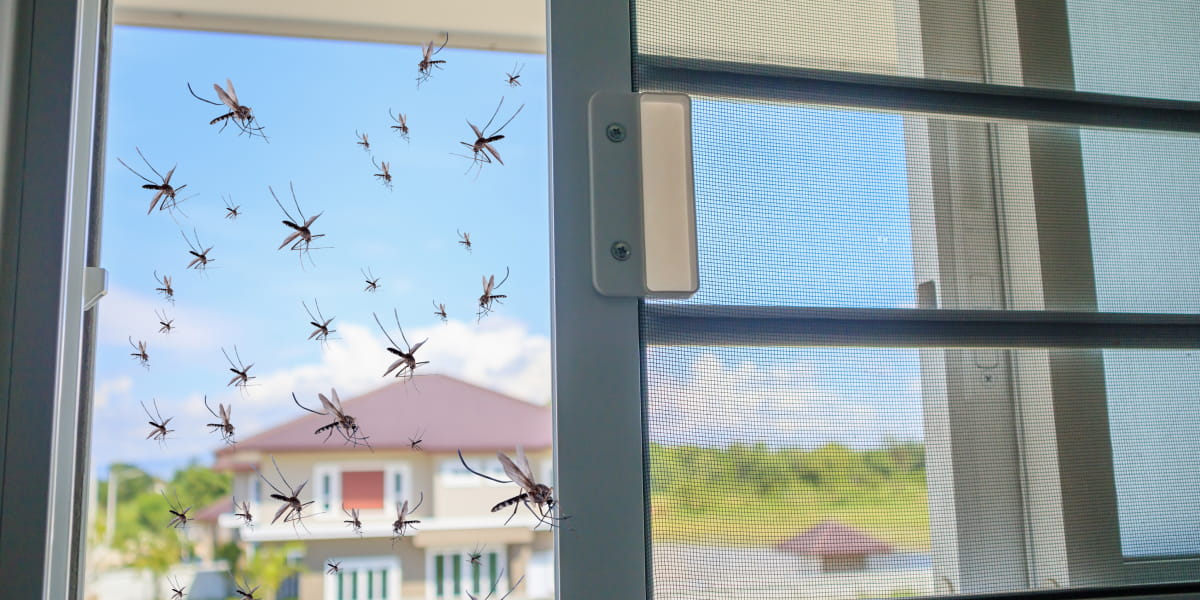
If your mosquito nets have been damaged by the environment, pet contact, or worn out, don’t worry. Replacing screens in windows is not hard work. When choosing it, please note that your screen has several material options.
Read on to have complete DIY instructions for window screen replacement and what material is best to use.
Replacing Screens In Windows Step-by-step

There is nothing complicated in removing the window screen. It is worth preparing a set of necessary tools for replacing the screen in advance and allocating some time for this work. I have prepared detailed step-by-step instructions for installing new window screens to help you properly remove the old screen and install the new one.
The tools you will need for work:
- Screwdriver;
- Drill for screwing screws;
- Roller for a rolling spline;
- Marker;
- Stationery knife;
- Scissors.
The necessary materials for work:
- New material for the screen.
Pieces of wood (bars). Let’s start replacing the window screen. Follow each step of our instructions.
1. Remove Old Window Screen
- Carefully remove the old screen from the window and place it comfortably on a flat surface where you can work;
- Attach the wooden blocks inside the screen to your table where you are working on replacing the window screen. The bars should be screwed to the table against the longest sides of the frame. It will help you secure the frame so it doesn’t slip or buckle as you pull the net over it;
- Hook and pull out the screen spline using a flathead screwdriver. Do not reuse old splines as they are brittle and can break. However, before you throw away the old splines, leave a small piece to measure the new ones on them;
- Remove nails or staples if they were used to hold the old material.
2. Prepare New Material For Replacing A Window Screen
- Take a new roll of the material from which you will make the screen and stretch it over the screen frame. Stretch the fabric so that it is over the groove of the frame;
- Measure the required part of the material and mark the borders with a marker or pen. Remember that your new material for the screen should completely overlap the frame and extend out of it by about two inches on each side;
- Cut off the required amount of material with scissors. Also, cut off each of the four corners at a 45-degree angle. It will help the material not bend in these places when opening the window;
- During the work on replacing the window screen, you can ask someone to help you. It is necessary to cut off the measured piece of material evenly.
3. Attach The New Material To The Frame
- Cut the new spline for the frame by measuring the required size from the old one;
- Take the splined roller over the frame’s grooves to secure the splines and mesh. If you notice that somewhere the material lays unevenly, remove it in this area and insert it evenly, rolling it up with a roller;
- Attach the mesh with staples to the frame if you are dealing with a wooden frame. An alternative to staples can be the nails with which you can fix the material to the frame;
- Please note that after you have attached the mesh to the frame, it should not be too tight across the frame, but it should not dangle. If you don’t tighten the frame properly, the mesh can sag, so try not to let that happen. However, on the other hand, pulling the mesh too tight on the frame can cause the mesh to detach on either side, or the tension can bend the aluminum sides of the frame;
- Check how well you pulled and fixed the screen when installing new window screens.
4. Remove Extra Part Of The Window Screen
- After completely attaching the mesh to the frame on all sides, cut off the extra parts of the mesh with scissors;
- To make your mesh securely fastened, use additional fasteners in the form of corner plates or screws;
- When cutting off superfluous parts, be extremely careful not to get hurt or touch the splines that connect the mesh and frame.
5. Installing New Window Screens
- Attach the new screen to your window. Do this carefully, making sure you securely fix it to your window;
- Try to close and open the window completely, making sure that nothing prevents you from doing it freely.
What Material To Choose For The Screen

It must be said that there is no single solution to selecting the material that will be your grid. There are several types of materials that you can use when replacing your window screen. Each of them has its characteristics and advantages.
The owner relies on his requirements and expectations from the grid. Usually, people have an individual goal for which they set themselves a grid. You may desire to protect yourself and your family from mosquitoes, or you do not want garbage from the street to get into your house.
Try to decide what exactly you expect from the material for the grid. Next, choose several options depending on your requirements for the functions of a window grid. Let’s take a closer look at what material options you can use and how they differ.
1. Fiberglass
One of the modern and suitable materials that you can use for replacing your window screen is fiberglass. It is a popular material preferred by window screening companies. This option is good because, due to the material’s flexibility, it will not be challenging to complete the work of replacing the grid. So, if you did not evenly roll the edges of the mesh under the spine during the replacement, you can carefully get part of the spline back and roll it again more evenly. However, it would be best if you did not do this repeatedly. Try not to roll any sections more than once.
2. Sunscreen Fabric
It is another type of material that is used while installing the new window screen. Some homeowners prefer to install meshes from this particular type of material. One of the main benefits of a sunscreen fabric is blocking sunlight. It brings more benefits than you might initially think. Blocking sunlight will keep the room from overheating, allowing you to turn on the air conditioner less often and thus save money you would pay for electricity.
So, you will protect your furniture in the room from fading by blocking the sun’s rays. Therefore, you don’t have to worry that your things will eventually be damaged from exposure to direct rays of light. Sunscreens are made from a more durable material than other options.
How To Take Care Of Window Screens
If you don’t want to work on replacing screens in windows every several years and want to serve your window screen as long as possible, you should spend a little time periodically caring for it. We have prepared several tips to help you prolong your window screen’s life. Use the following recommendations:
- During the winter, remove the screen and store it in a dry place. It will save it from damage by ice or snow;
- While cleaning windows, don’t forget to clean the screen. You have to wash your window screens at least once a year. It is necessary to remove accumulated dirt and dust on the mosquito net;
- Before installing the screen for the summer period, clean the mesh from dust and cobwebs. It can appear during the storage of it in the closet. So, it is worth vacuuming the mesh and washing it with a cloth dipped in a warm soapy solution. After that, rinse the mesh with just water and wipe dry.
Bottom Line
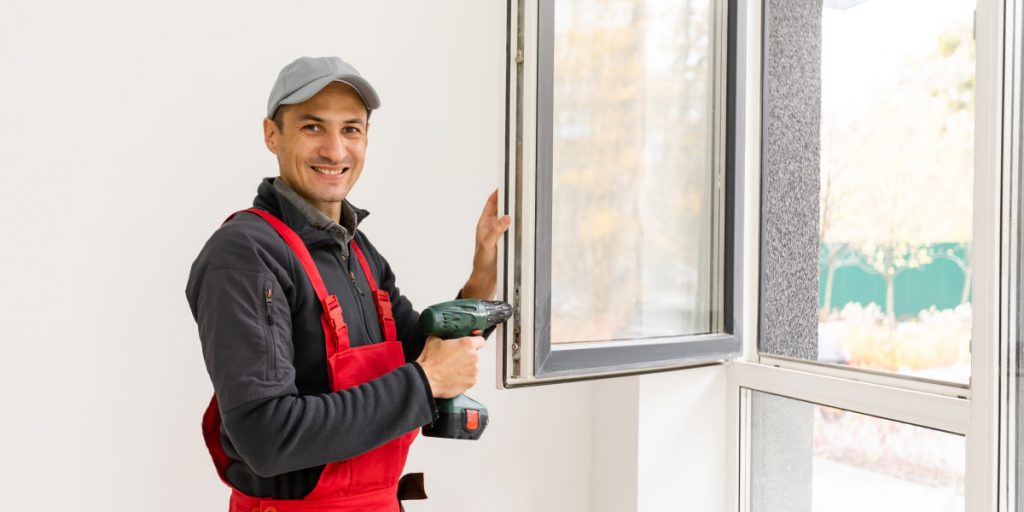
Thus, I have given you a DIY guide for window screen replacement and told you about what fabric to choose for it. I am confident that our instructions will help you finish the job right from start to finish. Proceed with caution and seek professional help if you feel you need it.
FAQ
How To Remove The Window Screen?
To remove the old screen window, you need to pull the screen out of the window opening, lay it on a flat surface, and then pull the slot out of the frame. You can get the spine out of the frame with a sharp tool. Also, if your mesh has been nailed or stapled, remove them to start by replacing the mesh material.
How To Replace A Window Screen?
After removing the old mesh from the frame, lay the new piece of material on the screen so that the material protrudes 2 inches from each side. The next step is to cut off the excess fabric on the sides at a 45-degree angle. After that, lay a slot between the mesh and the frame and roll it up with a roller.
Is It Worth Changing The Window Screen Grid?
If you want to call a specialist to repair the screen, it will be much easier and cheaper than buying a new screen. So, the price for replacing the grid will vary from 65 to 150 dollars. If you need to change several nets, you will most likely be given a discount and charged for each window from 20 to 30 dollars.
What Is The Most Durable Material For Window Screen?
To date, the most durable material for the screen is polyester. The nets from this screen have been serving for many years. Therefore, often there are situations when people buy a grid from polyester for a long time and then go to another house faster than the screen window fails.