
Published on December 29th, 2022
Last updated on February 3rd, 2023
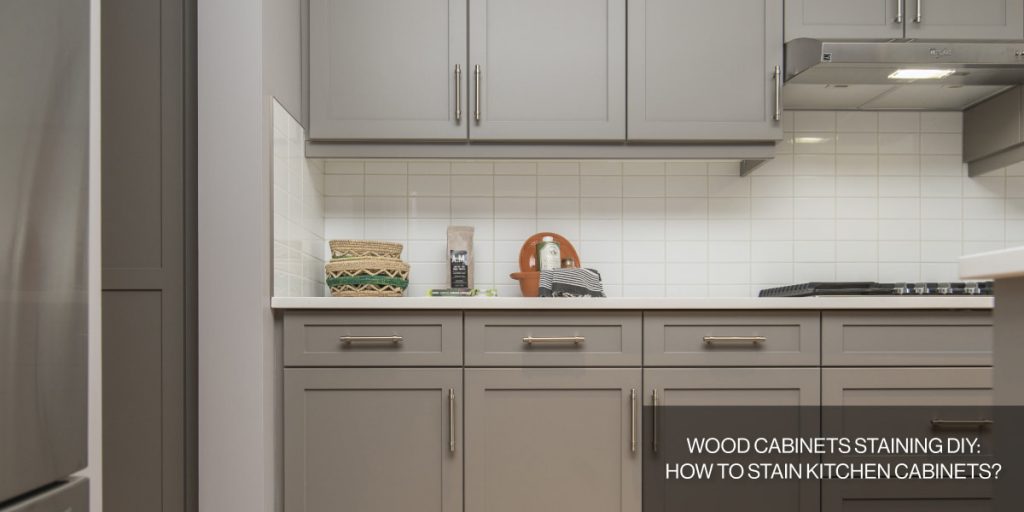
Wood Cabinets Staining DIY: How To Stain Kitchen Cabinets?
Do you want to stain your wood cabinets to modernize your kitchen? A quick and inexpensive approach to modernizing your space is to give your kitchen cabinets a brand-new look. But if you’ve never done it before, it can be intimidating.
If you’re looking for a DIY project that only takes a few hours or even a day, staining wooden cabinets can breathe life into your current kitchen without requiring too much time or money. Staining wood cabinets adds texture. It also protects and adds style to existing pieces of furniture.
With a few basic materials and some know-how, you’ll have beautiful stained cabinets! This blog article will provide an overview of all the steps to successfully staining kitchen cabinets. You’ll be able to take on this project confidently and get great results.
Tools You’ll Need When Painting Kitchen Cabinets
If you’ve decided on DIY staining your cabinets, we congratulate you! You’ve chosen a great way to give an old piece of furniture a whole new look. Also, working on your own DIY project can bring relaxation and satisfaction.
To get started, you will need basic materials such as:
- Medium grit sandpaper;
- Cleaning cloths or rags;
- Rags;
- Rubber gloves and/or a respirator mask;
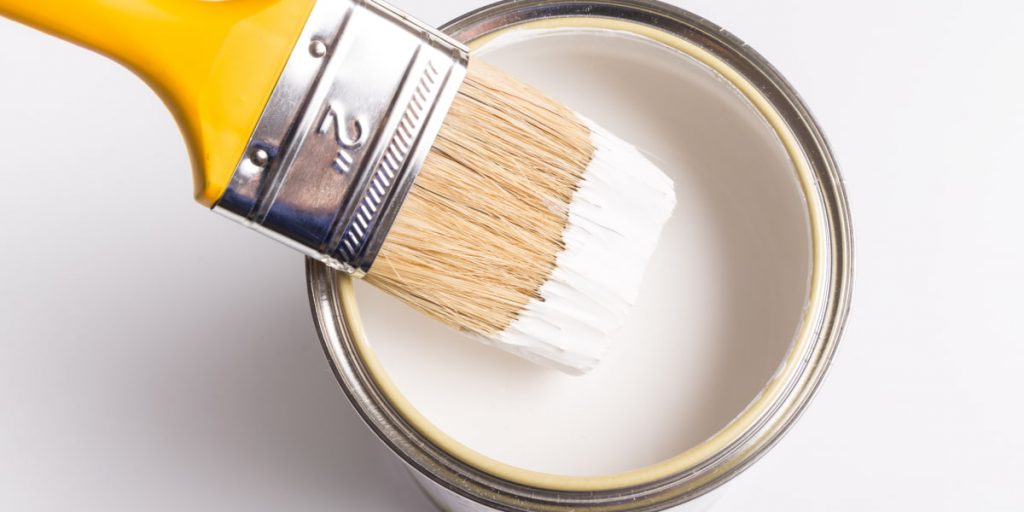
- Paint stain of your choice;
- Brush or paintbrush;
- And a protective sealant.
But that’s not all. Pay attention to the size of the wood cabinets you will stain. You may also want to consider purchasing an orbital sander. You may need it if you need to stain a lot of items. But, if you need to stain 2-3 cabinets, you’ll be fine with a brush.
Make sure your workspace and tools are clean before you start. That way, particles will stay in the finish and maintain your work.
With all the materials, you’ll have no trouble tackling any wood staining project! Let’s get started, step by step.
Step 1: Choose a Stain
Have you decided to do your wood cabinet staining? Then the first step is to choose the stain you want to use.
The type of stain you choose is significant. It is what determines the appearance and durability of the job. Fortunately, there are many high-quality stains available. They will help accentuate the natural beauty of your wood cabinets.
Whether you’re looking for a light, natural finish or a deeper, richer color, it’s vital to familiarize yourself with all the available options before moving on to the next step in the DIY cabinet staining process.
Step 2: Remove Hardware, Doors, and Drawers
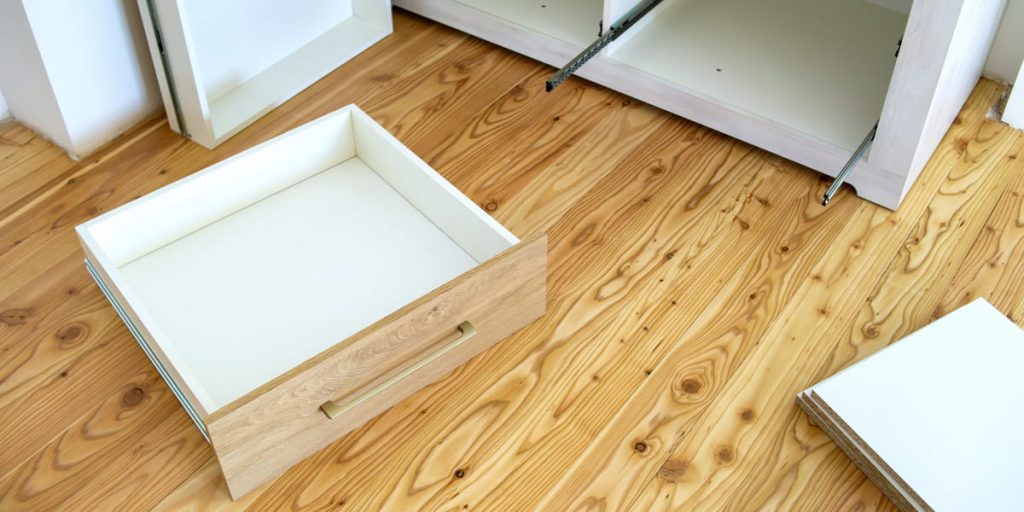
Do you have the materials and tools you need to stain wood cabinets? If the answer is yes, you’re ready to get to work.
The next step is removing the cabinet’s hardware, doors, and drawers. Remember to keep all the screws and parts in a safe place. That way, you’ll be able to put everything back in place without problems after the staining cabinets.
Remove any items from the surface of the cabinets that do not need to be painted. These include handles or knobs, for example. You need to do this before caulking and sanding the areas.
Removing these items will ensure an even finish when painting. And it will minimize any disasters!
Step 3: Cleaning the Surfaces
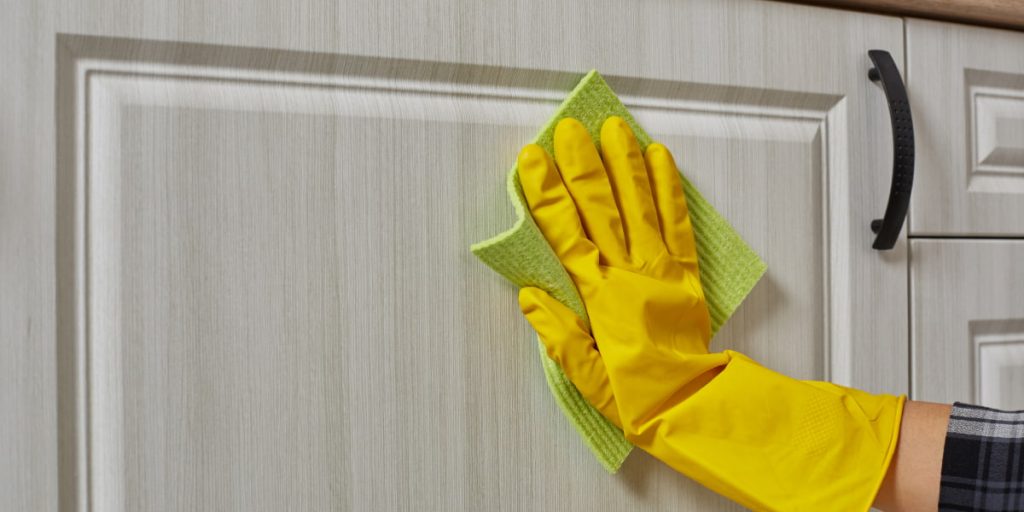
The third step is to clean the surfaces. You must wash and clean each surface thoroughly. The fact is that any debris or dust will be visible after the DIY cabinet staining process.
- Start by wiping down the cabinets with a dry cloth or tissue. It is how you will remove surface dirt and particles.
- Once the first layer of dust and debris has been removed from the surfaces, gently rub them with a mild soap solution.
- Rinse off any remaining soap with a damp cloth.
- Then allow the cabinets to air dry completely before staining. It will ensure no unwanted particles after applying your chosen stain to the wood.
Step 4: Removing the Old Finish
You must remove the old finish in the fourth step of staining cabinets. The most effective way is to use a chemical remover or sander.
This product sticks to the existing trim and breaks it down for removal. The product contains many chemicals so the smell can hurt your health. Make sure the room is well-ventilated.
Be sure to wear gloves and get plenty of rags. This way, you will protect your skin and surfaces from chemical drips.
When the stripping process is complete, use a soft cloth and clean steel wool. That way, you can remove any excess coating.
Remember to sand the surface to get a smooth and even surface. Do this before moving on to the next steps of DIY cabinet staining.
Step 5: Applying Sanding Sealant
Before applying the sanding sealer, look at the grain of the wood. If you want something else, adjust your technique. Sanding sealers usually prevent the wood from darkening when stained. Plus, they help keep the staining even.
When applying the product, spread it evenly over the entire surface with a brush or cloth. Pay attention to the sealant packaging. Manufacturers usually specify how to use the product. Follow the directions included with the product and allow time to dry.
You need to re-sand the surface with fine paper (approximately 220 grit) in between coats of sanding sealer. Now you can move on to step 6 – staining the cabinets!
Step 6: Start Staining

Are the cabinets prepared and primed? It’s time to start staining them. To do this safely and efficiently, start by setting up intense lighting. It’s best if you make the lighting away from direct sunlight. It will allow you to keep an eye on the job’s progress.
Before applying the stain, find a wood sample at the store where you purchased the paint. This way, you can practice it first. Then, try just a little color on the cabinet in an inconspicuous place. If you’re happy with the result, go ahead.
Apply the stain evenly, giving it enough time to dry. With patience and a steady hand, your cabinets will soon become beautiful masterpieces. It can add character to your kitchen.
Conclusion
Painting cabinets is a great way to add character and personality to any room or room. With patience and attention to detail, you can create beautiful cabinets. They will last you for years.
By following the simple steps outlined in this article, you’ll be on your way to a successful DIY wood cabinet staining project that will make you proud of your hard work. Good luck!
FAQ
Can you restain cabinets?
Yes, You can restain cabinets. Make sure to clean and prep the cabinets properly before starting your project. The staining process is the same as it was for its first use.
Can I paint any kitchen cabinets?
Yes, you can generally paint cabinets with any paint. But, some cabinets may need a primer first to ensure an even finish. Be sure to check the manufacturer’s instructions before you start.
Are there unique supplies needed for staining cabinets?
You will need specialized supplies such as sandpaper, sealers, and stain formulated explicitly for cabinets. It is vital to use the right supplies to ensure a successful staining project.
What safety considerations should I keep in mind when staining cabinets?
Keep children and pets away to avoid accidents. Make sure the room is well-ventilated. Wear protective equipment such as gloves and a mask when painting cabinets. Also, use caution when handling any chemicals or products. They may cause skin irritation.